2024 KITCHEN RENOVATION
DONE! COMPLETION DATE: September 7, 2024.

Before...

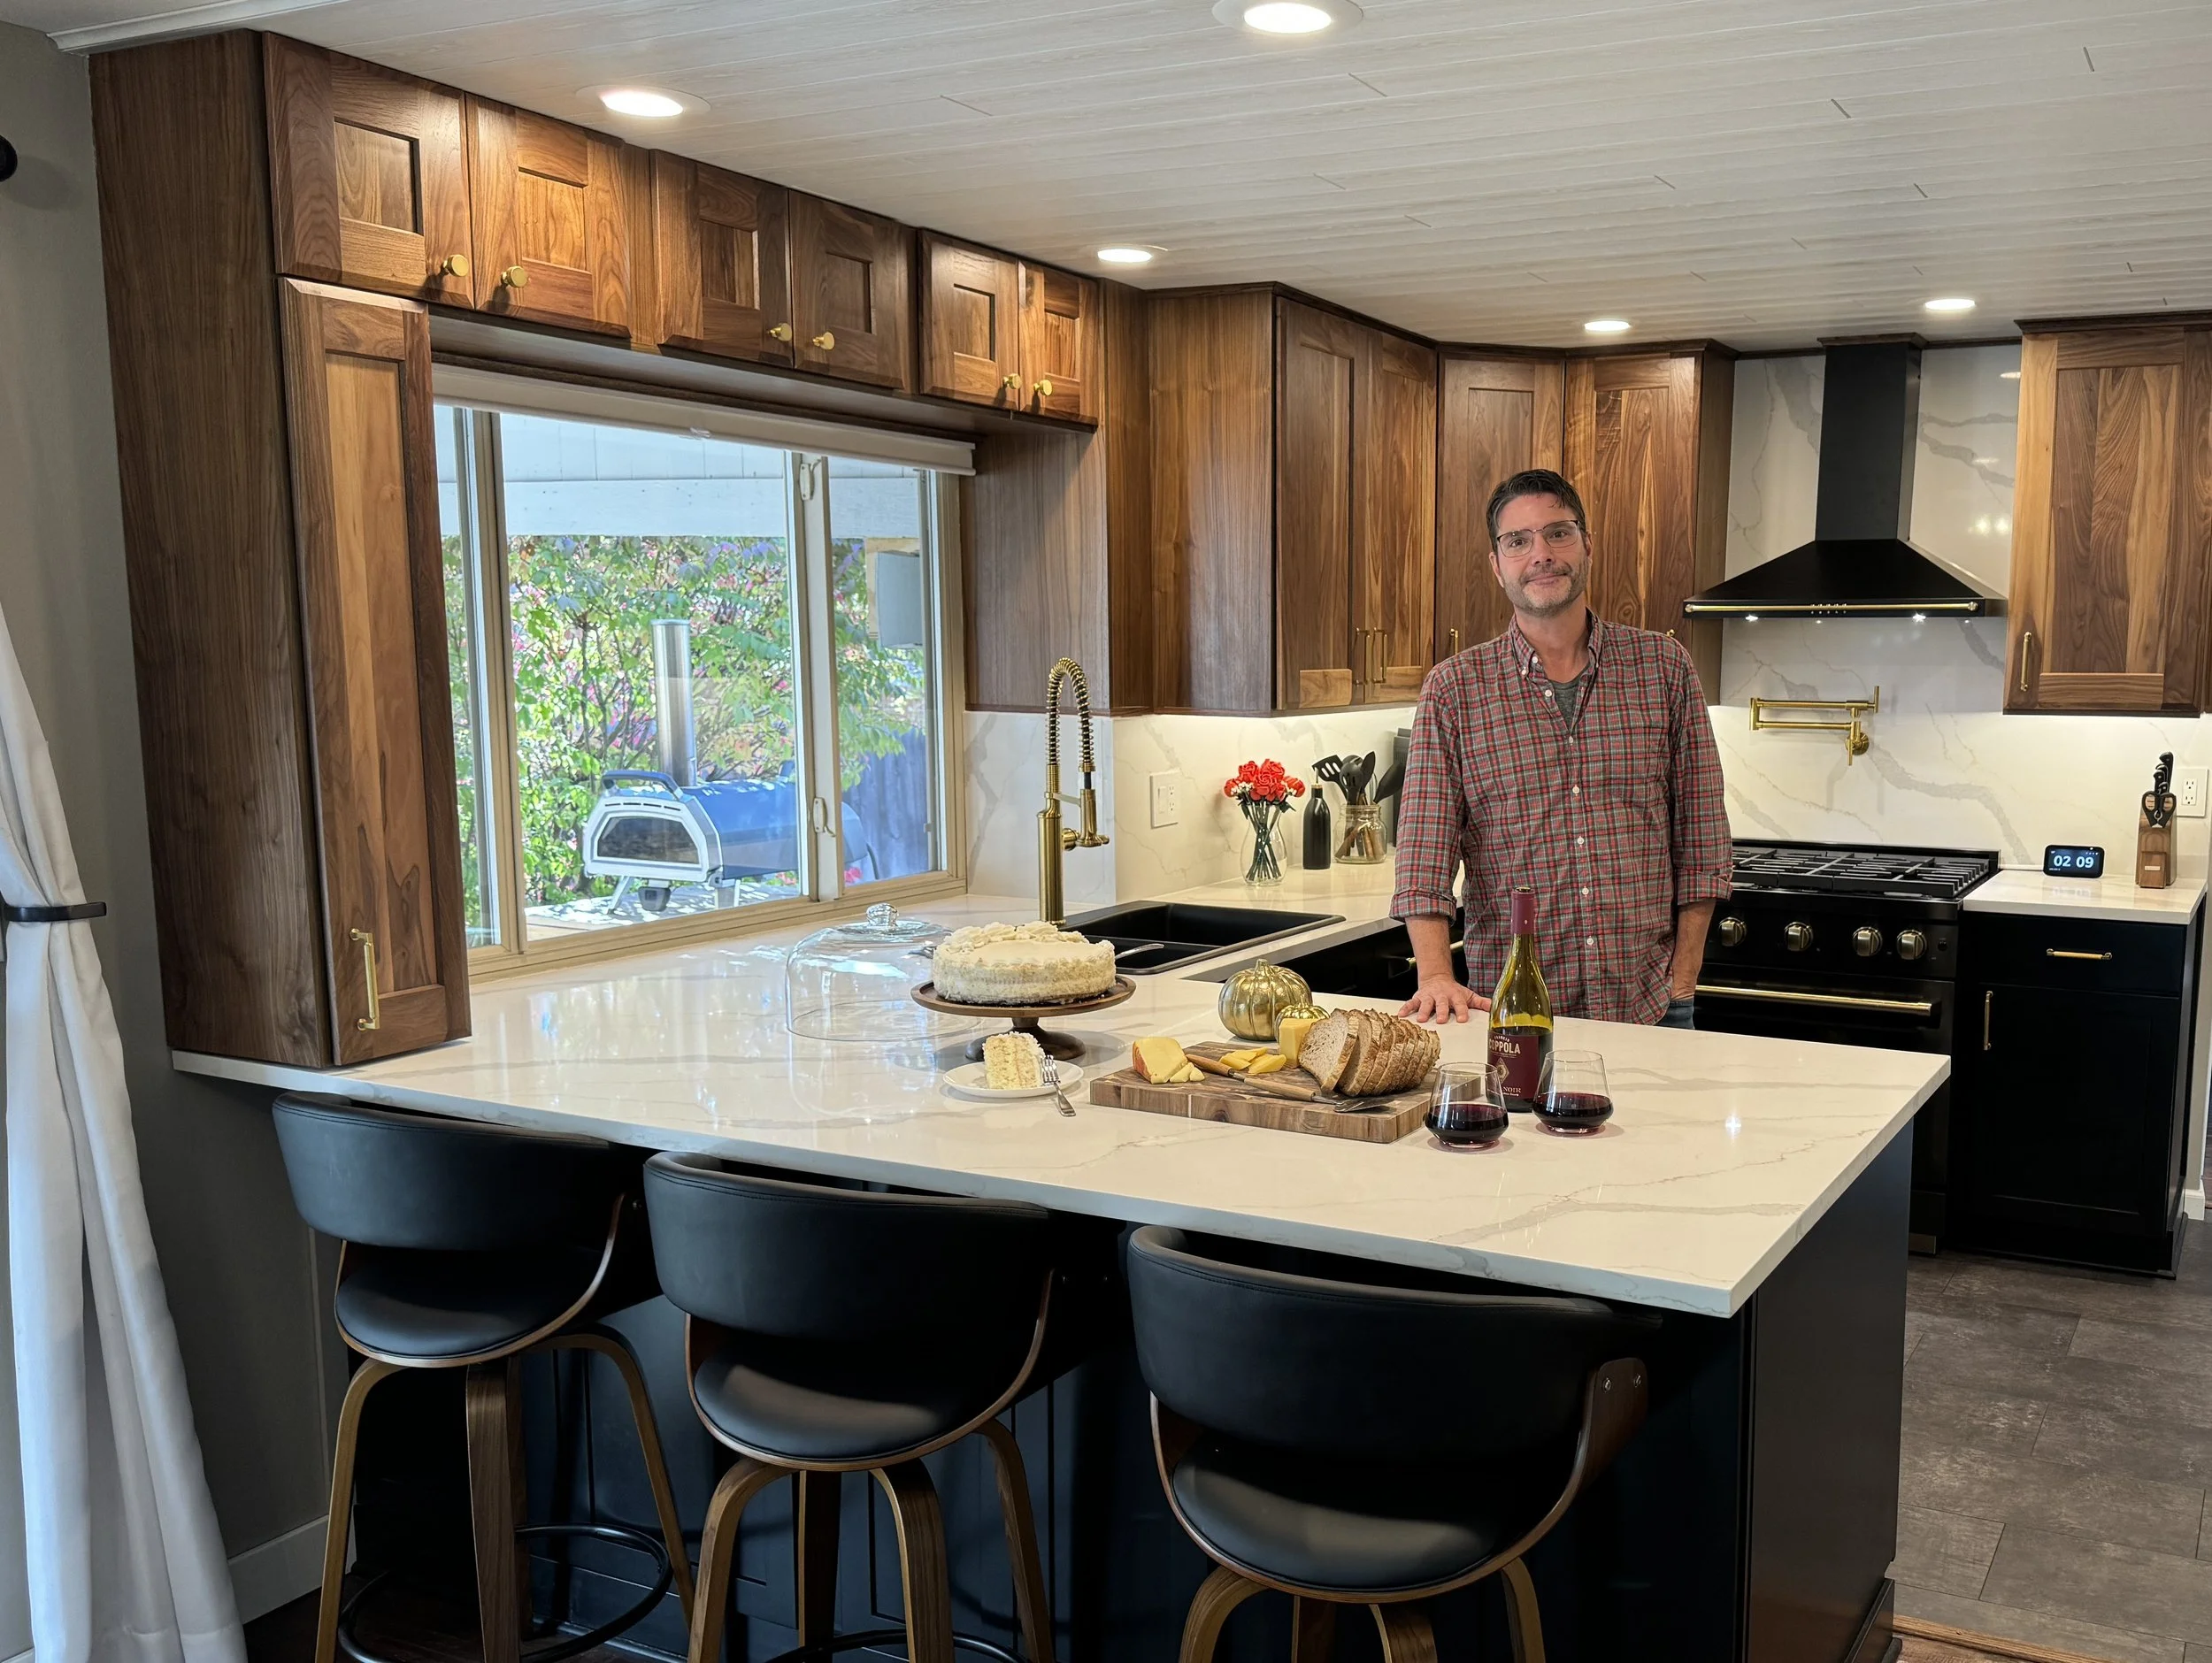
...and After. :)
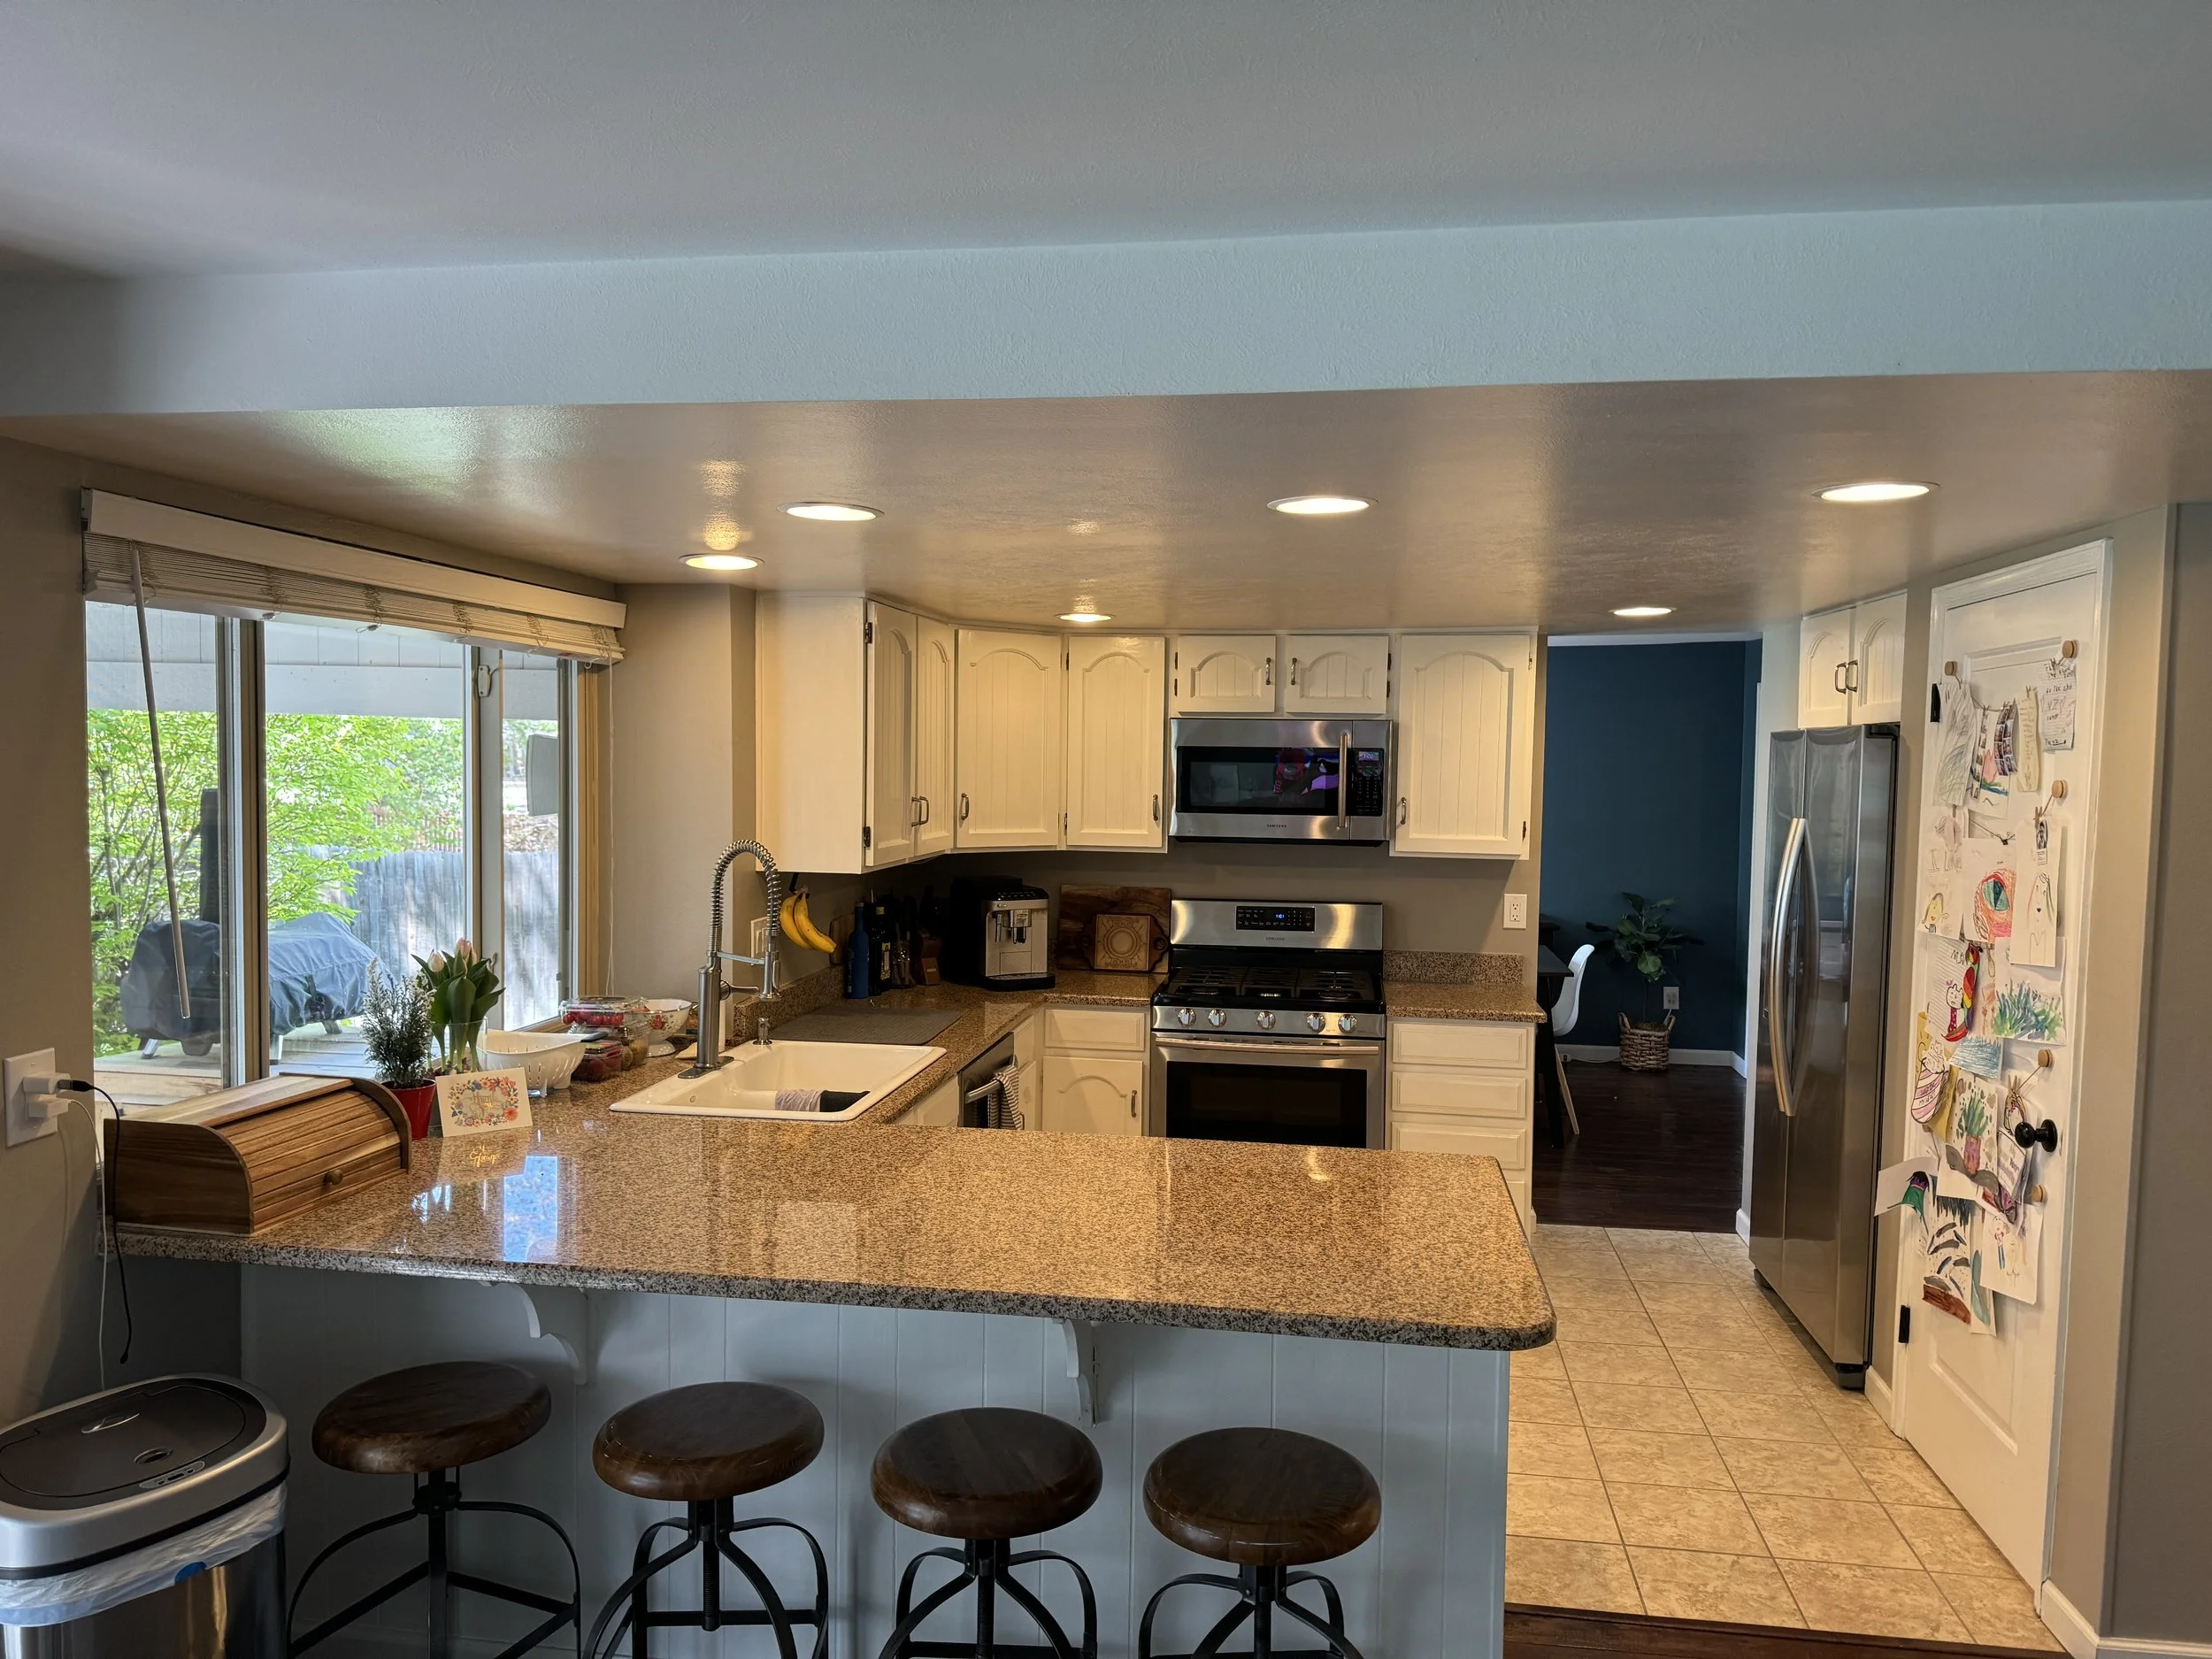
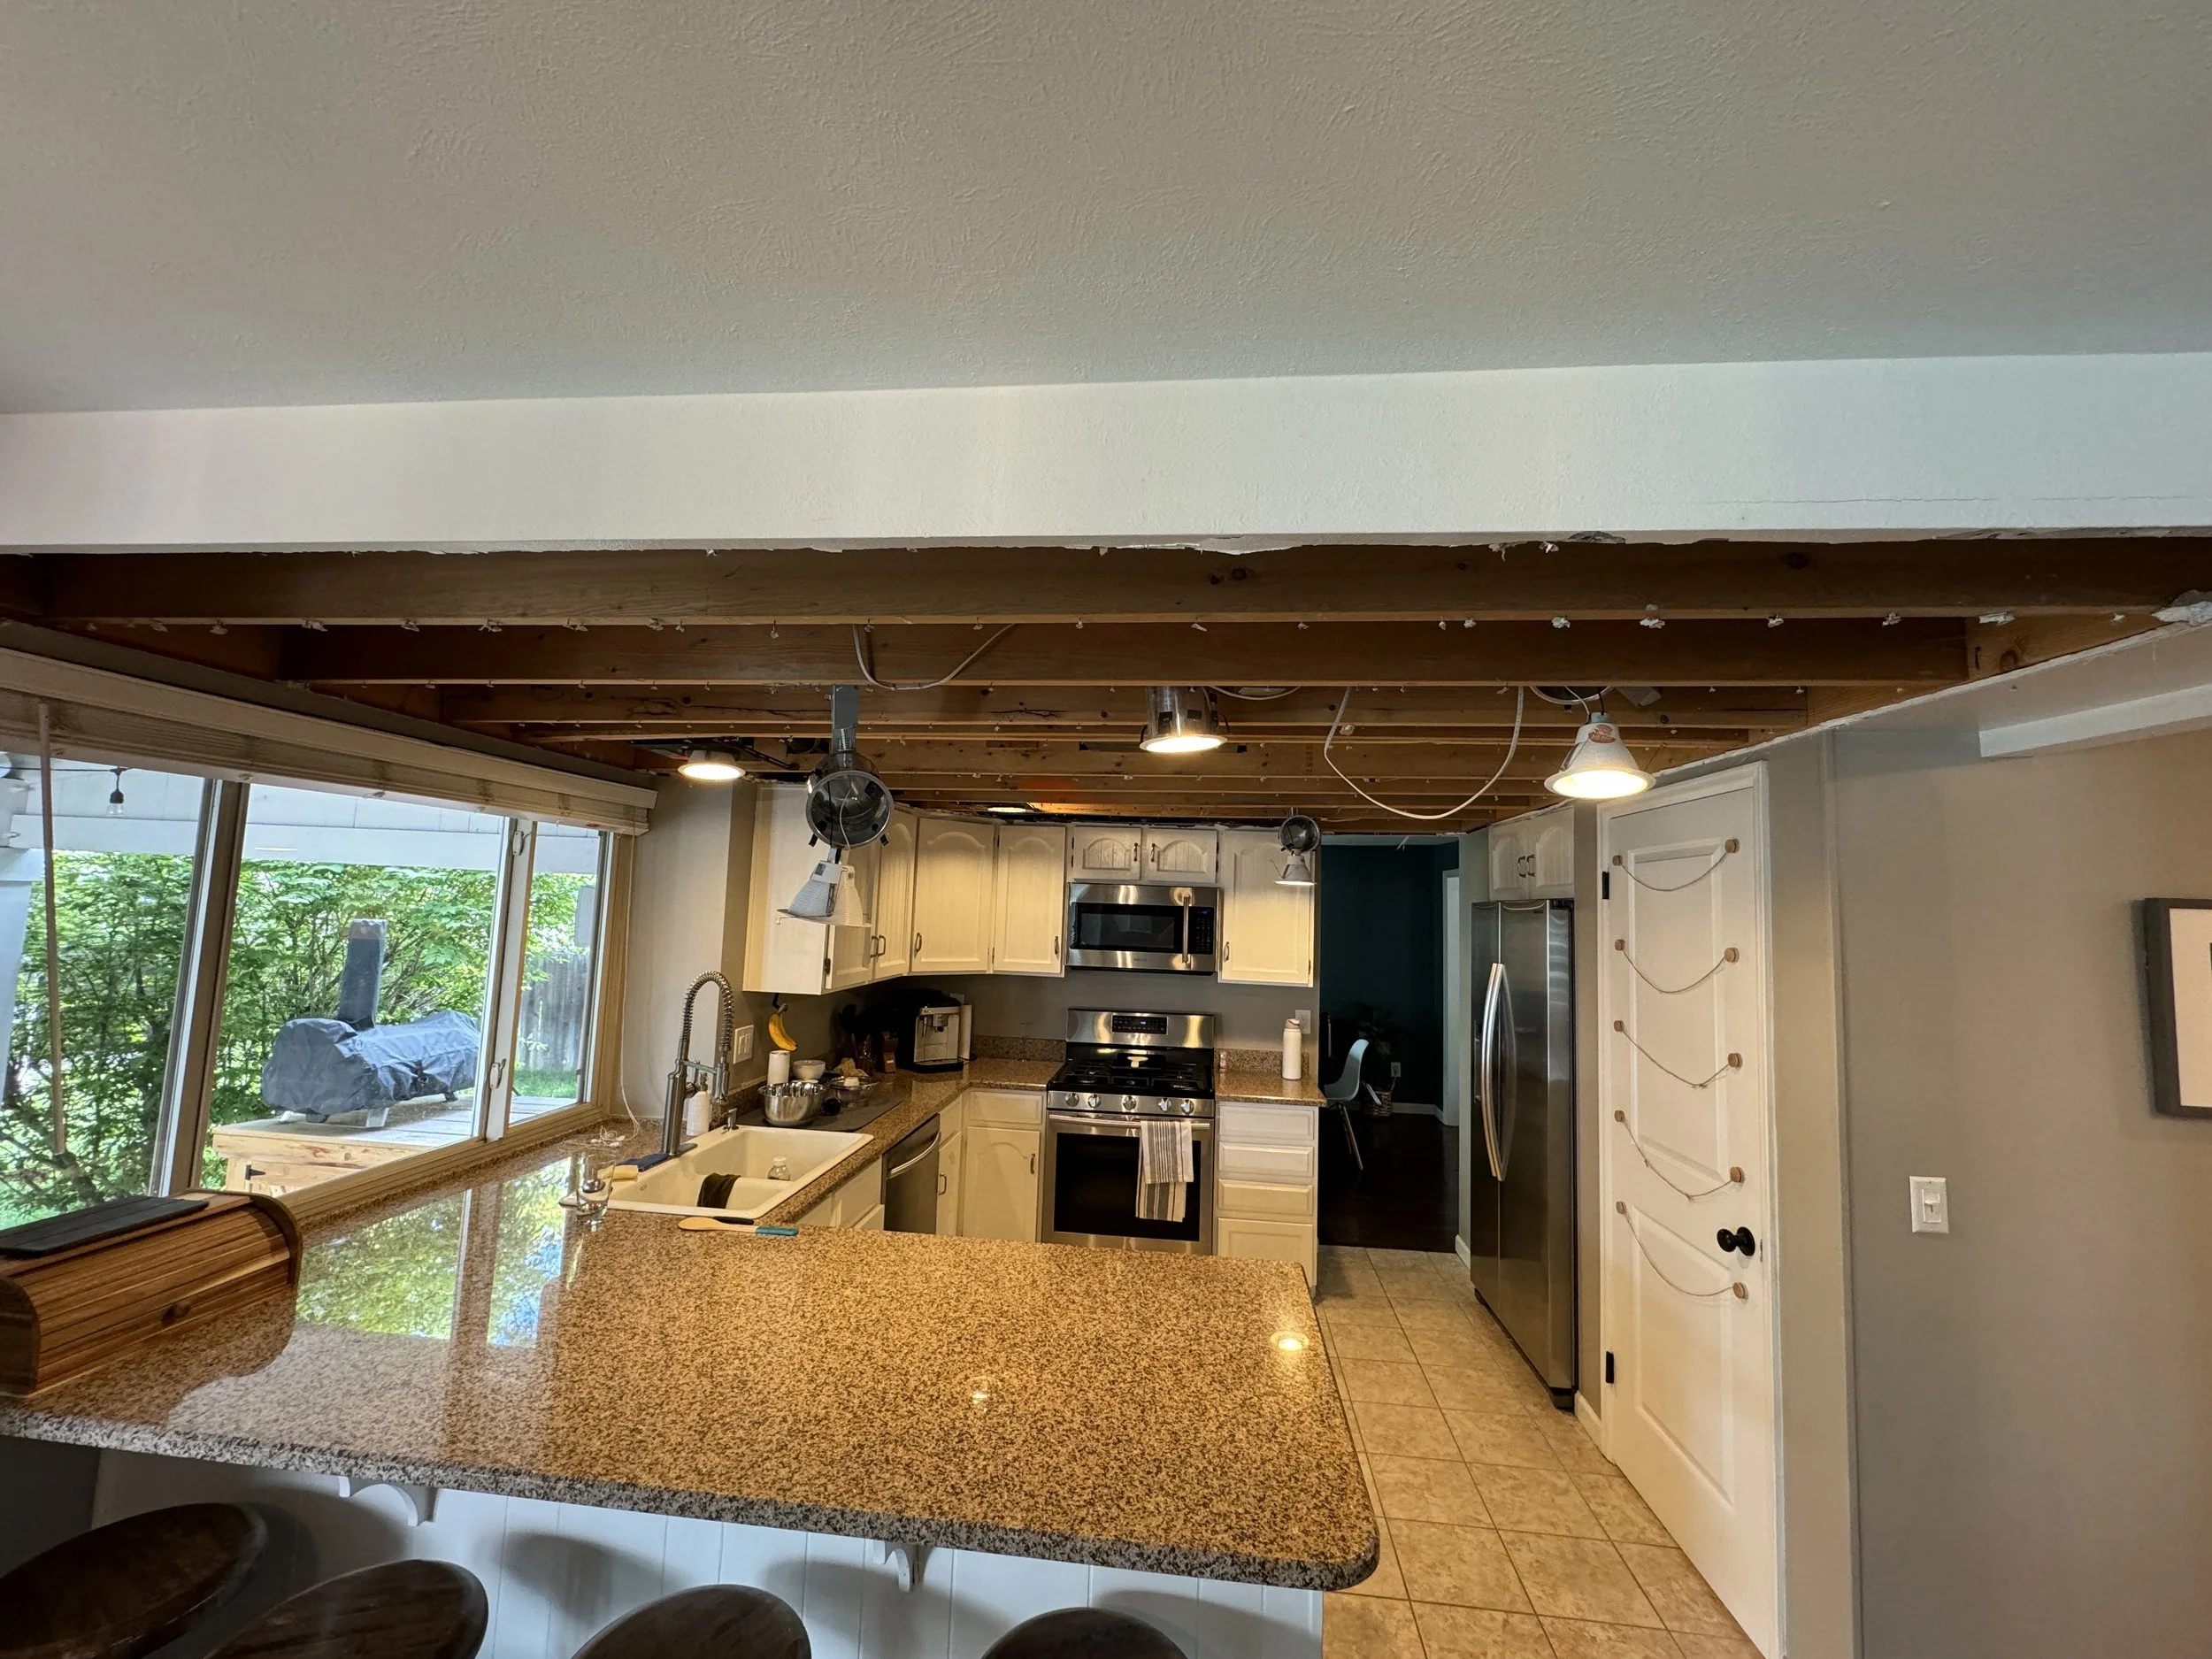
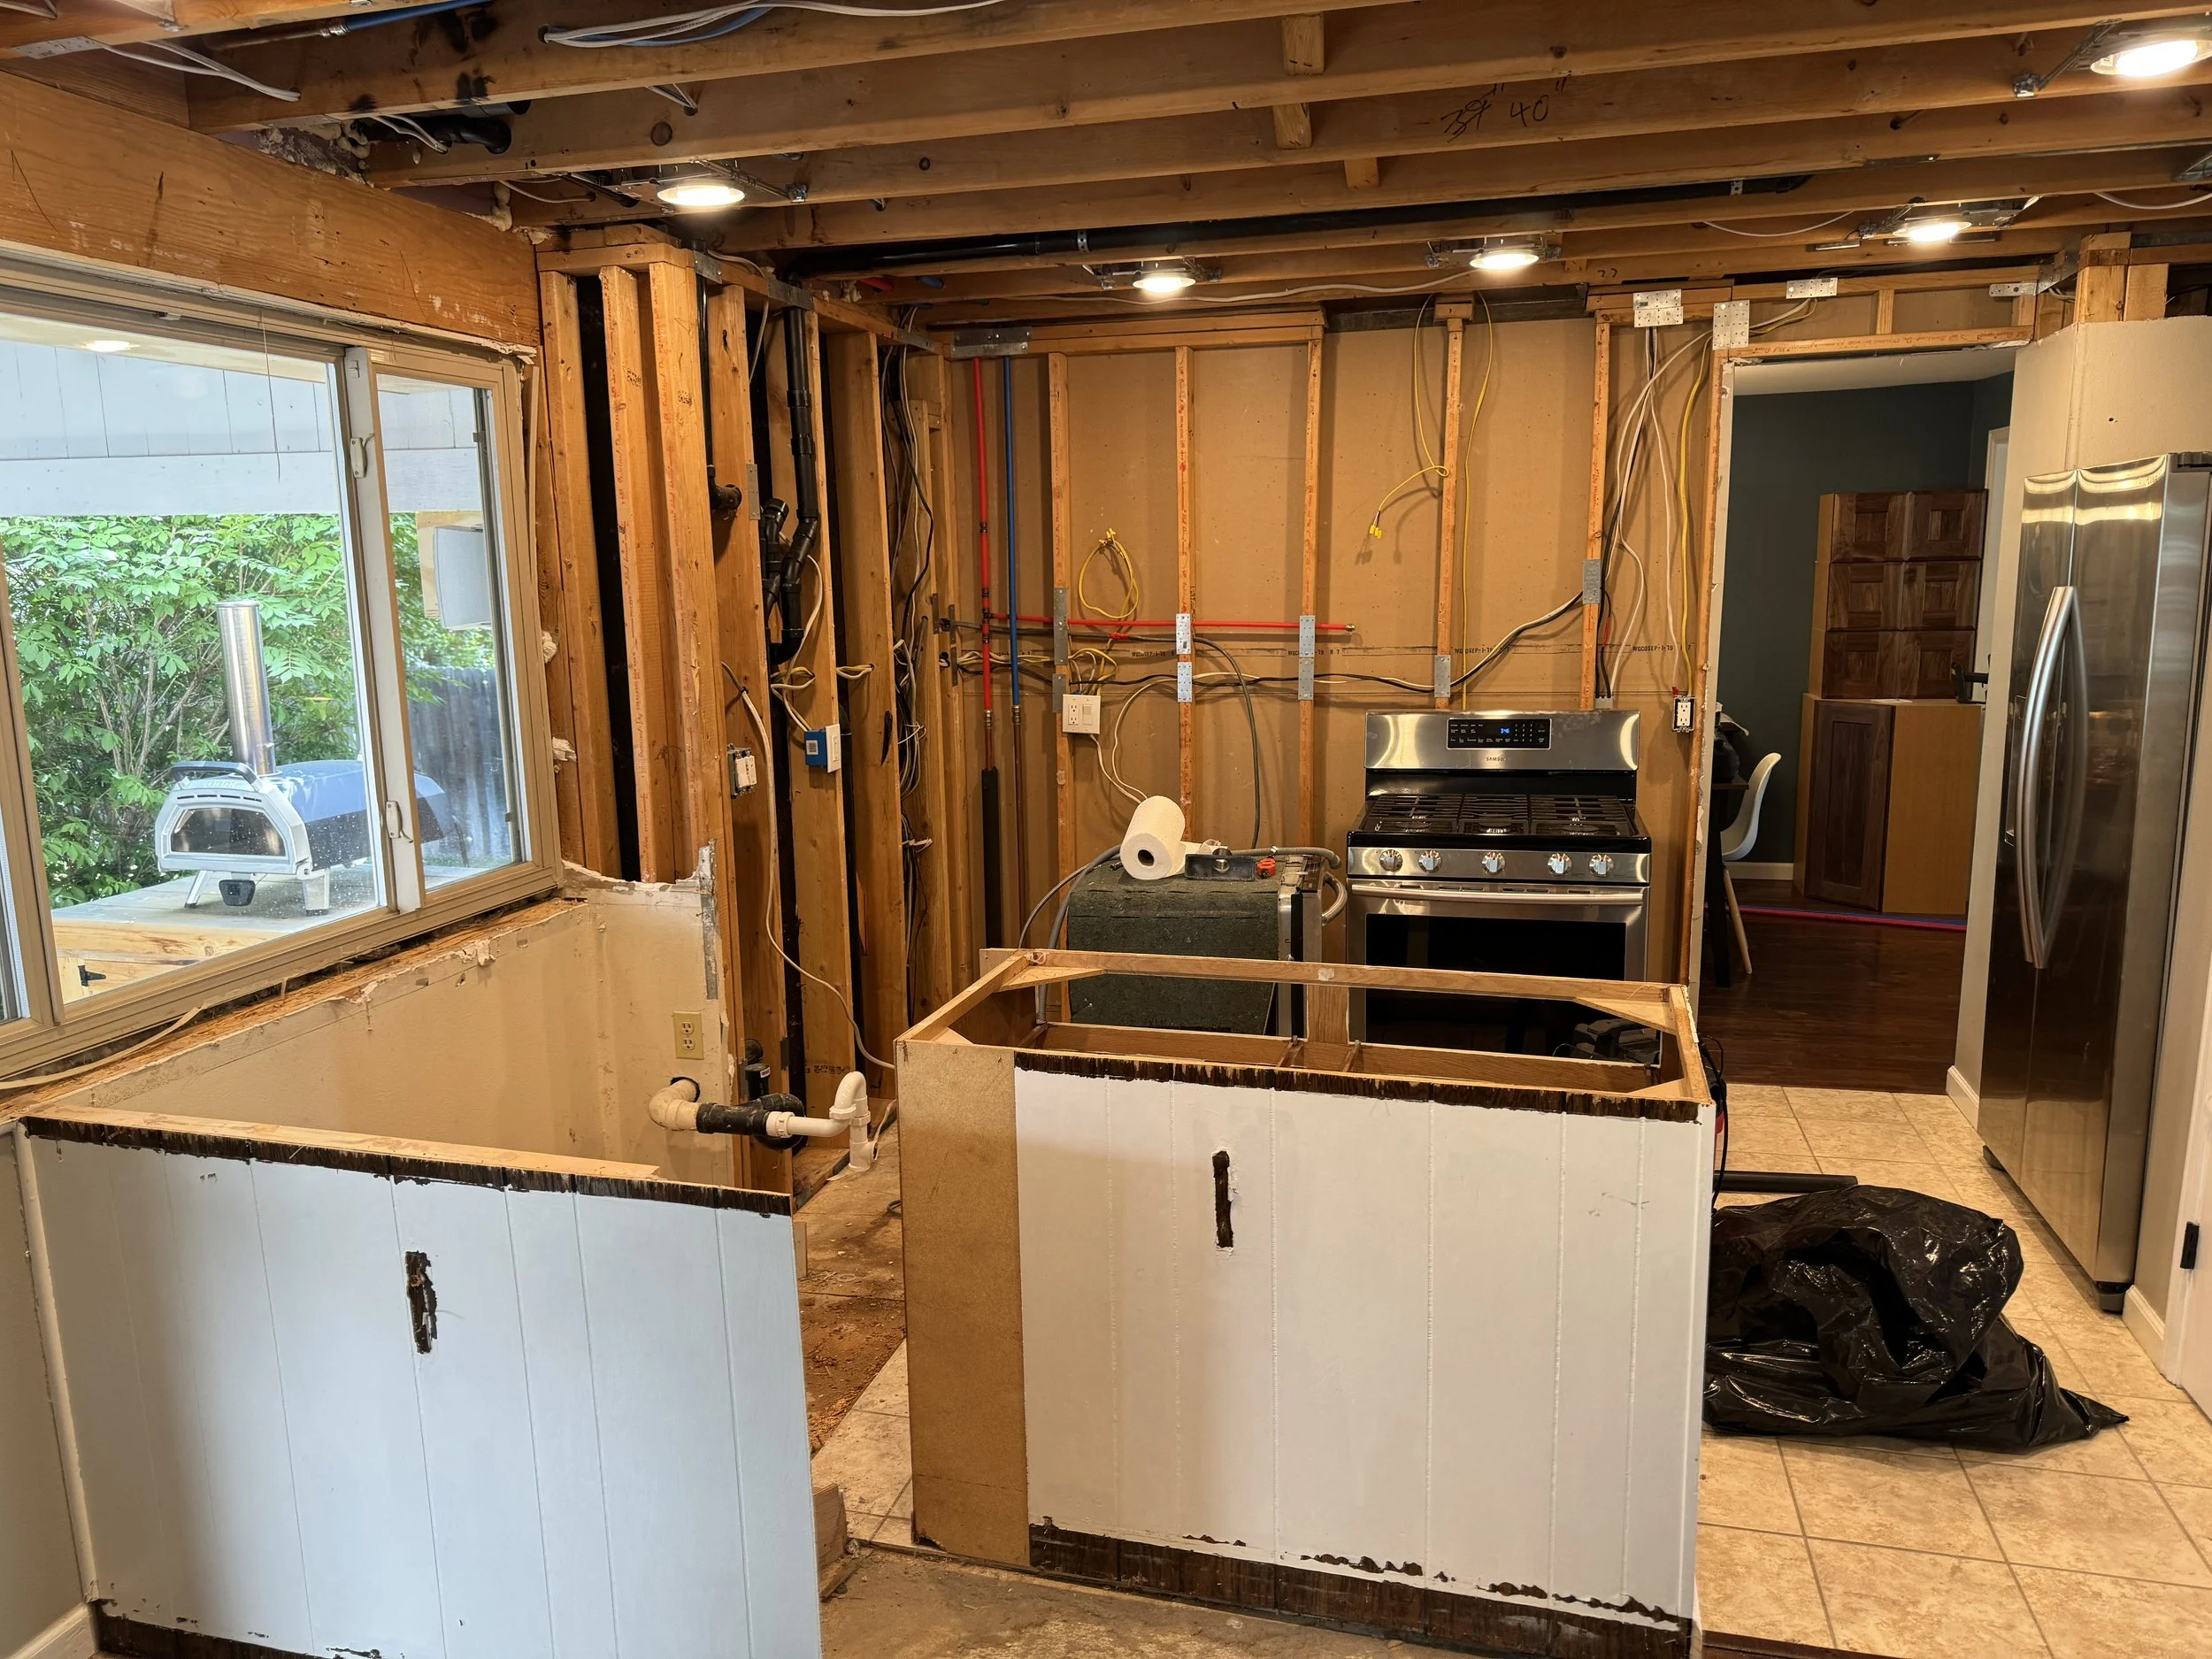
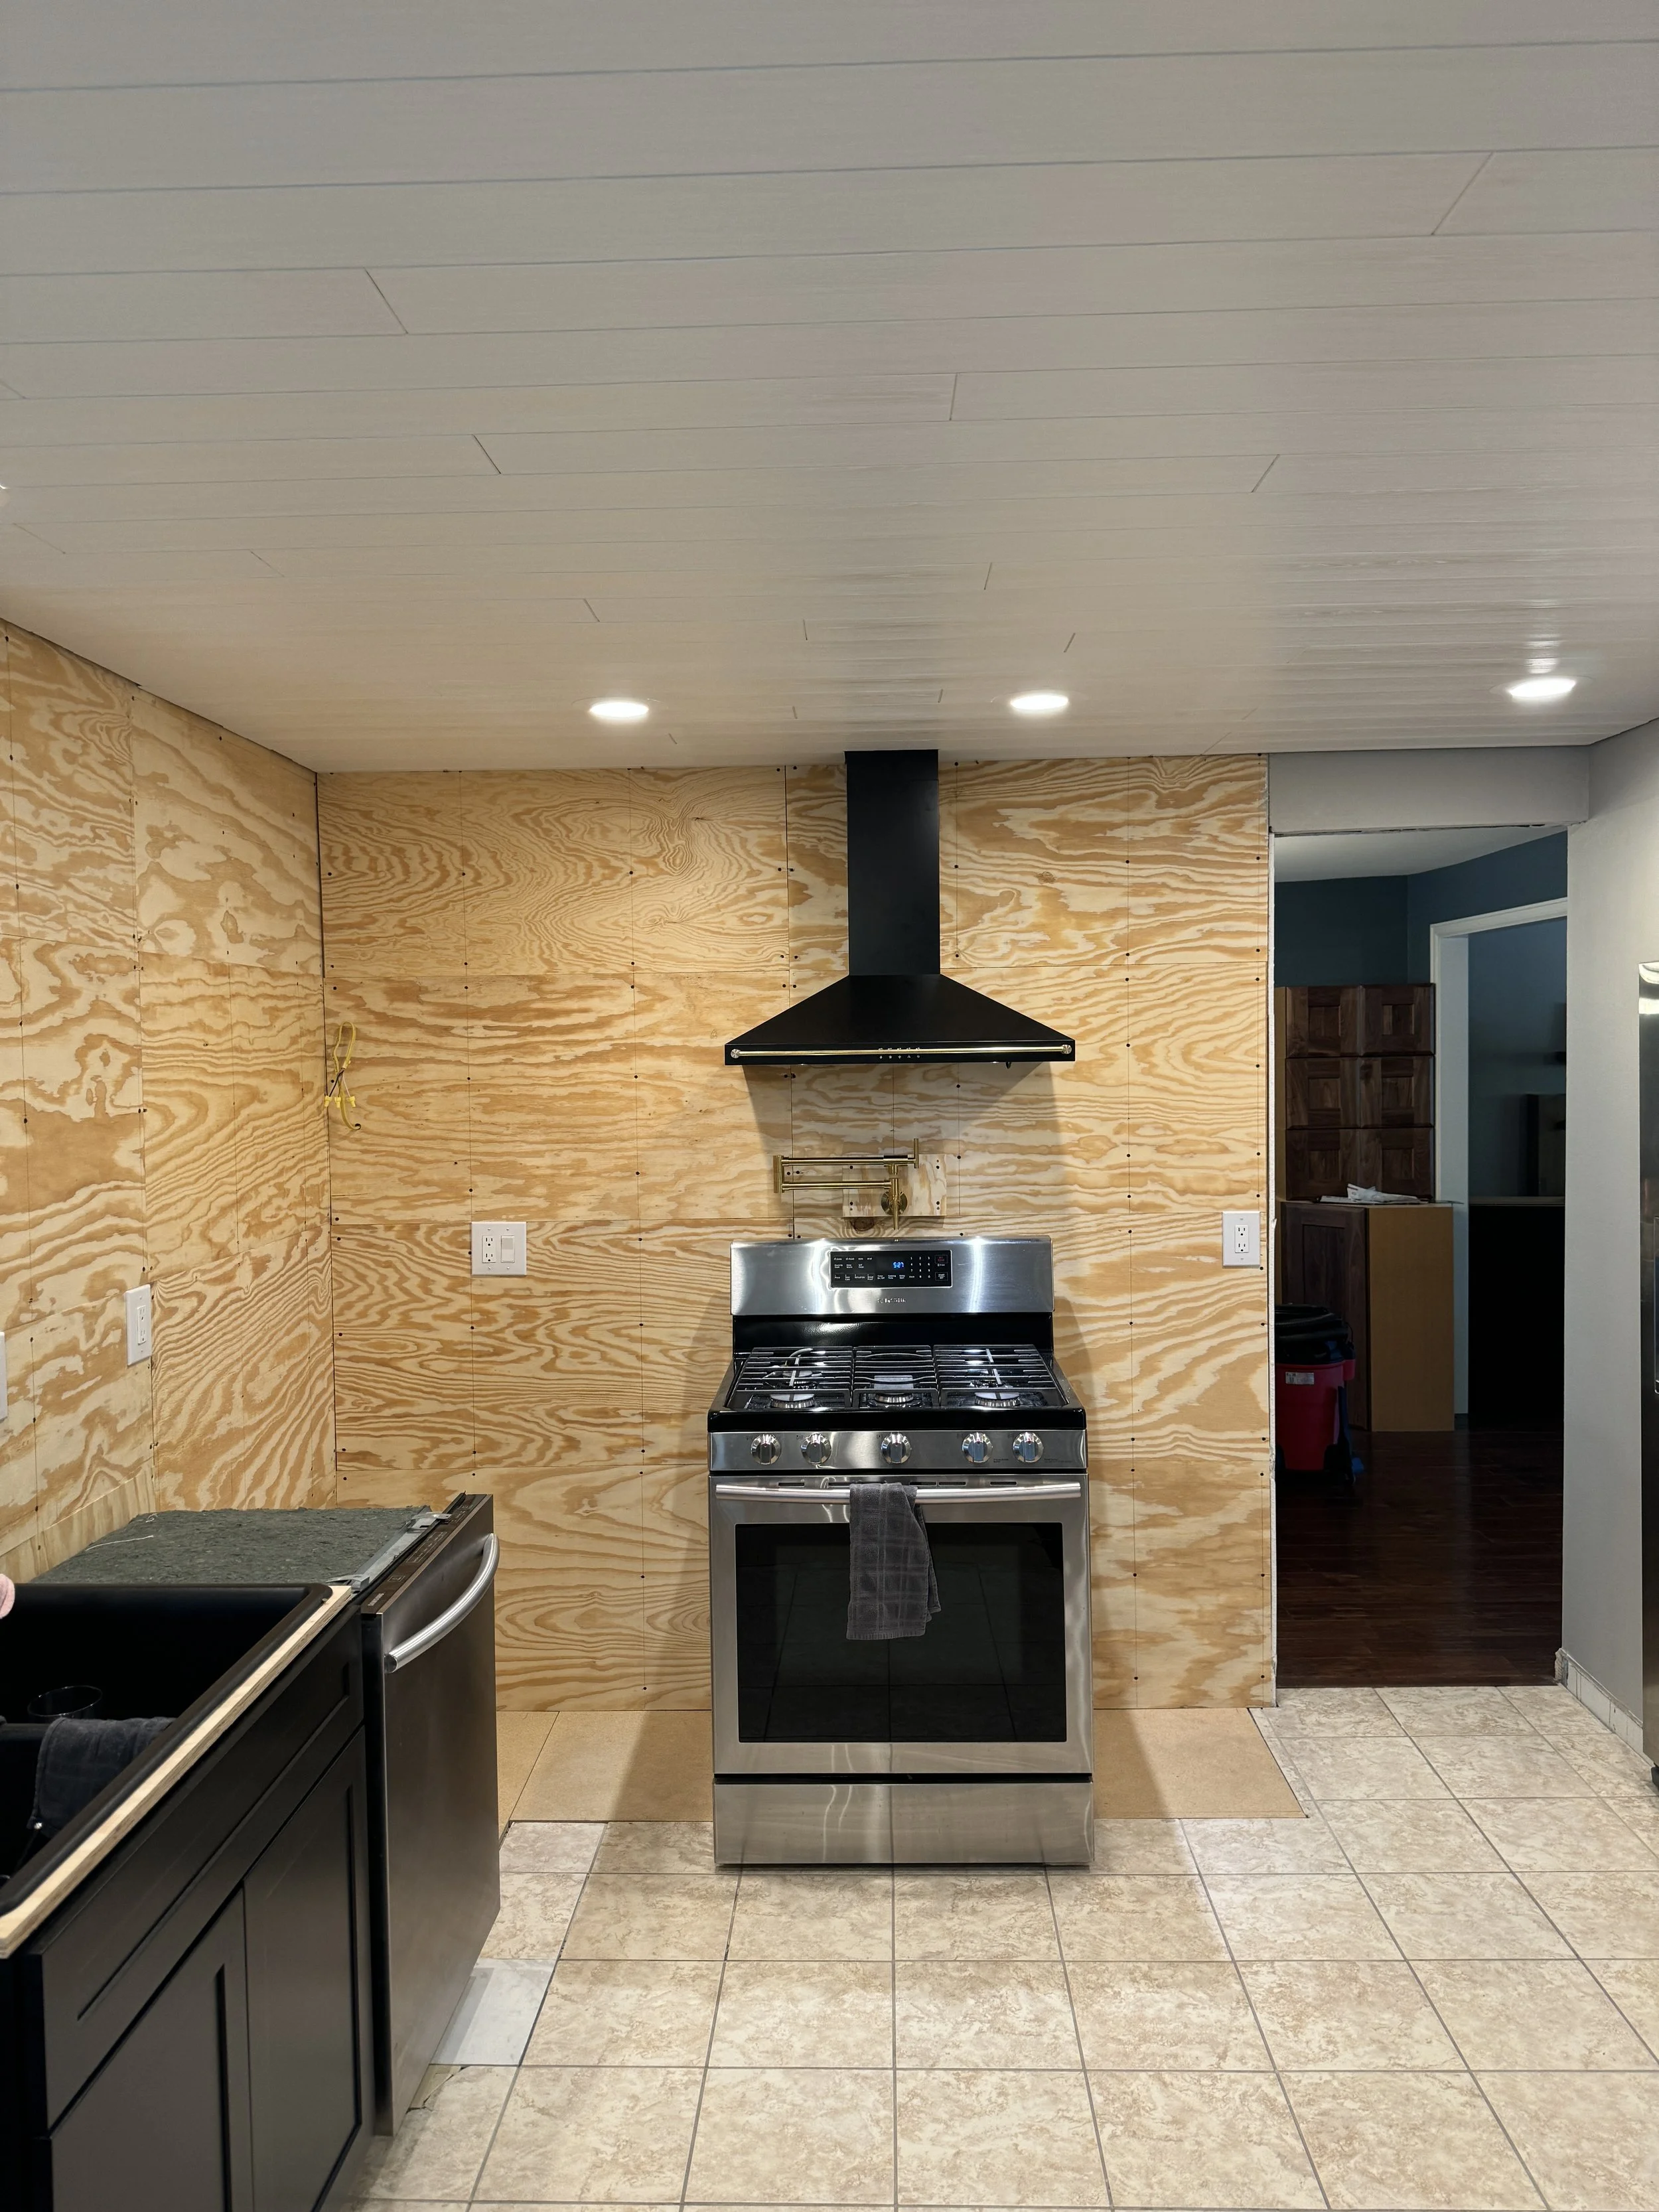
This is the before... which was the beginning of May. Lots of cosmetic work to be done here, and vast improvements in storage, but I have always liked the layout. :)

This is the big question! Why does this ceiling drop 7.5"? If possible, I'd REALLY like to have that space. So, I bought a lighted endoscope camera to investigate.

Like this one! Then I just fished it up though the recessed lights, and took a bunch of pics to see what was what.

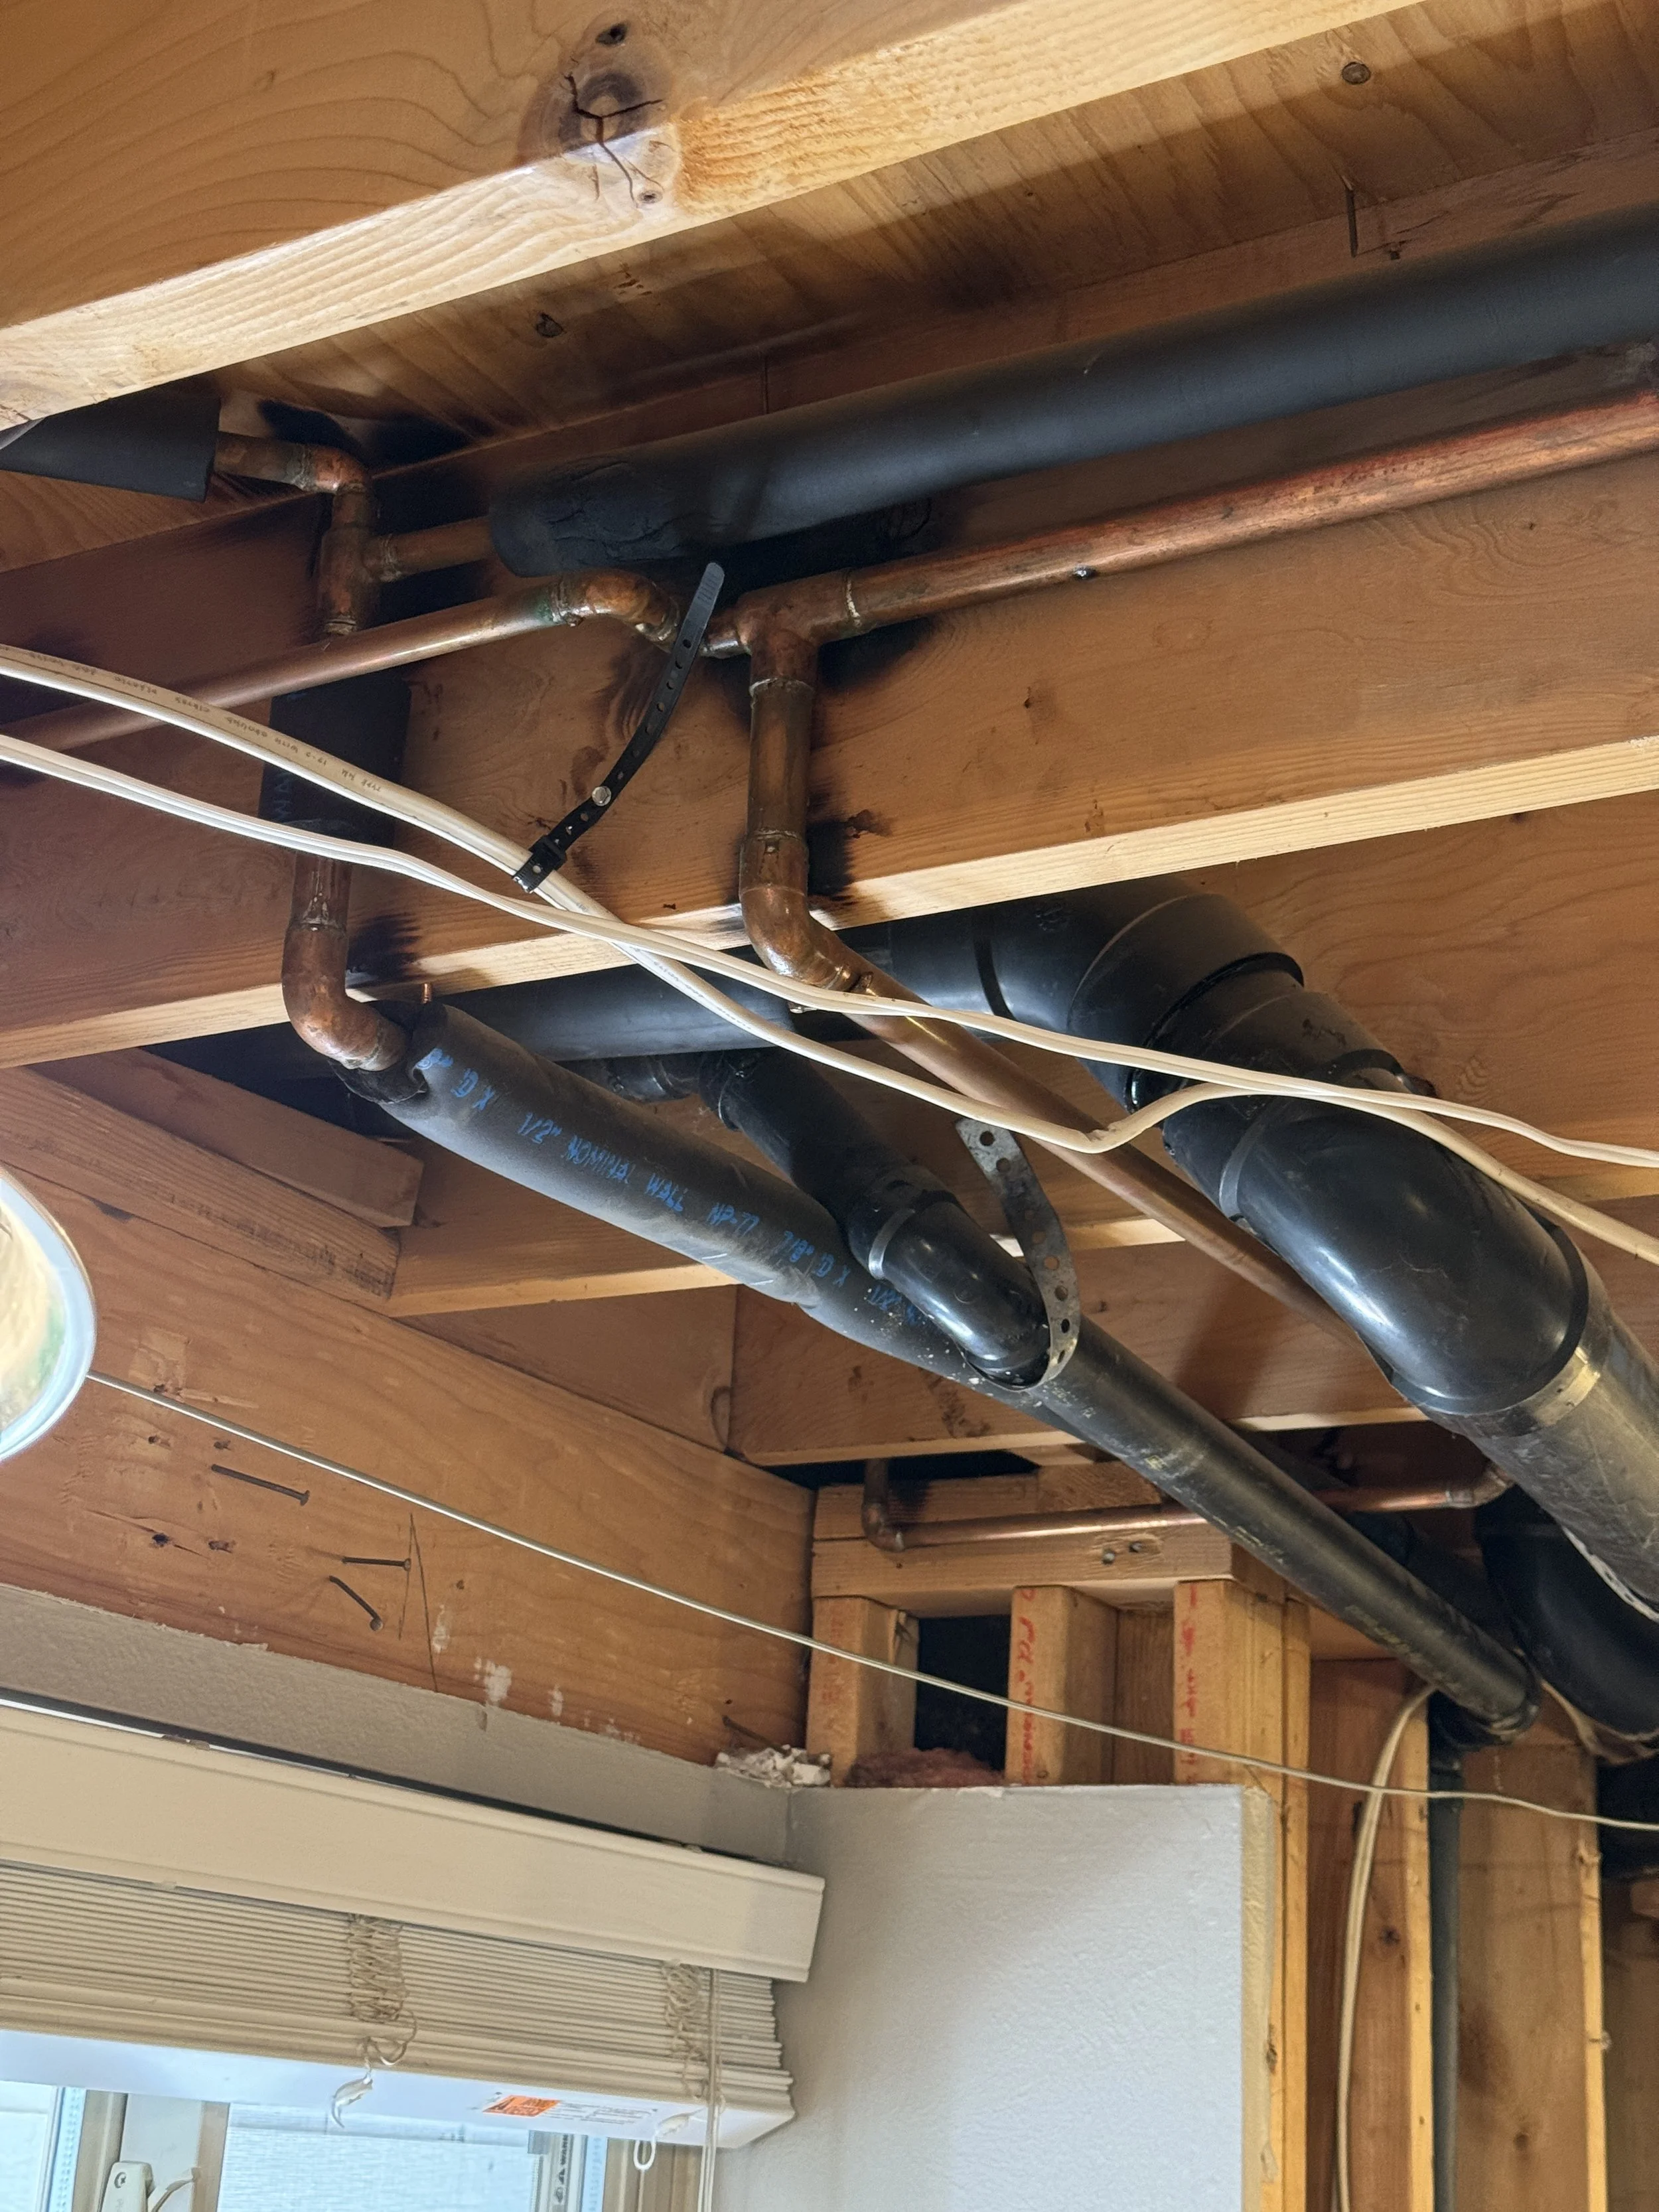
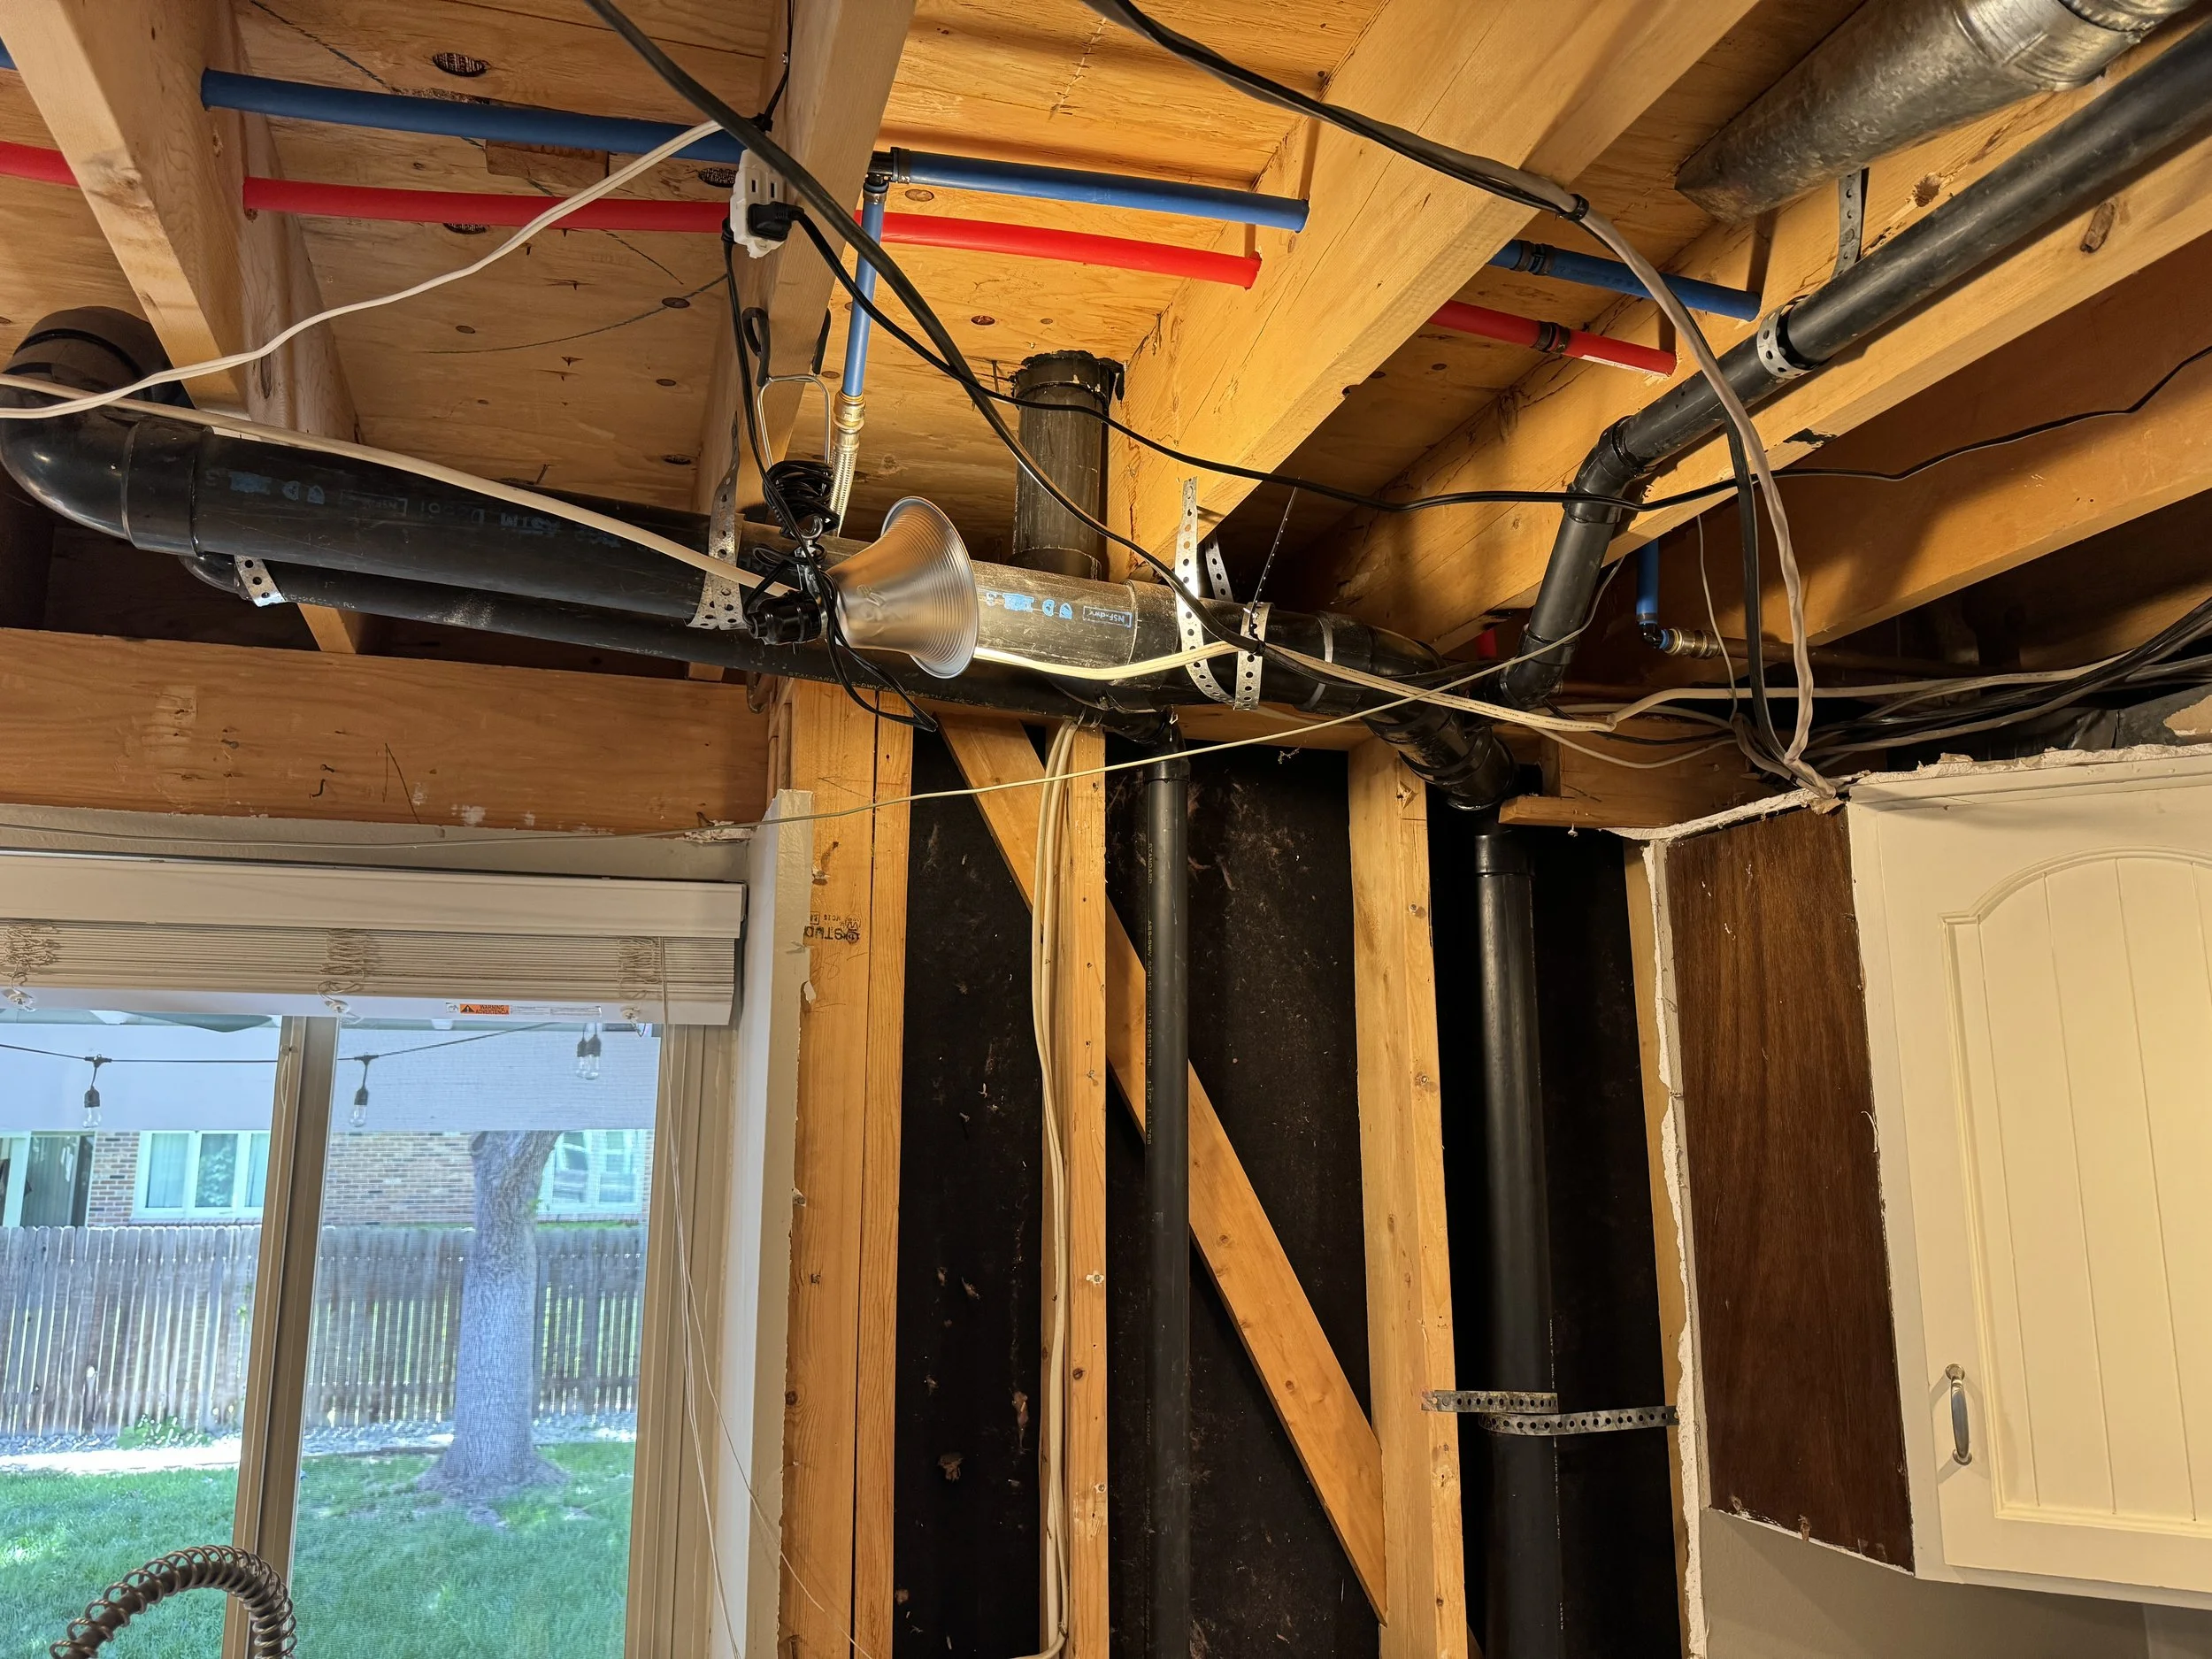
I can see the actual ceiling joist (labeled above), and the drop… but why?
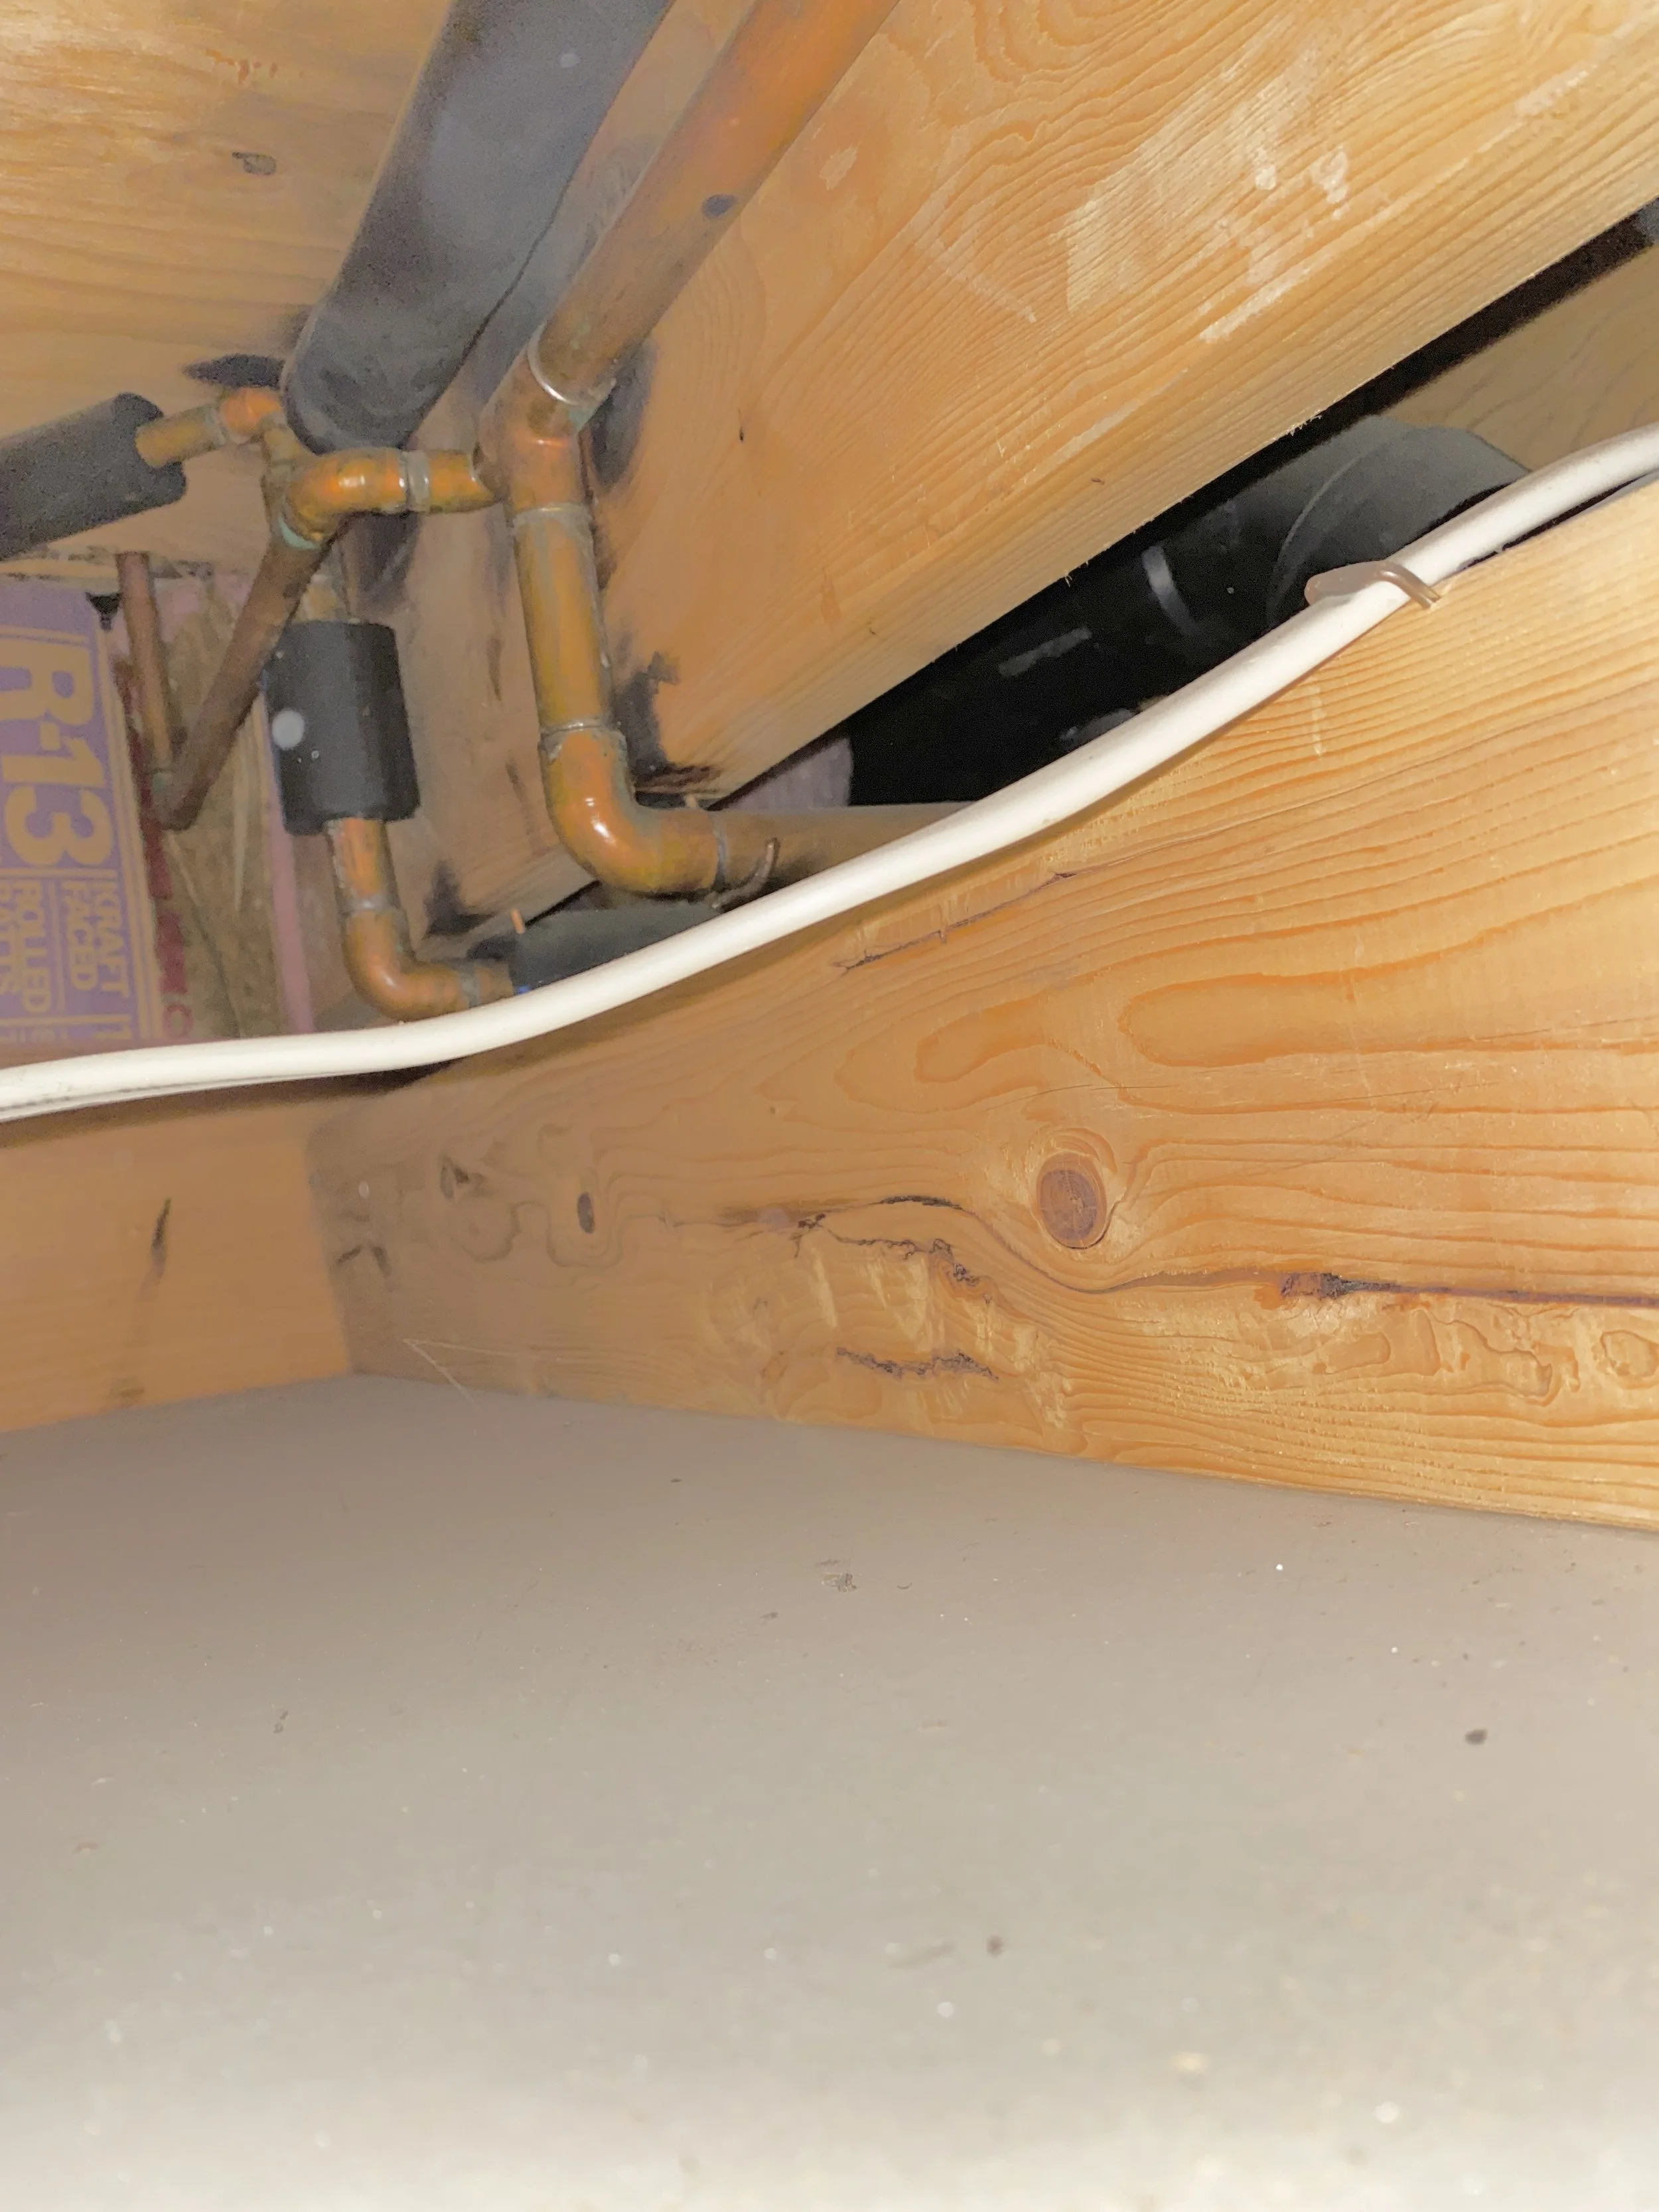
Some plumbing and electrical--needing maybe a 3/4" gap... so that isn't it.
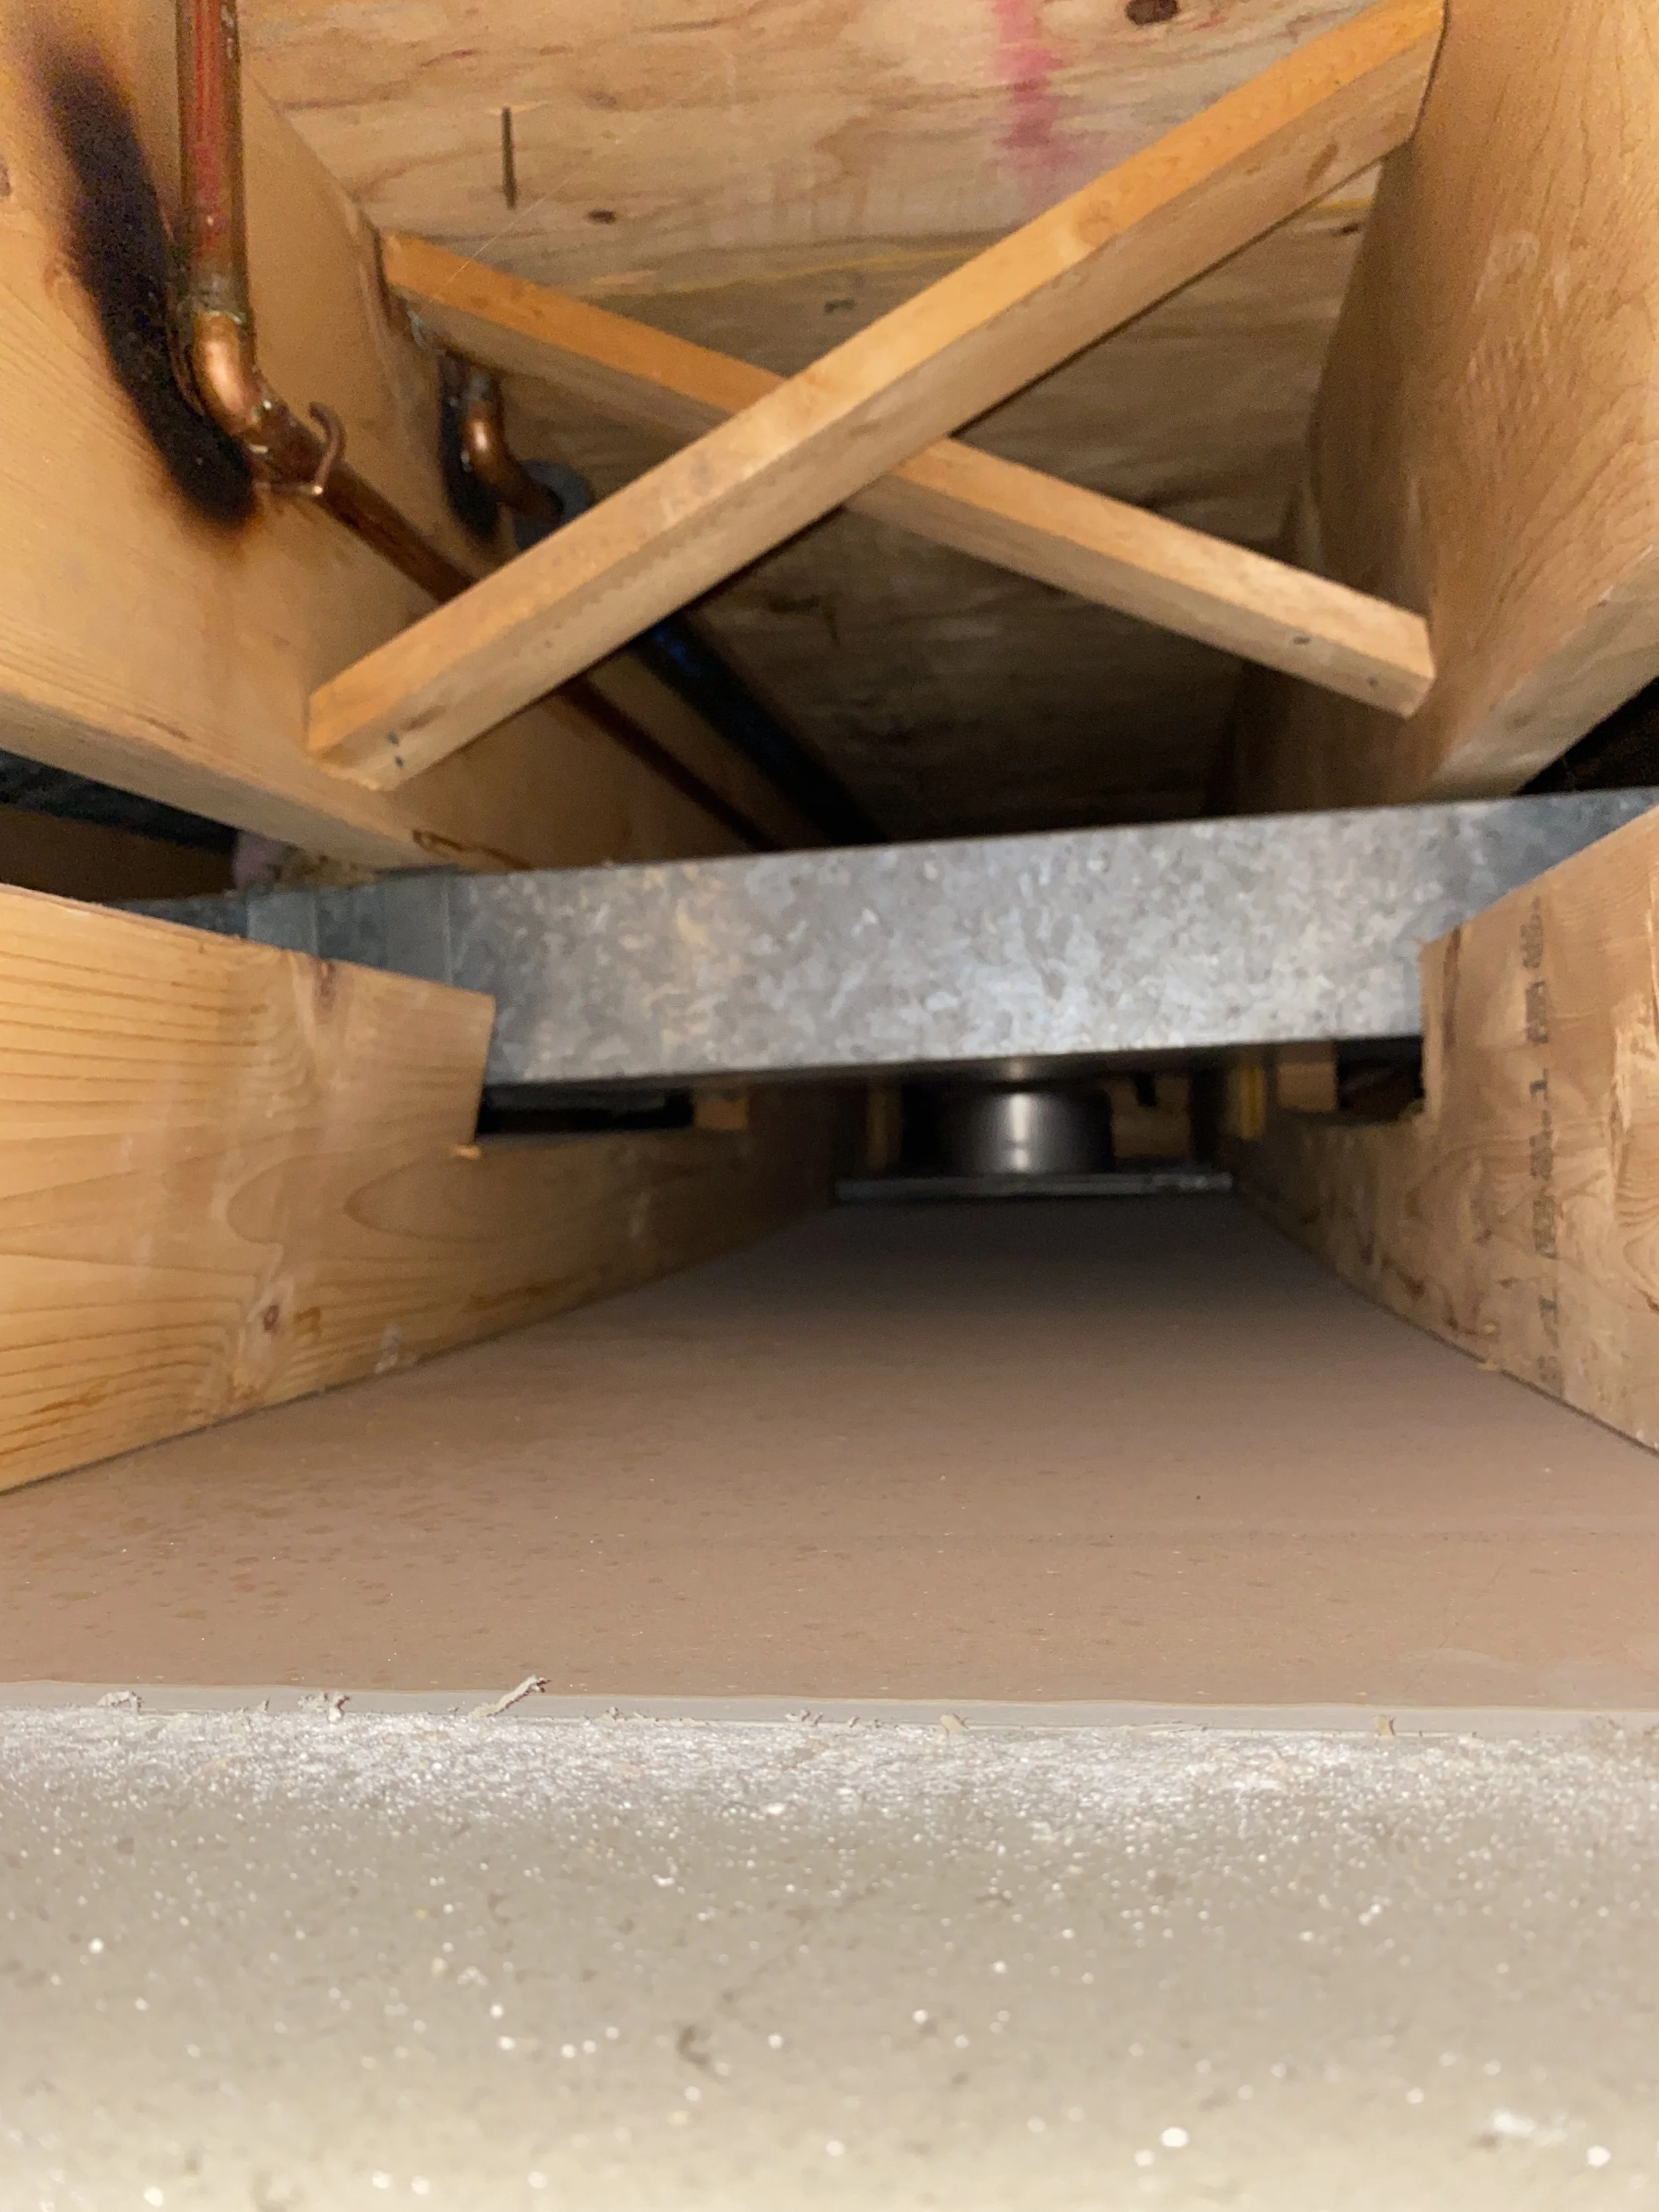
Ah ha! There it is. ONE SINGLE duct line. Which... the placement makes sense if it can't be re-routed. But, that's a TON of wasted space in ceiling height for one duct line. I mean, I'll just wrap it to look like a beam, if it means 7 more inches of ceiling height. So... next up is to demo!
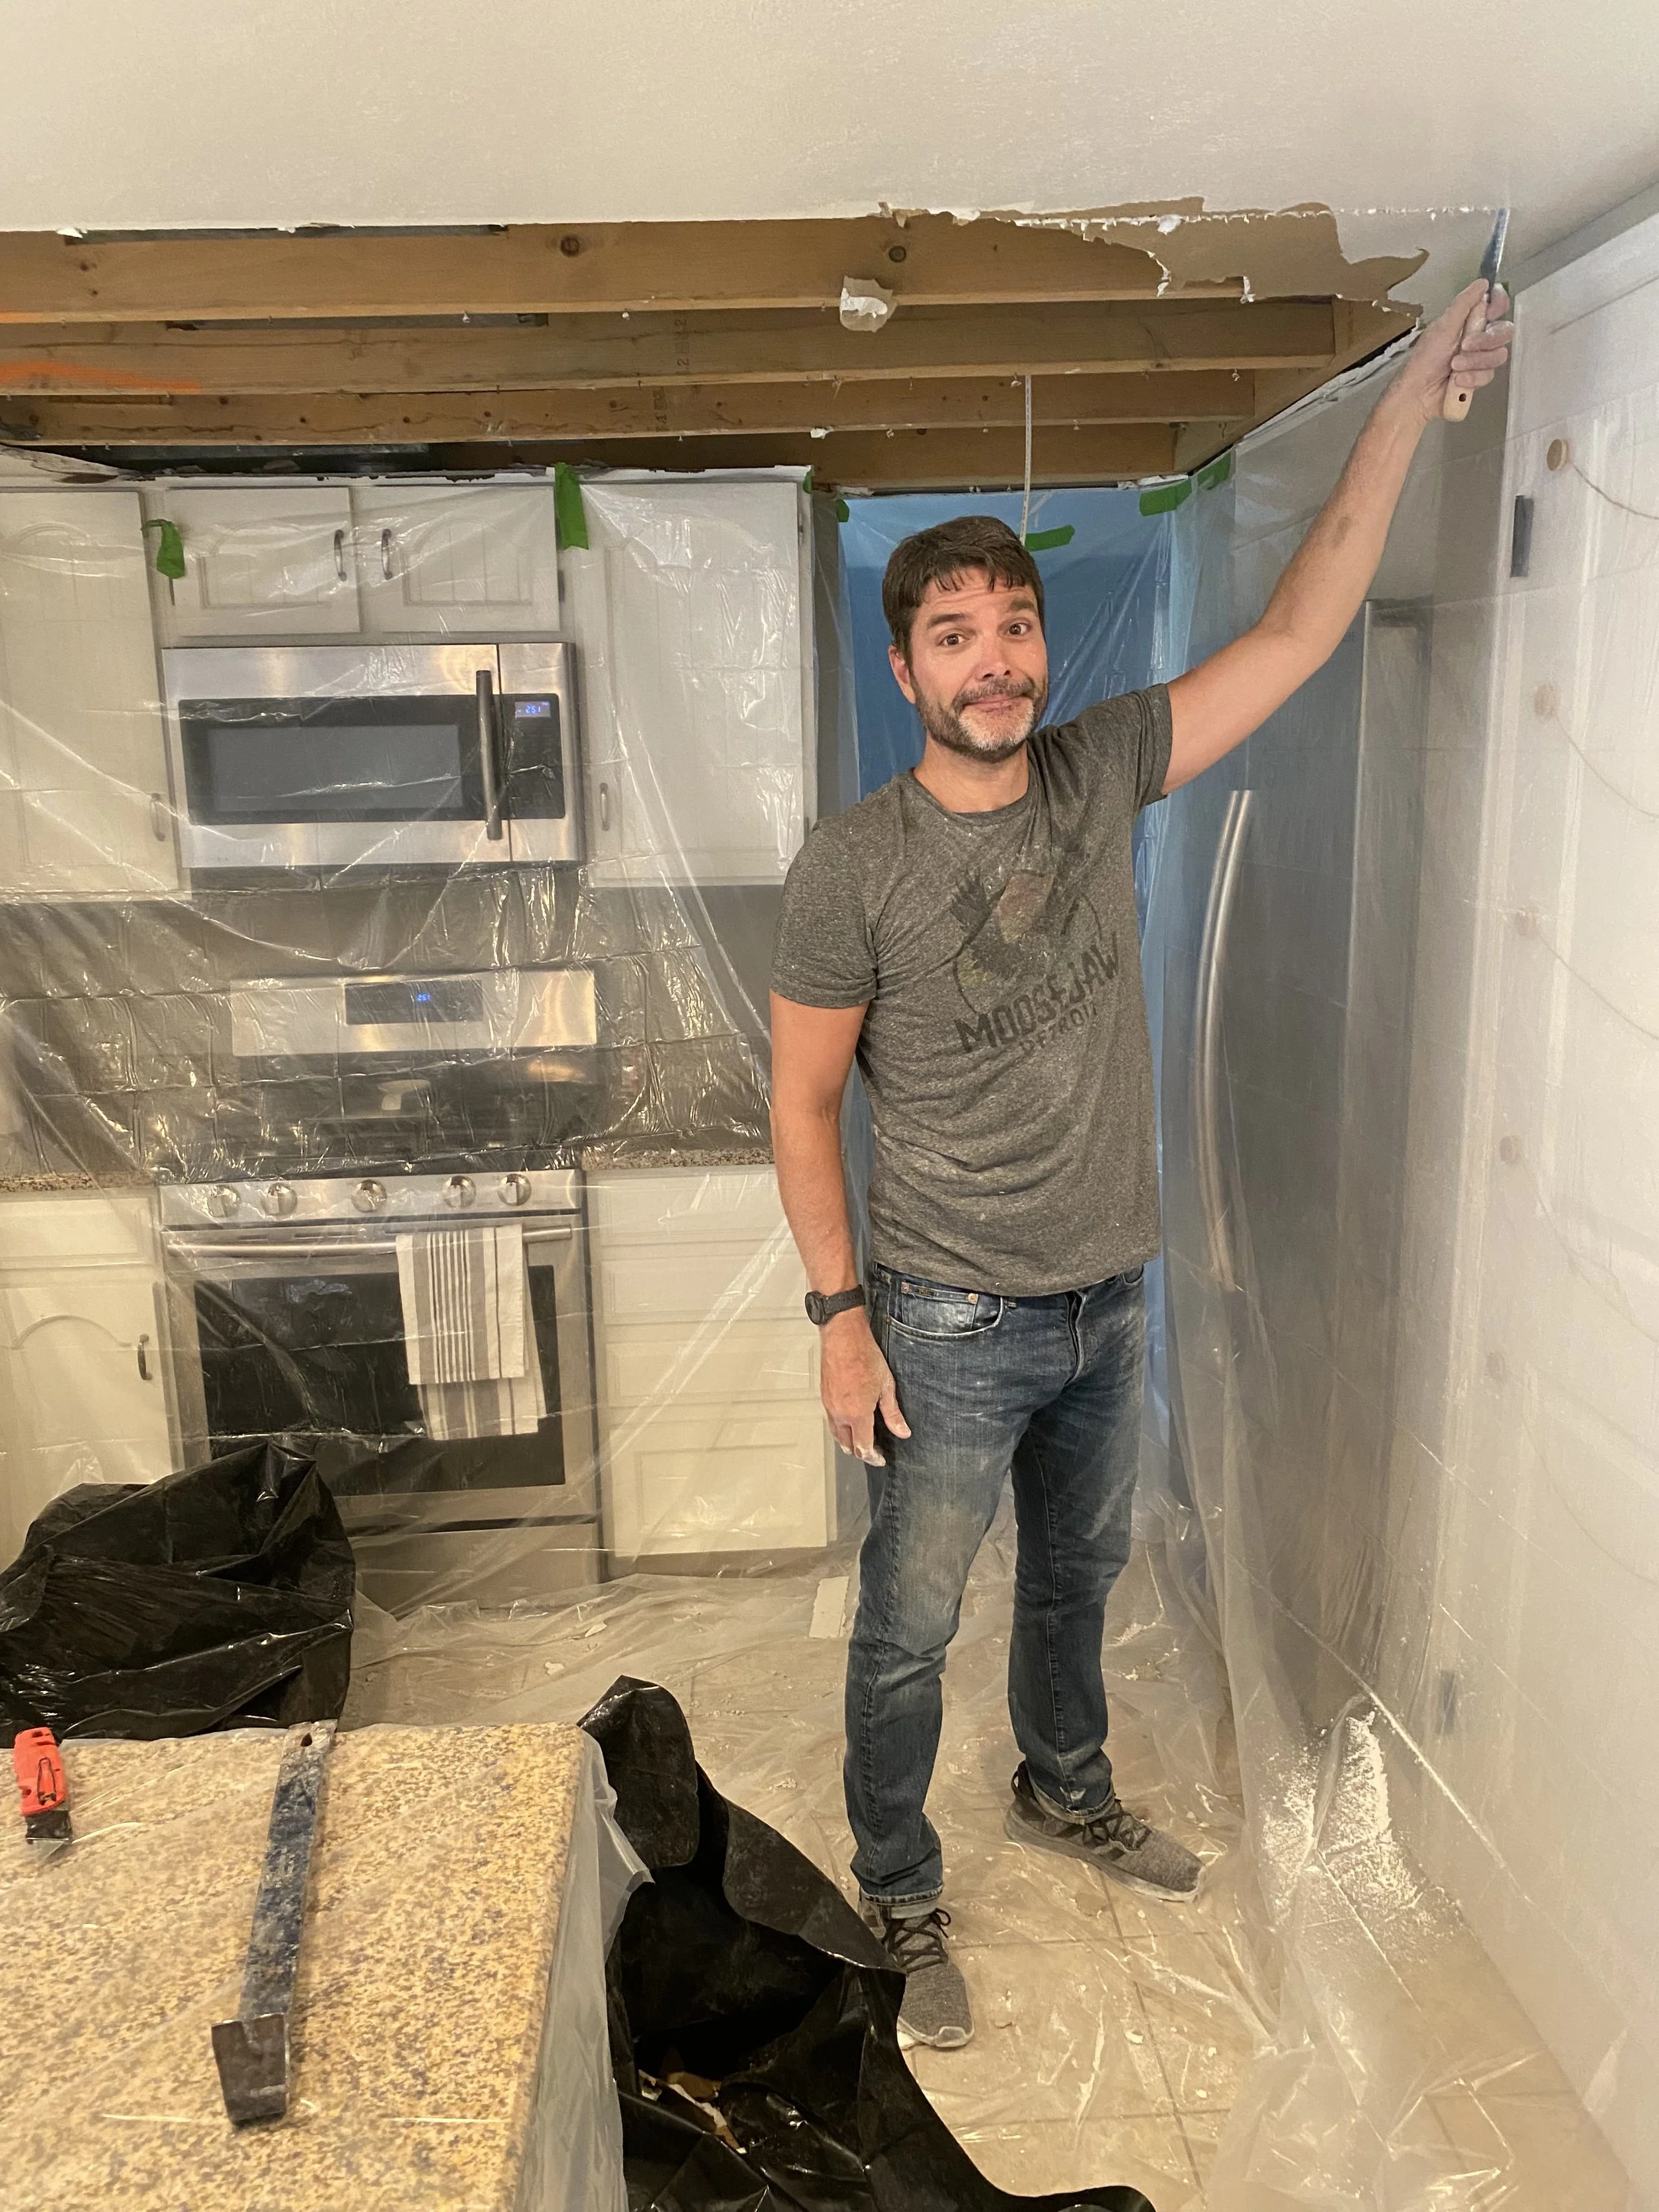
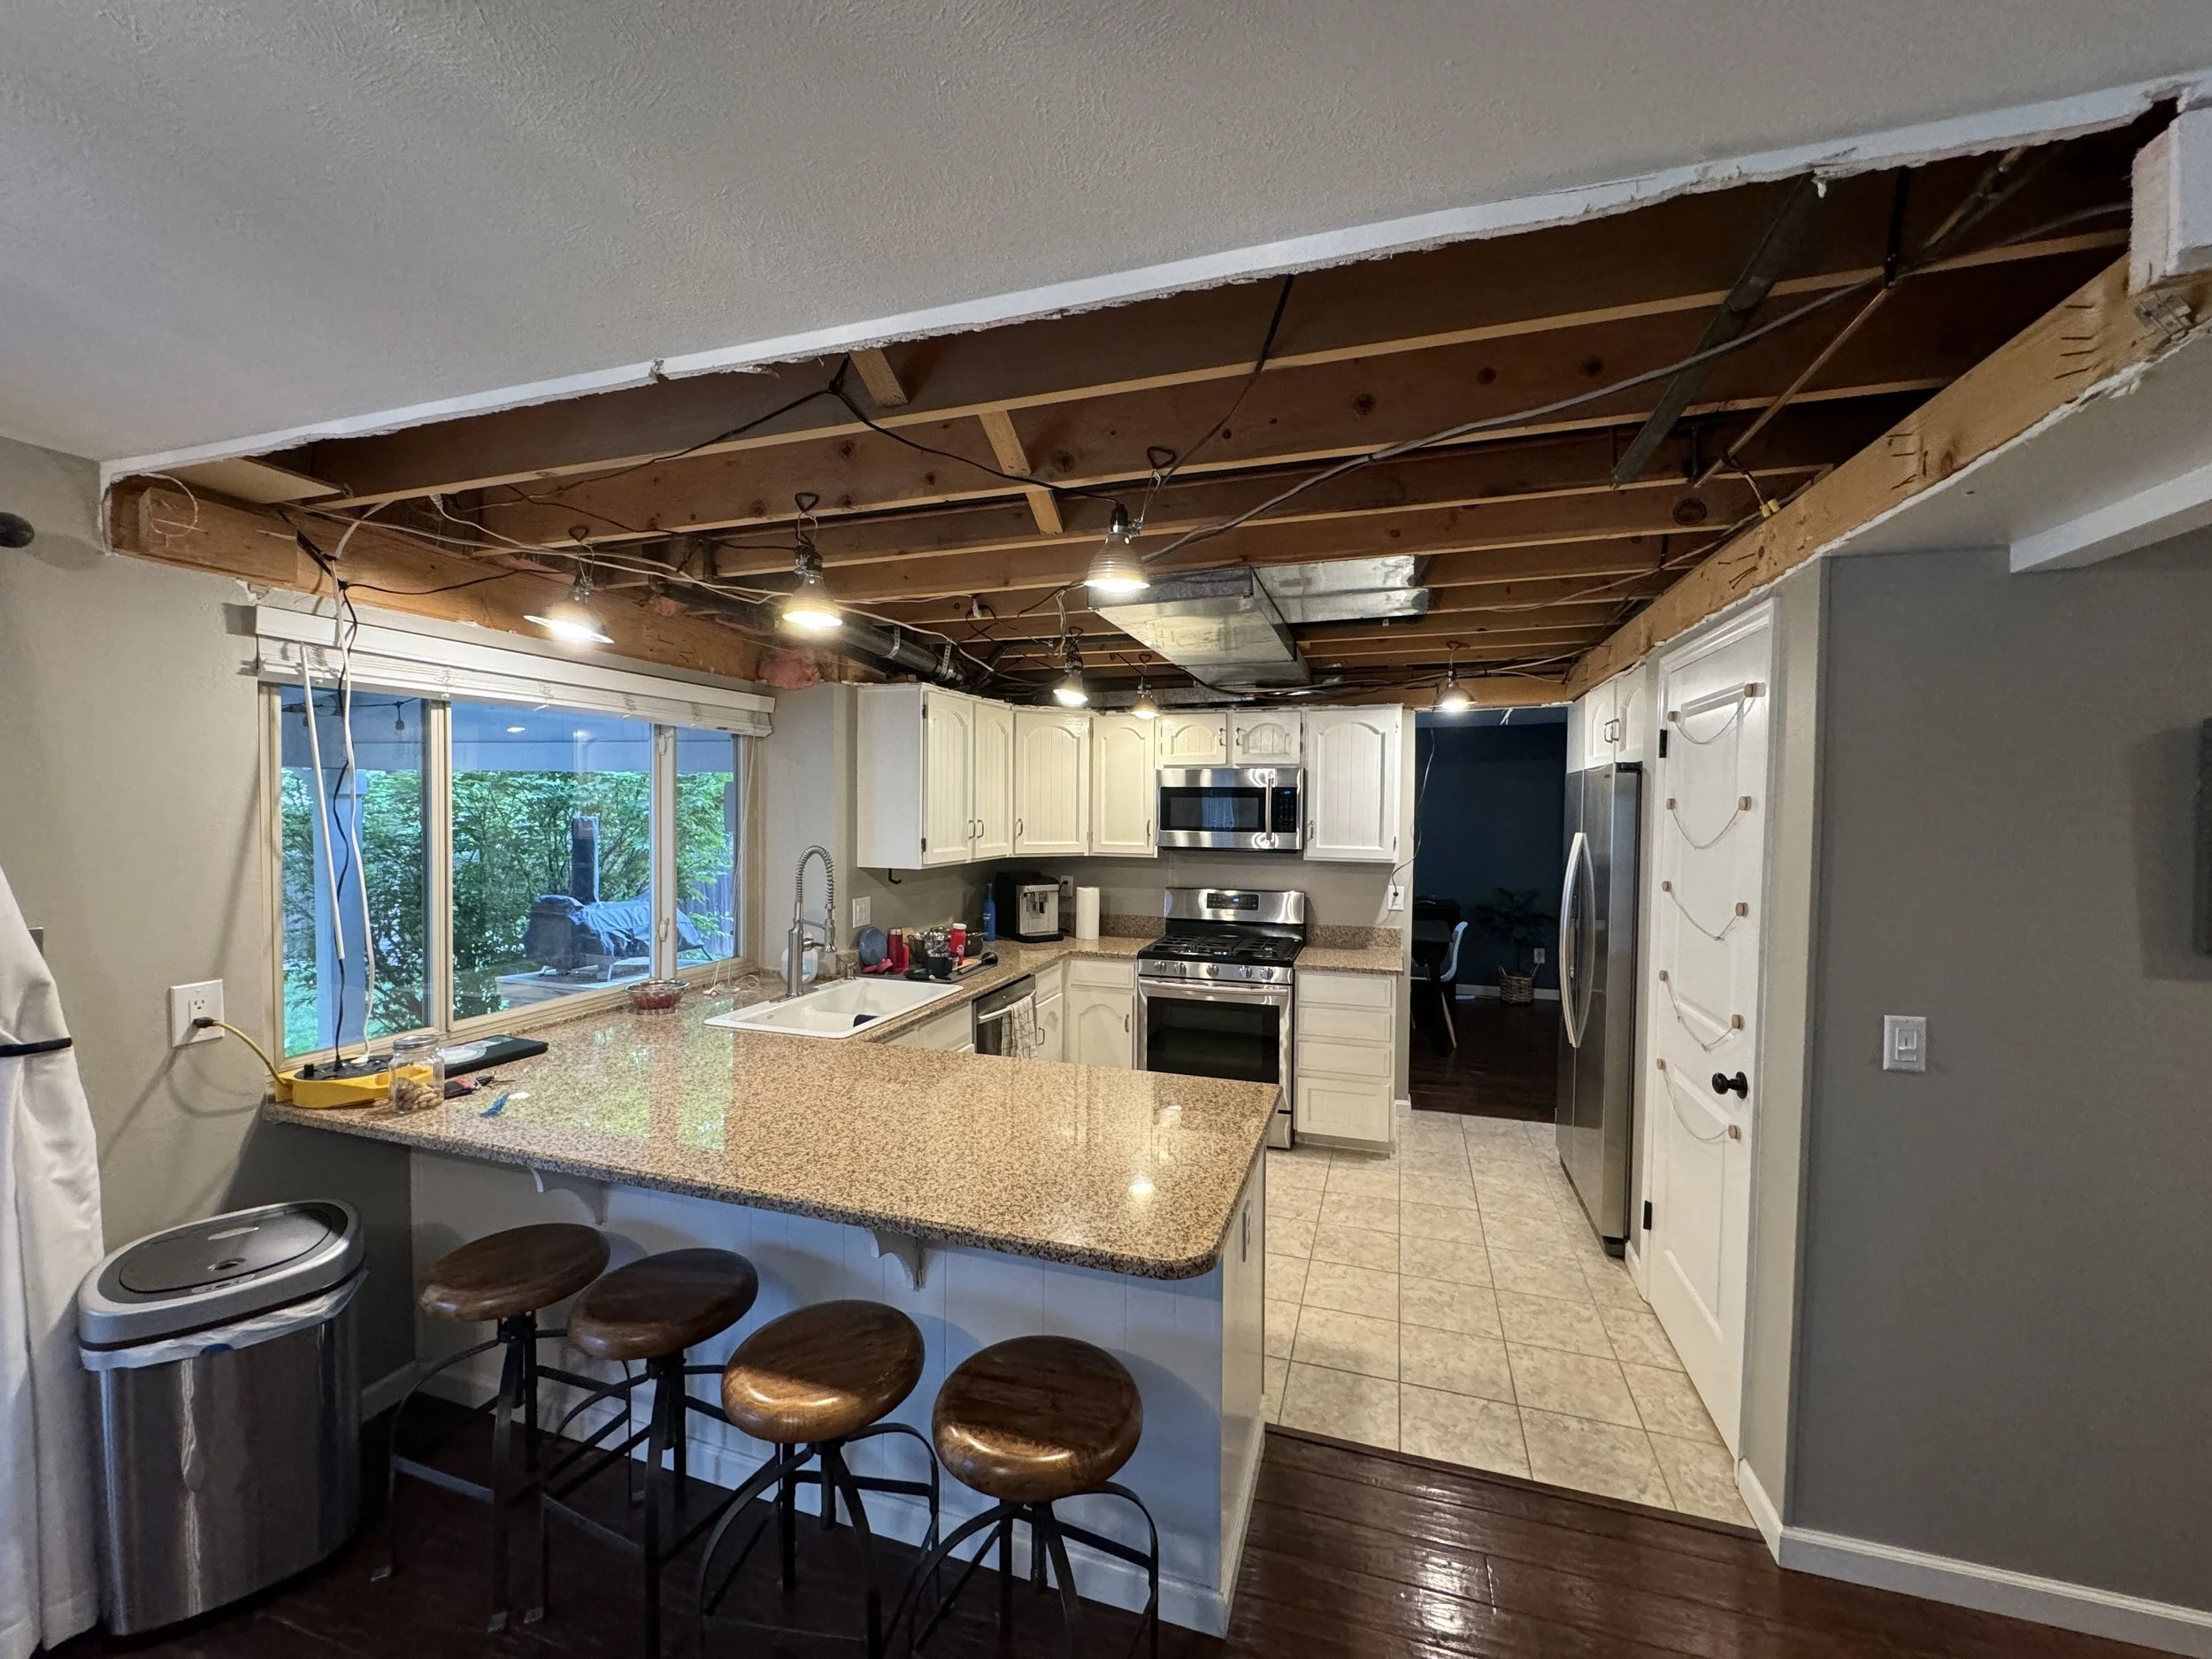
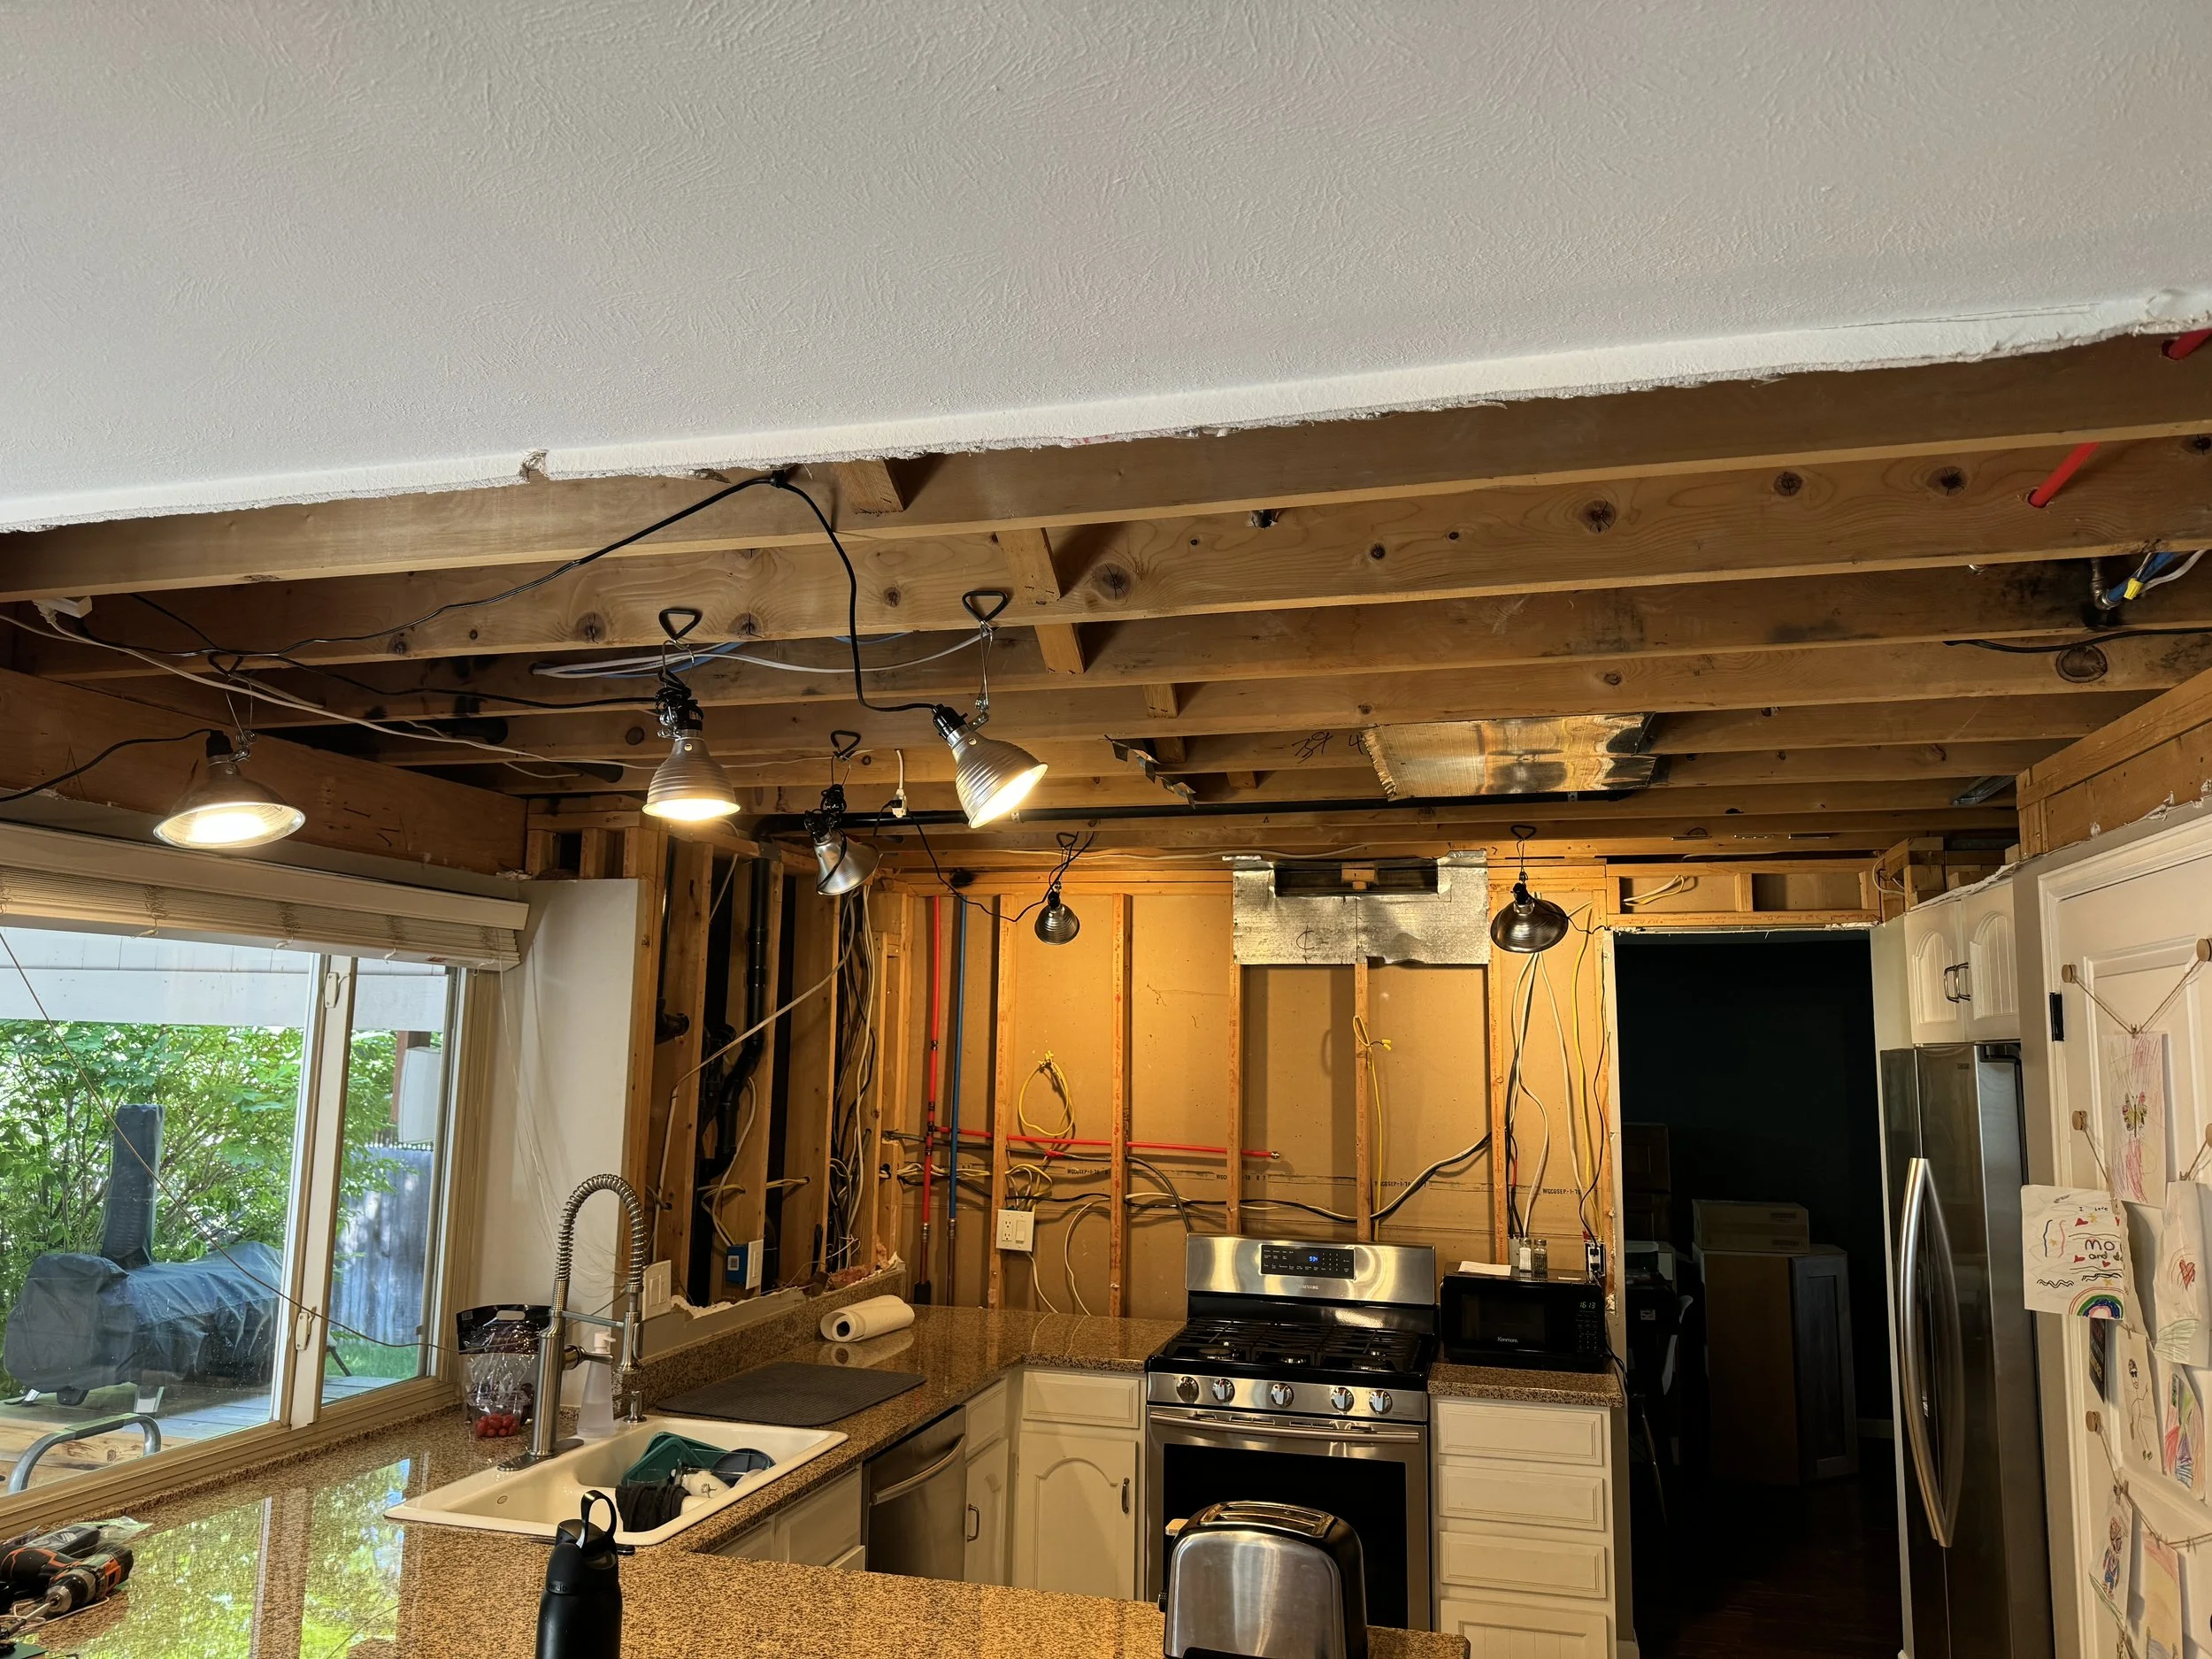
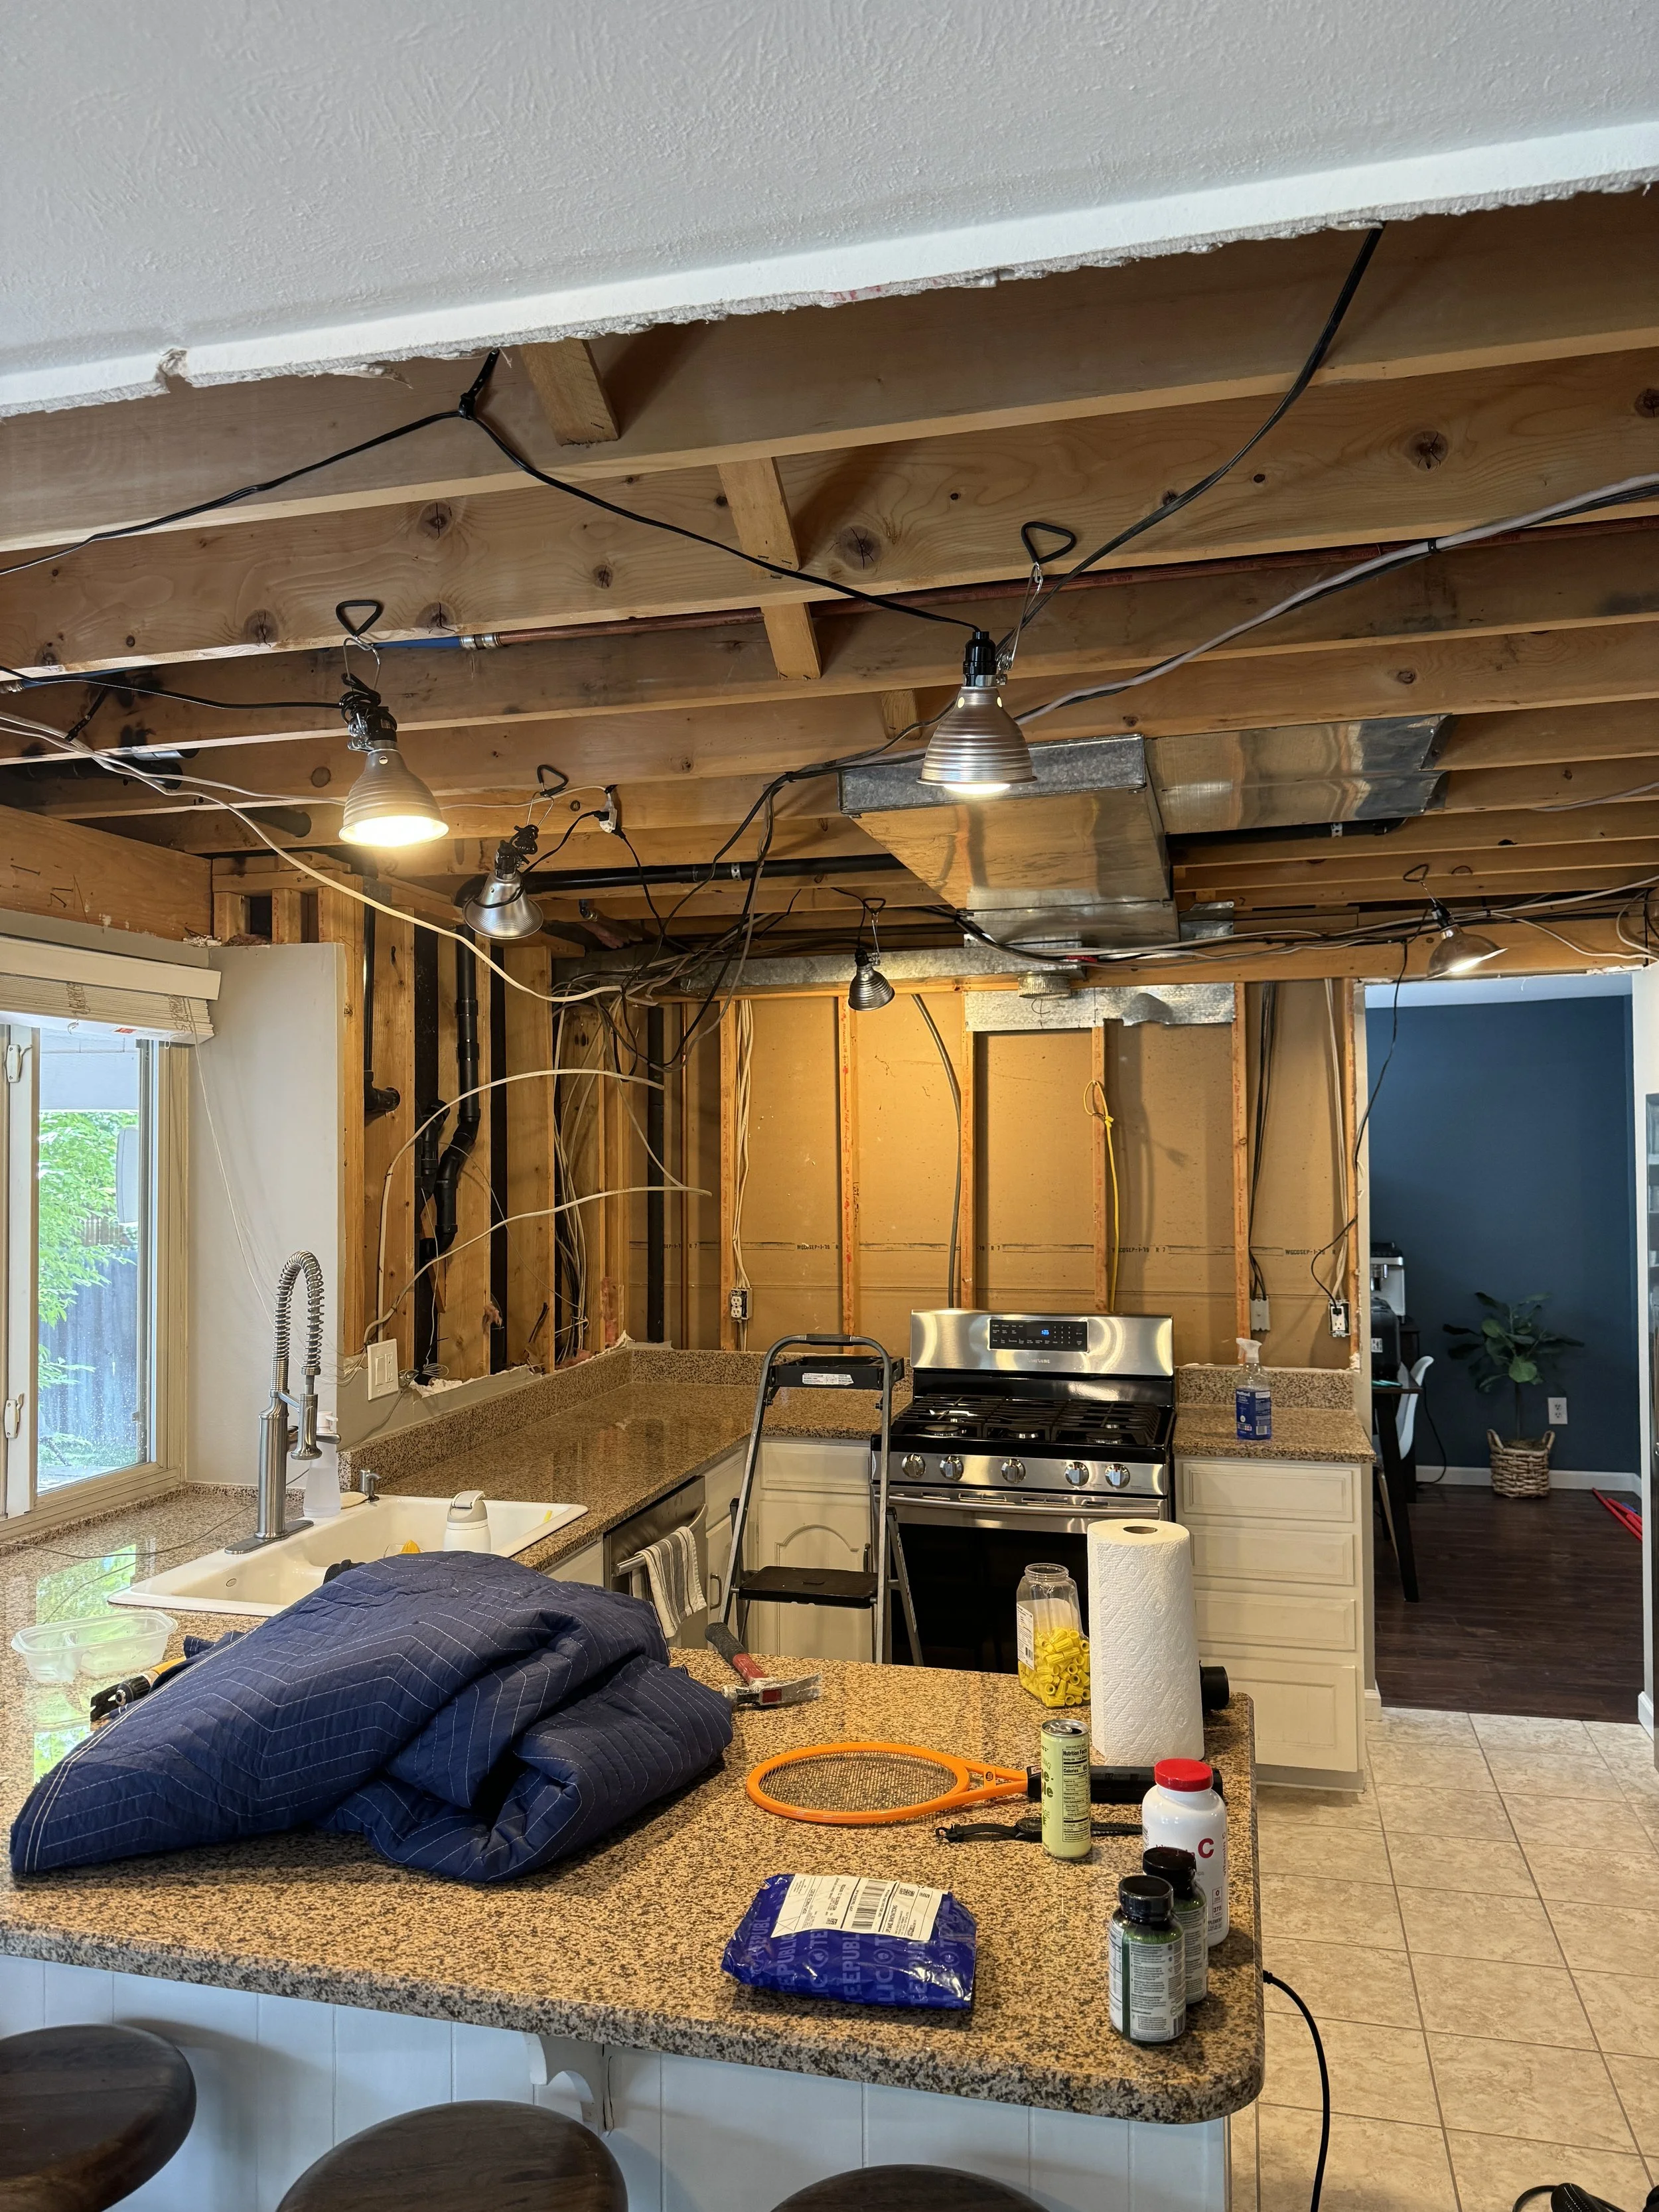
So this was the start--I had to remove the drop in the ceiling, in order to see what's what. :)
Now the drywall on the ceiling is gone, and I can see that--since they had a drop ceiling--they just ran the electrical wiring all willy-nilly. Fun!
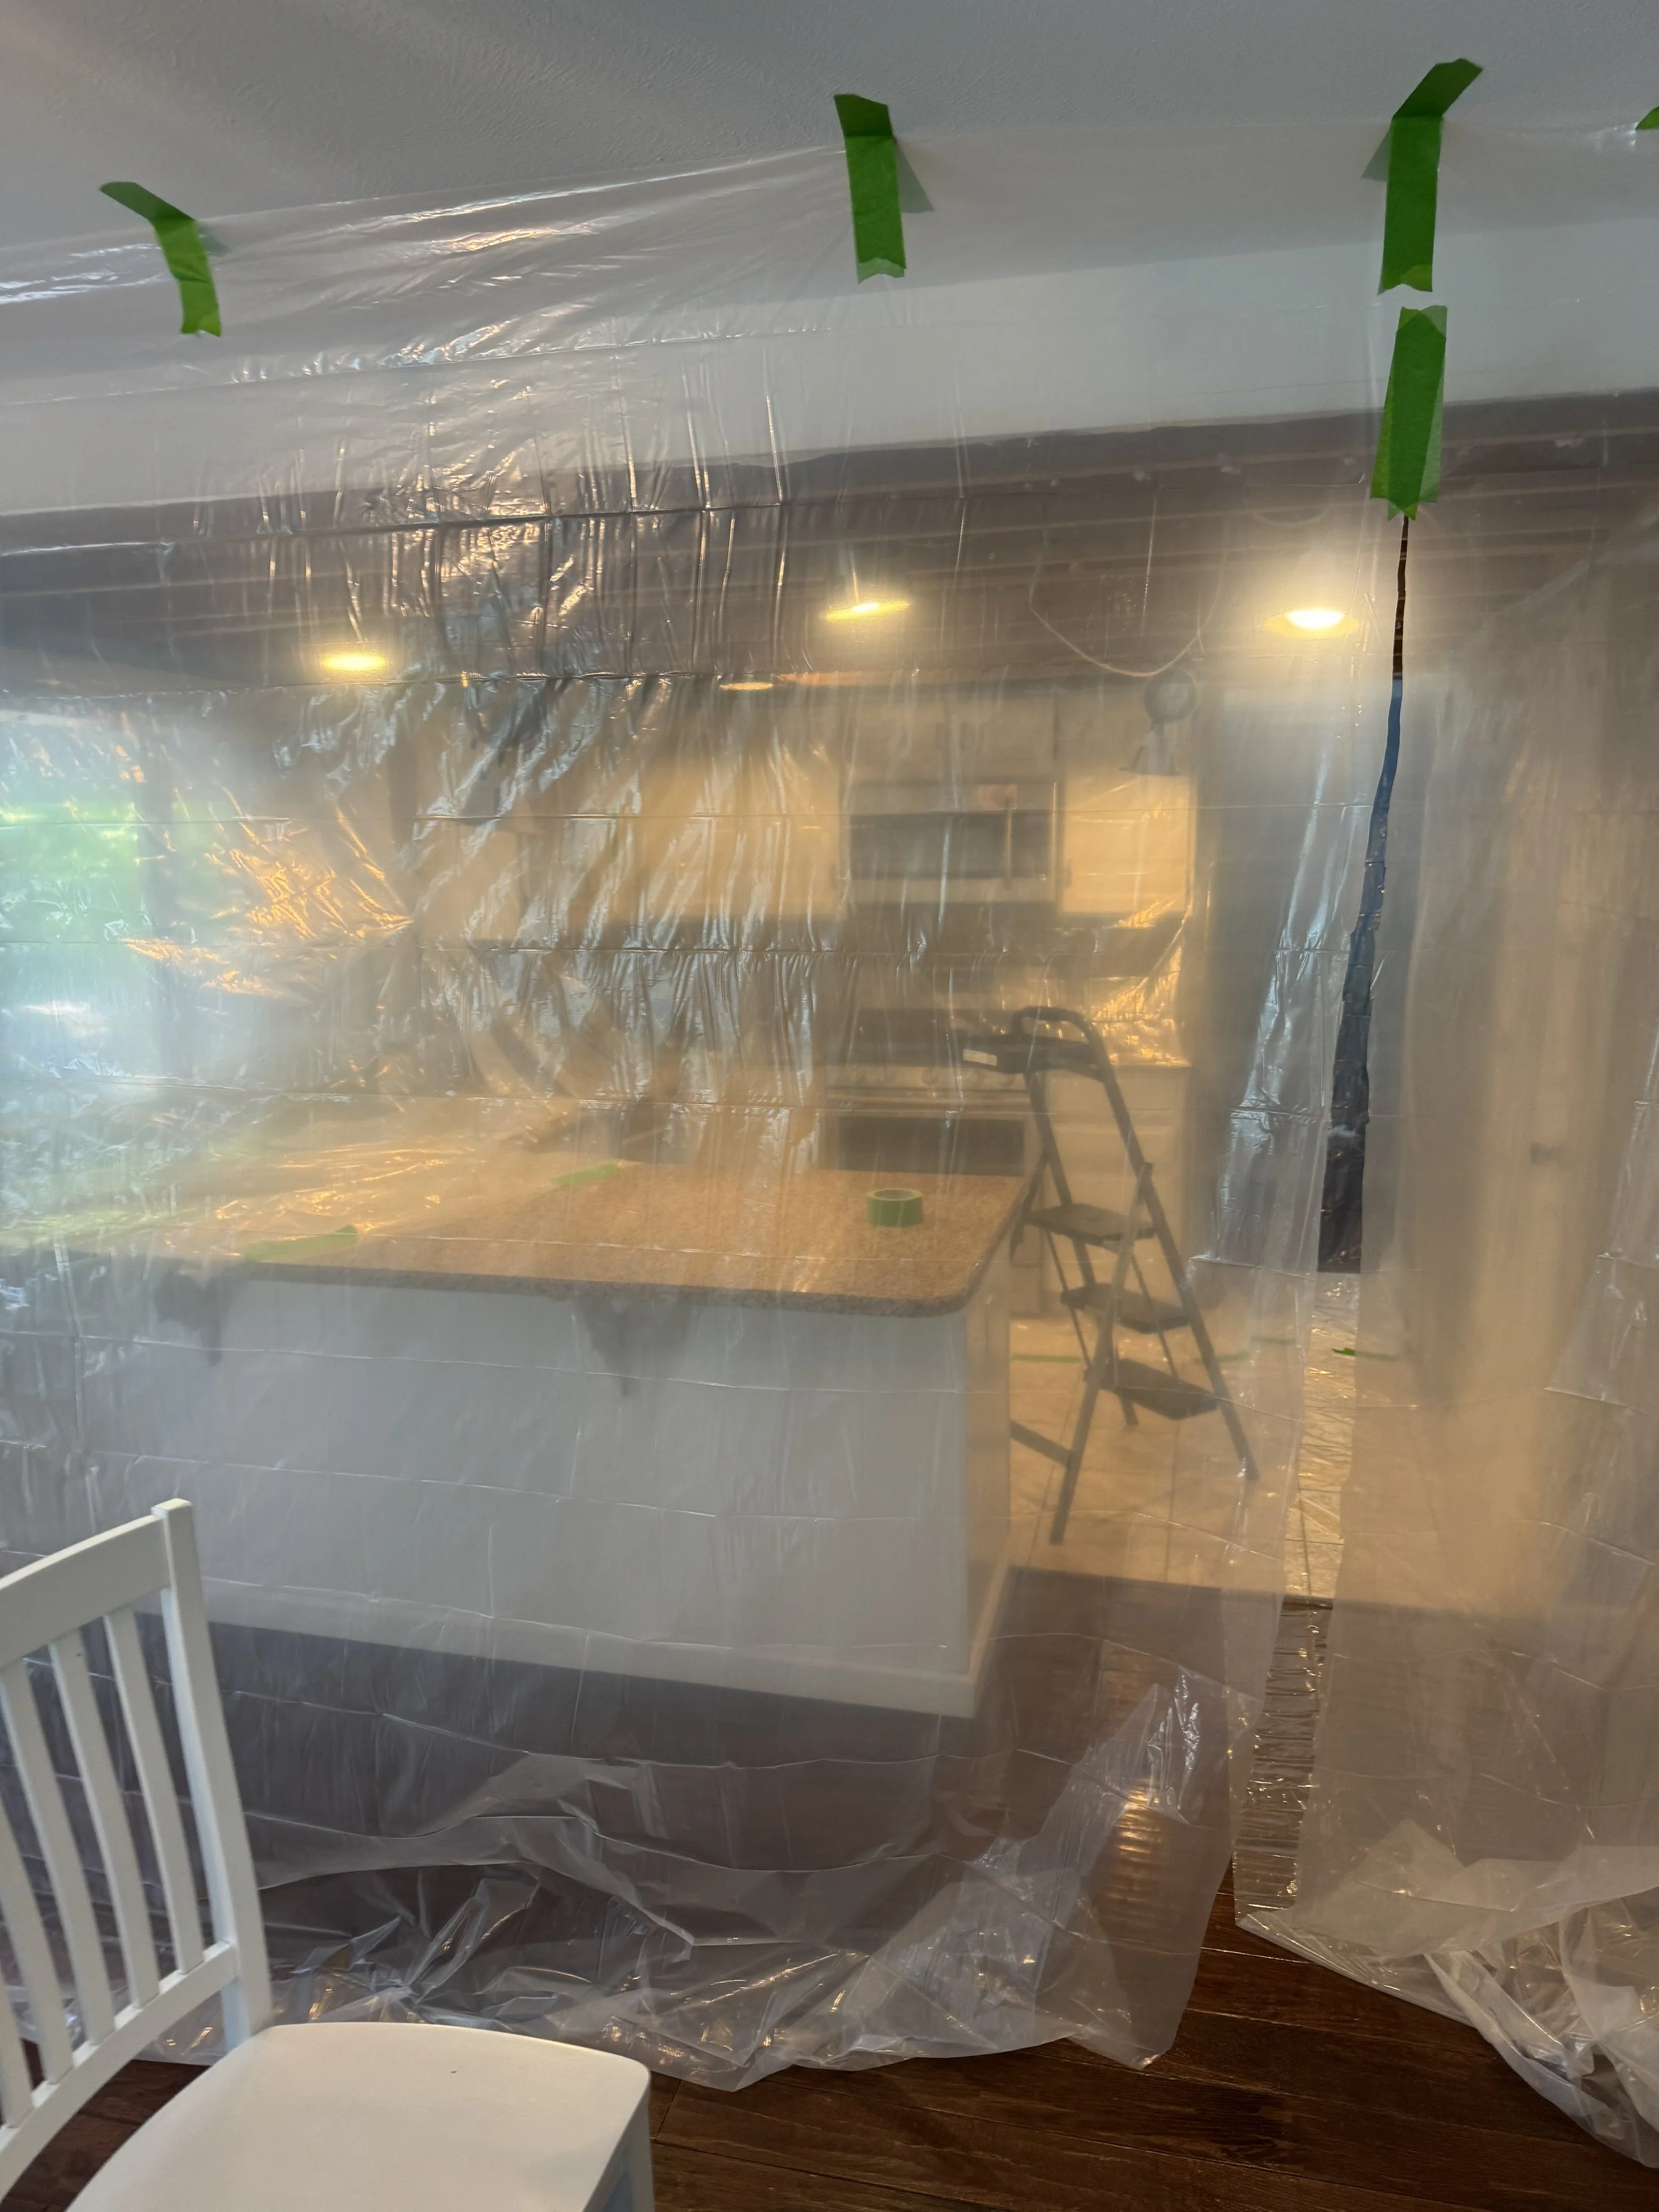
But, I still have to remove the drop, and get the ceiling height to the bottom of the joists. This may look like something Dexter would do, but it's really just to keep the sawdust contained lol
And there it is. Lots of cleaning up to do, to get everything above the bottom of the joists.
First, the water supply lines. I simply converted the supply lines below the joists to PEX, moved them up, then connected them back to the existing copper using Shark Bite connections.

Much better.

And, there is the hot water supply line for the upcoming pot-filler!
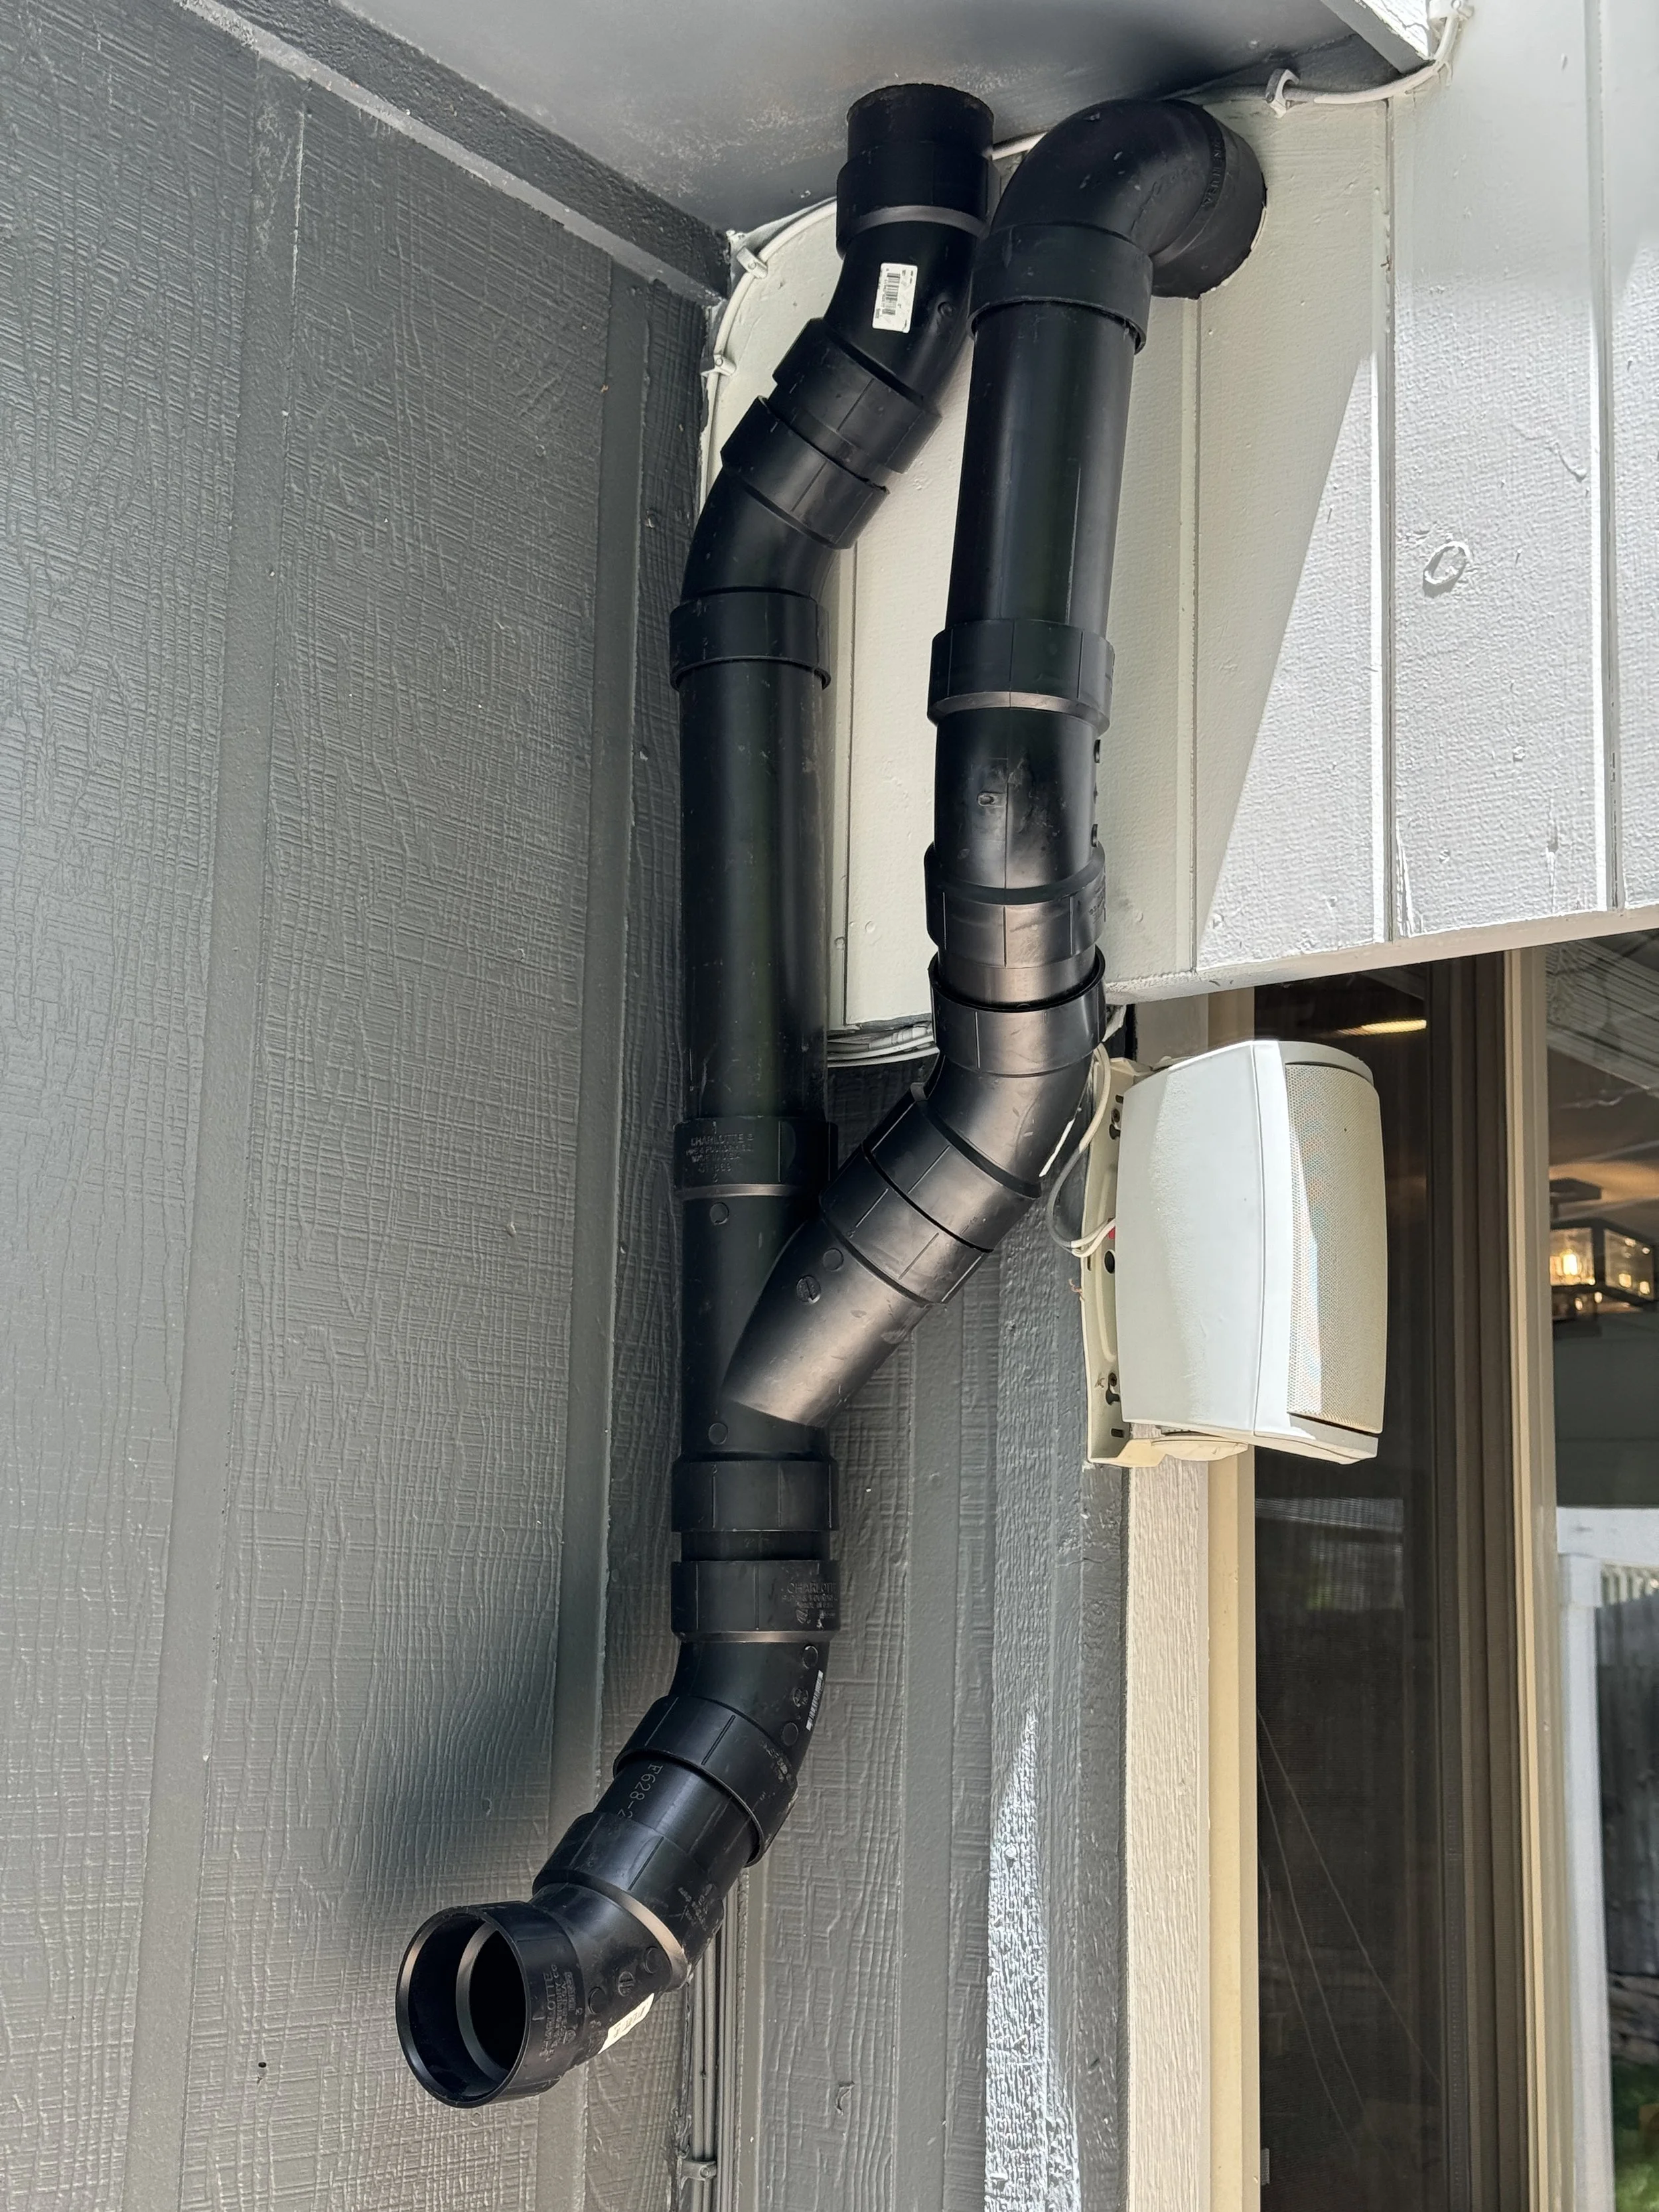
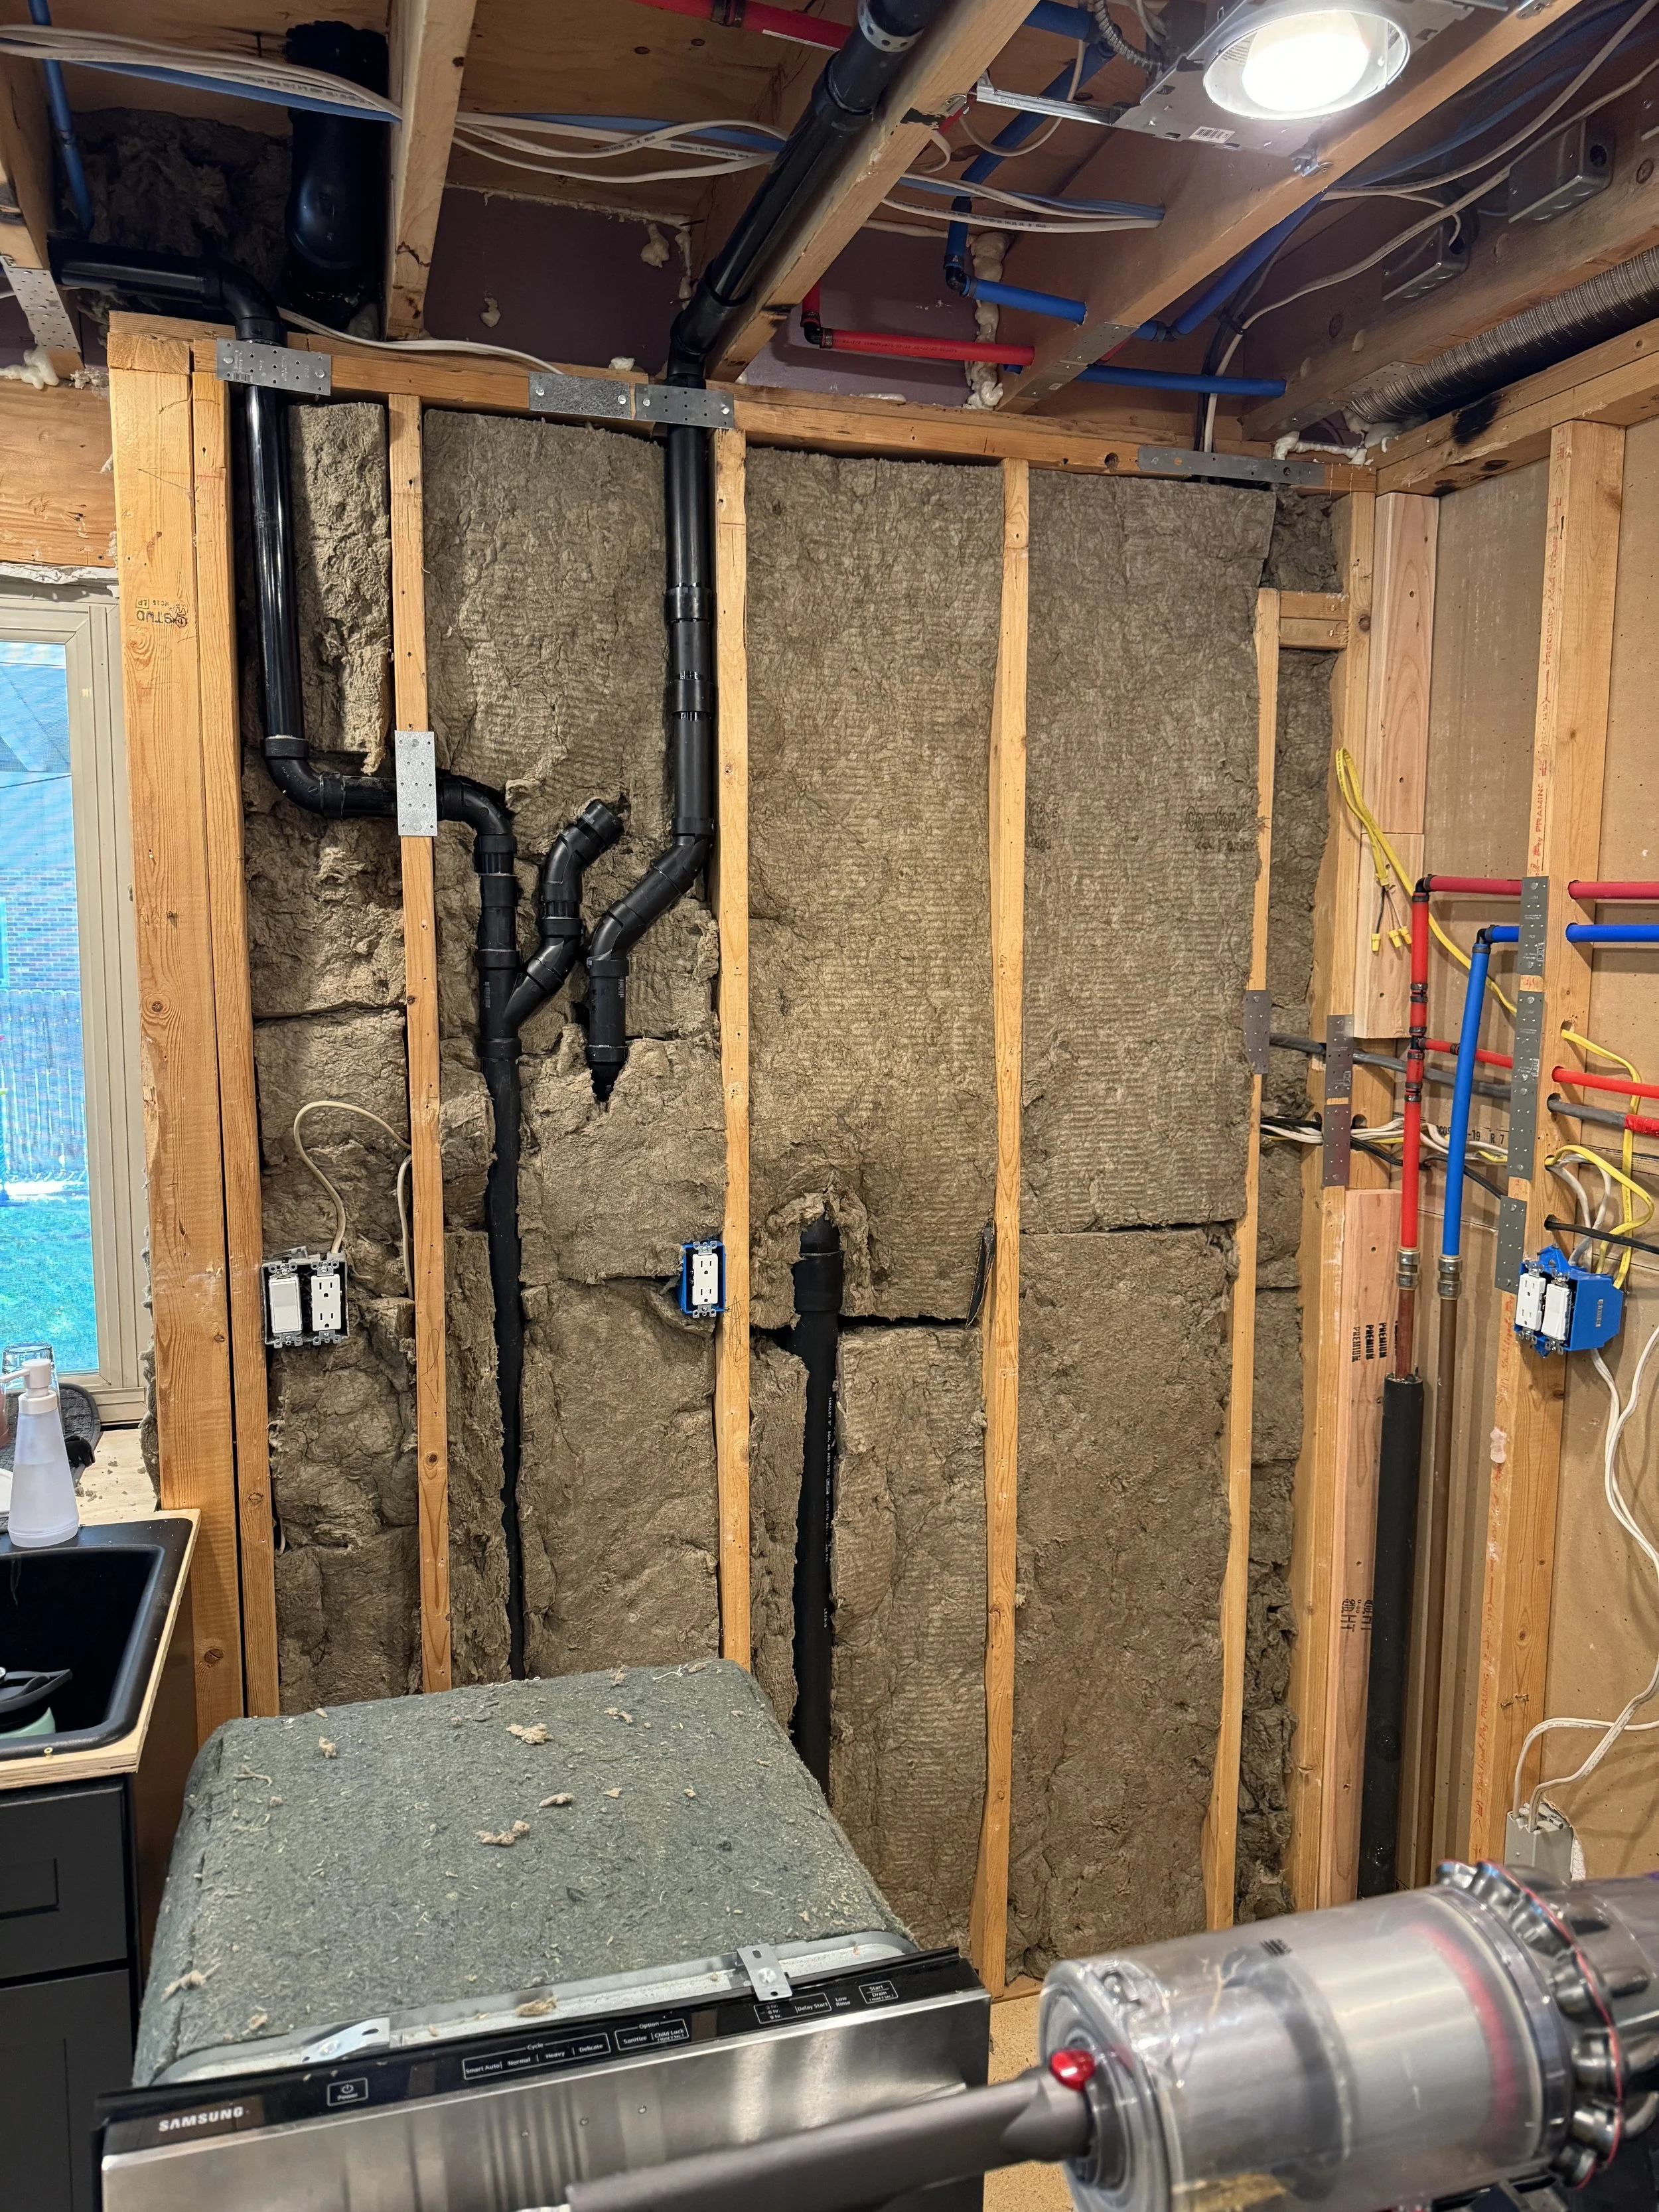
Now... the drain & vent lines. These are from Lily's bathroom (toilet, sink, and bathtub). The only solution is to re-route them to the exterior, then reconnect to the main drain stack in the wall. Time to get started!
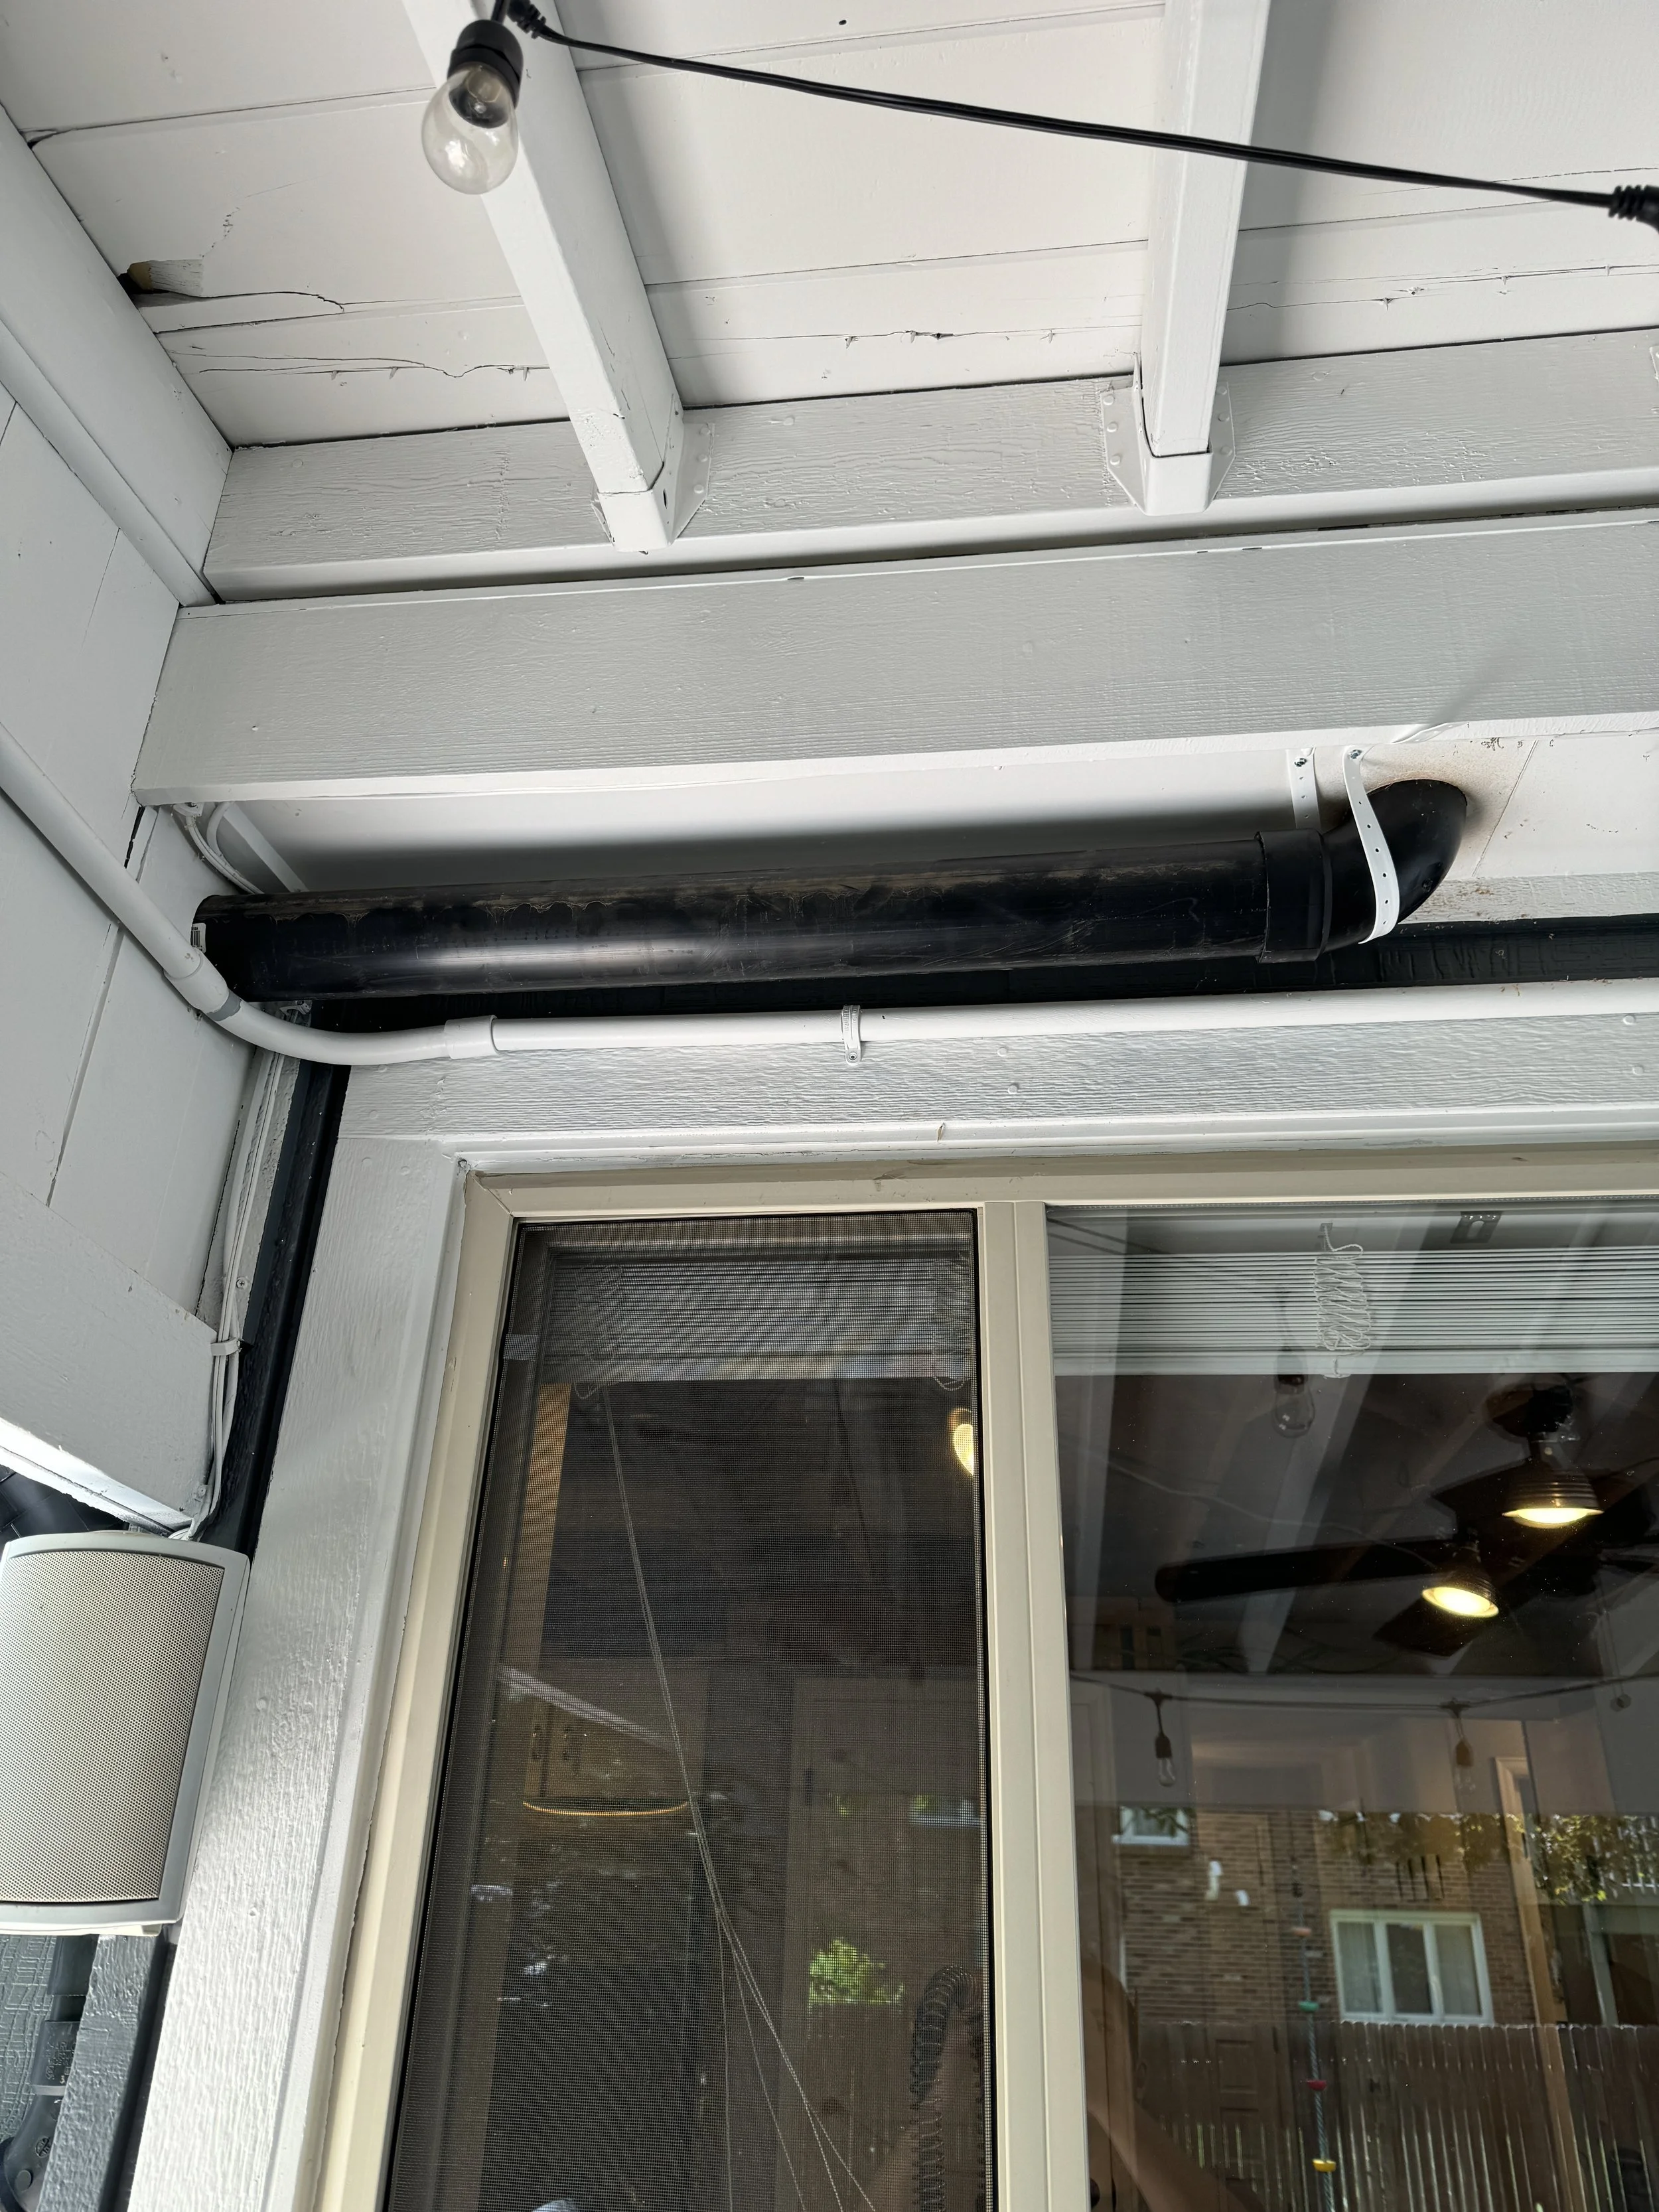
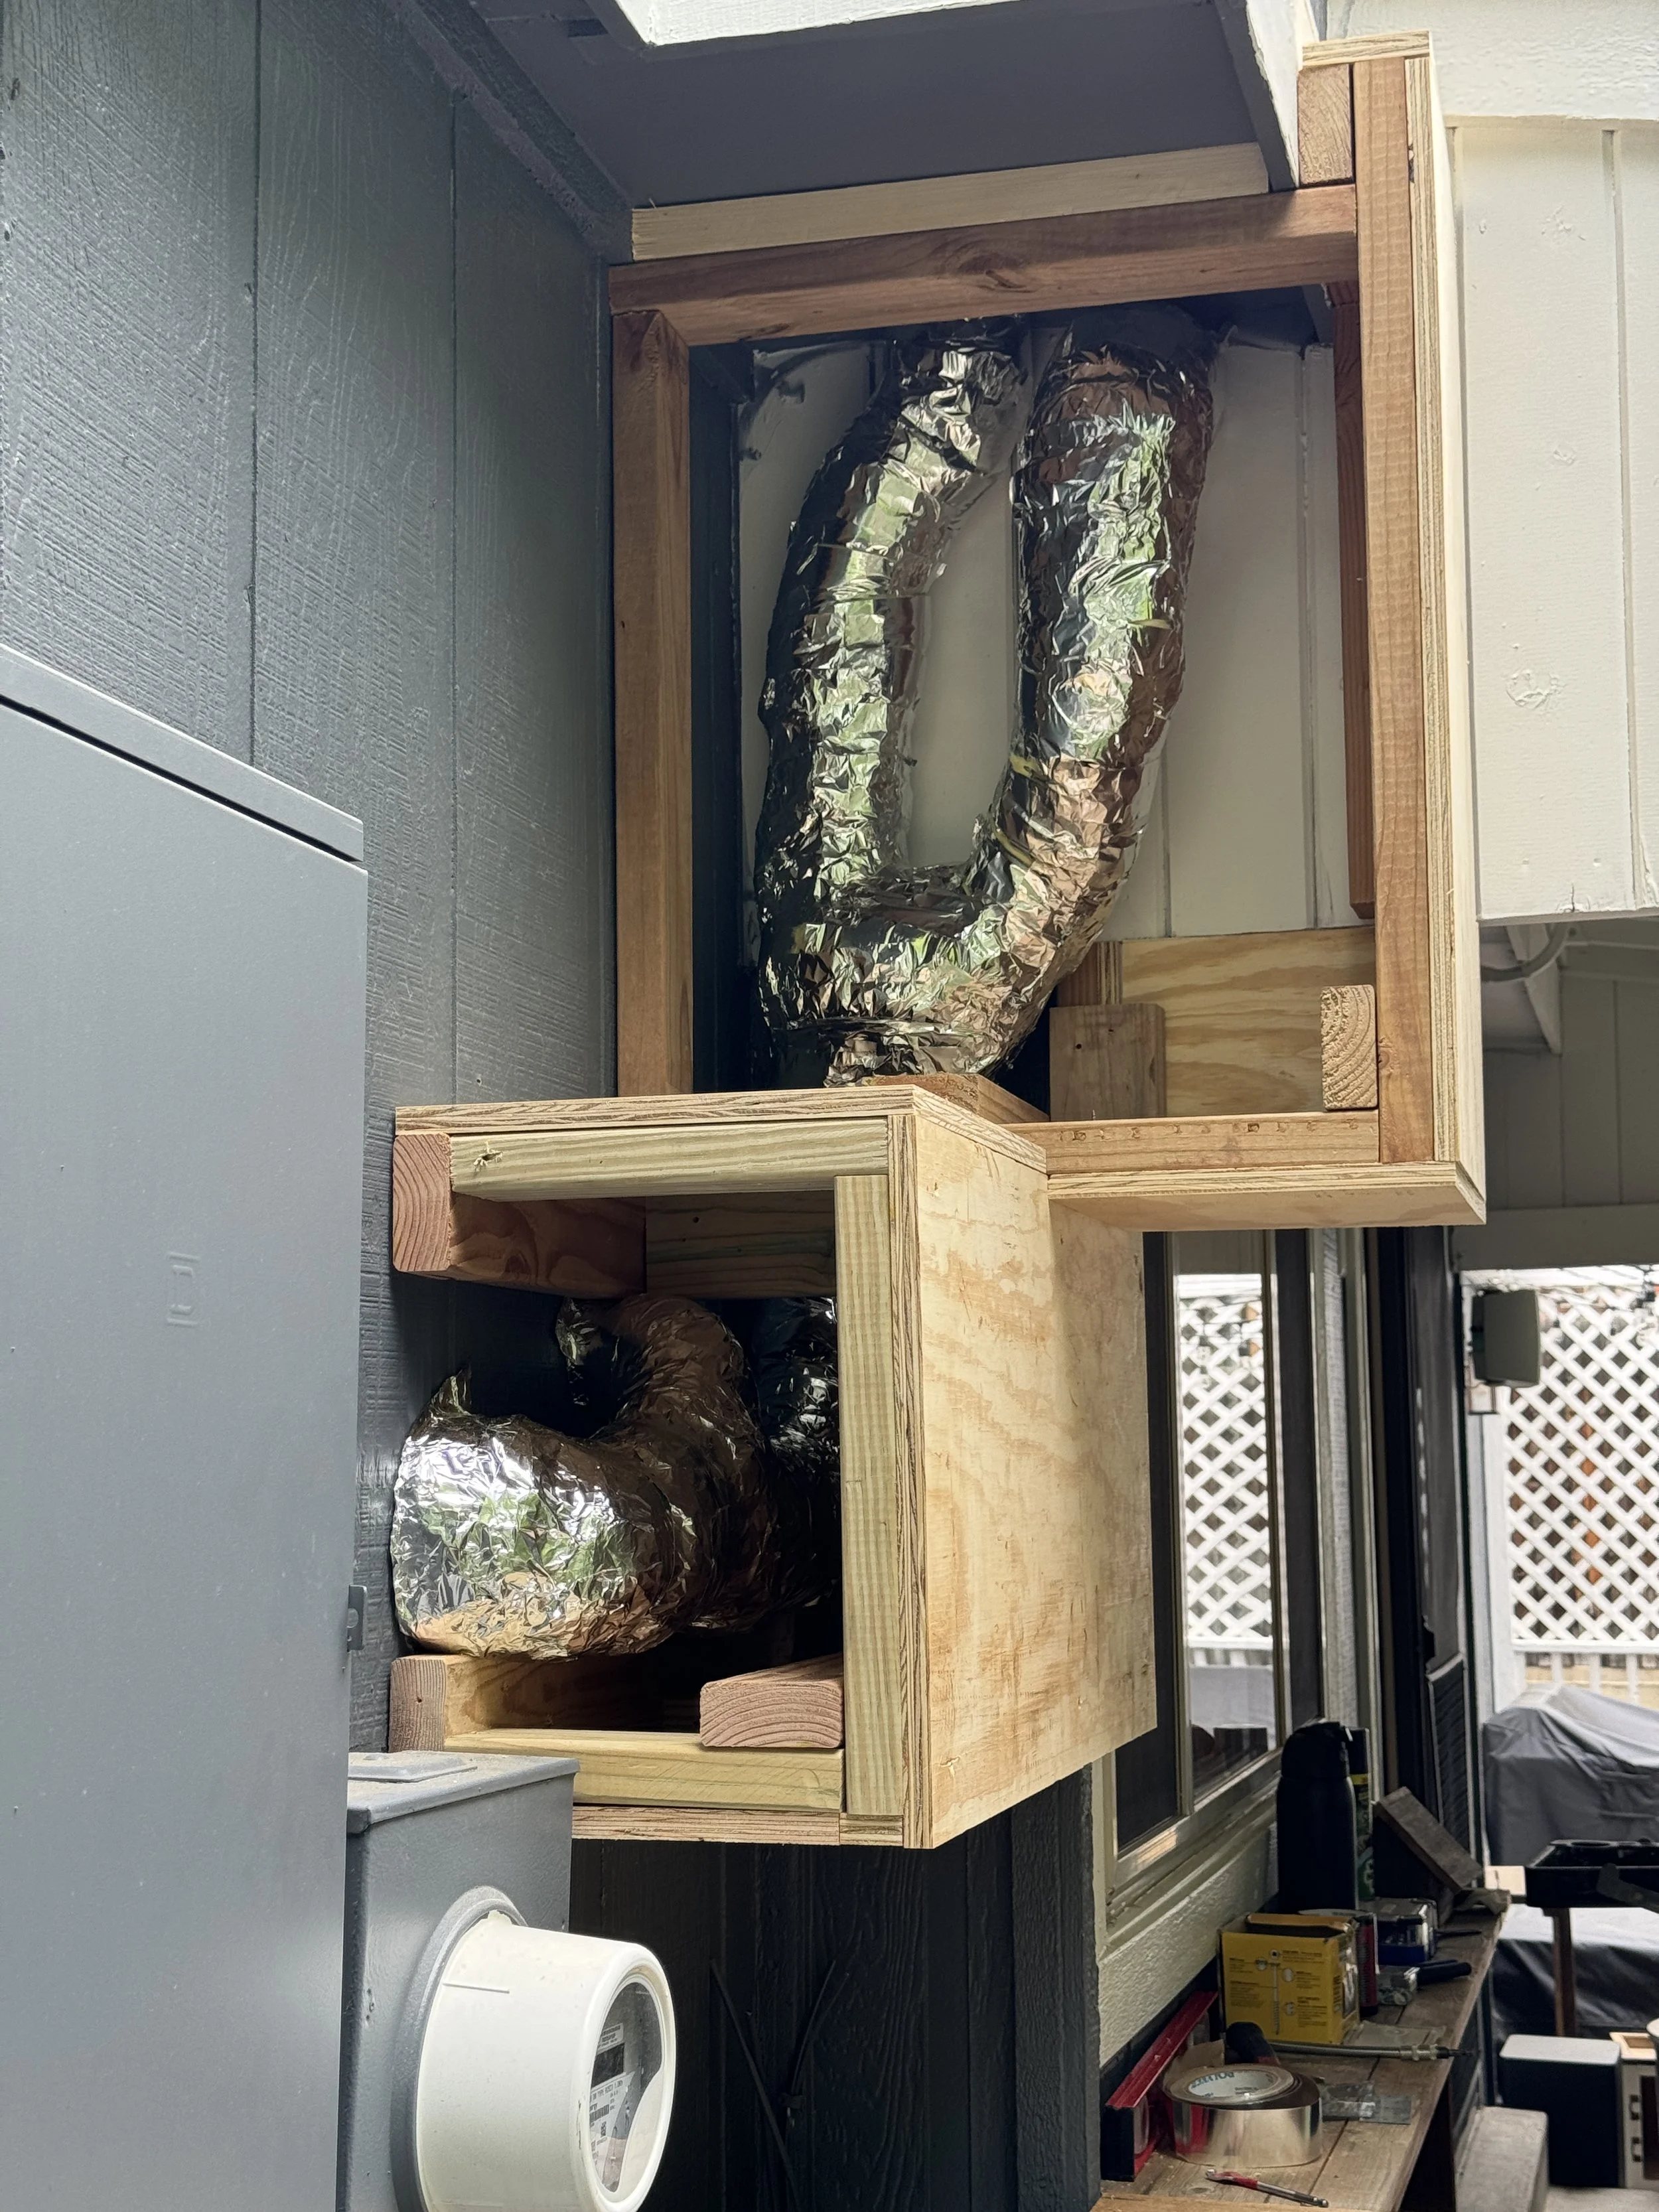
There we go. Colorado code allows for exterior drain lines, provided that they are wrapped in insulation and protected. So, next I will insulate the pipes, box them in, insulate the box, cover the box with plywood, and eventually paint the box to match the house, so that it blends in.
Same thing here.

Getting there...
Same thing here.
Current status: Plumbing (both drain/vent lines and hot and cold supply lines) has been moved and is in place, and the electrical has also been moved and is in place. The ceiling height is set--hooray, seven more inches of ceiling height, and full size, 36" wall cabinets are ready to go! Next is the lower cabinet removal, new lighting, and new ceiling installation. :)
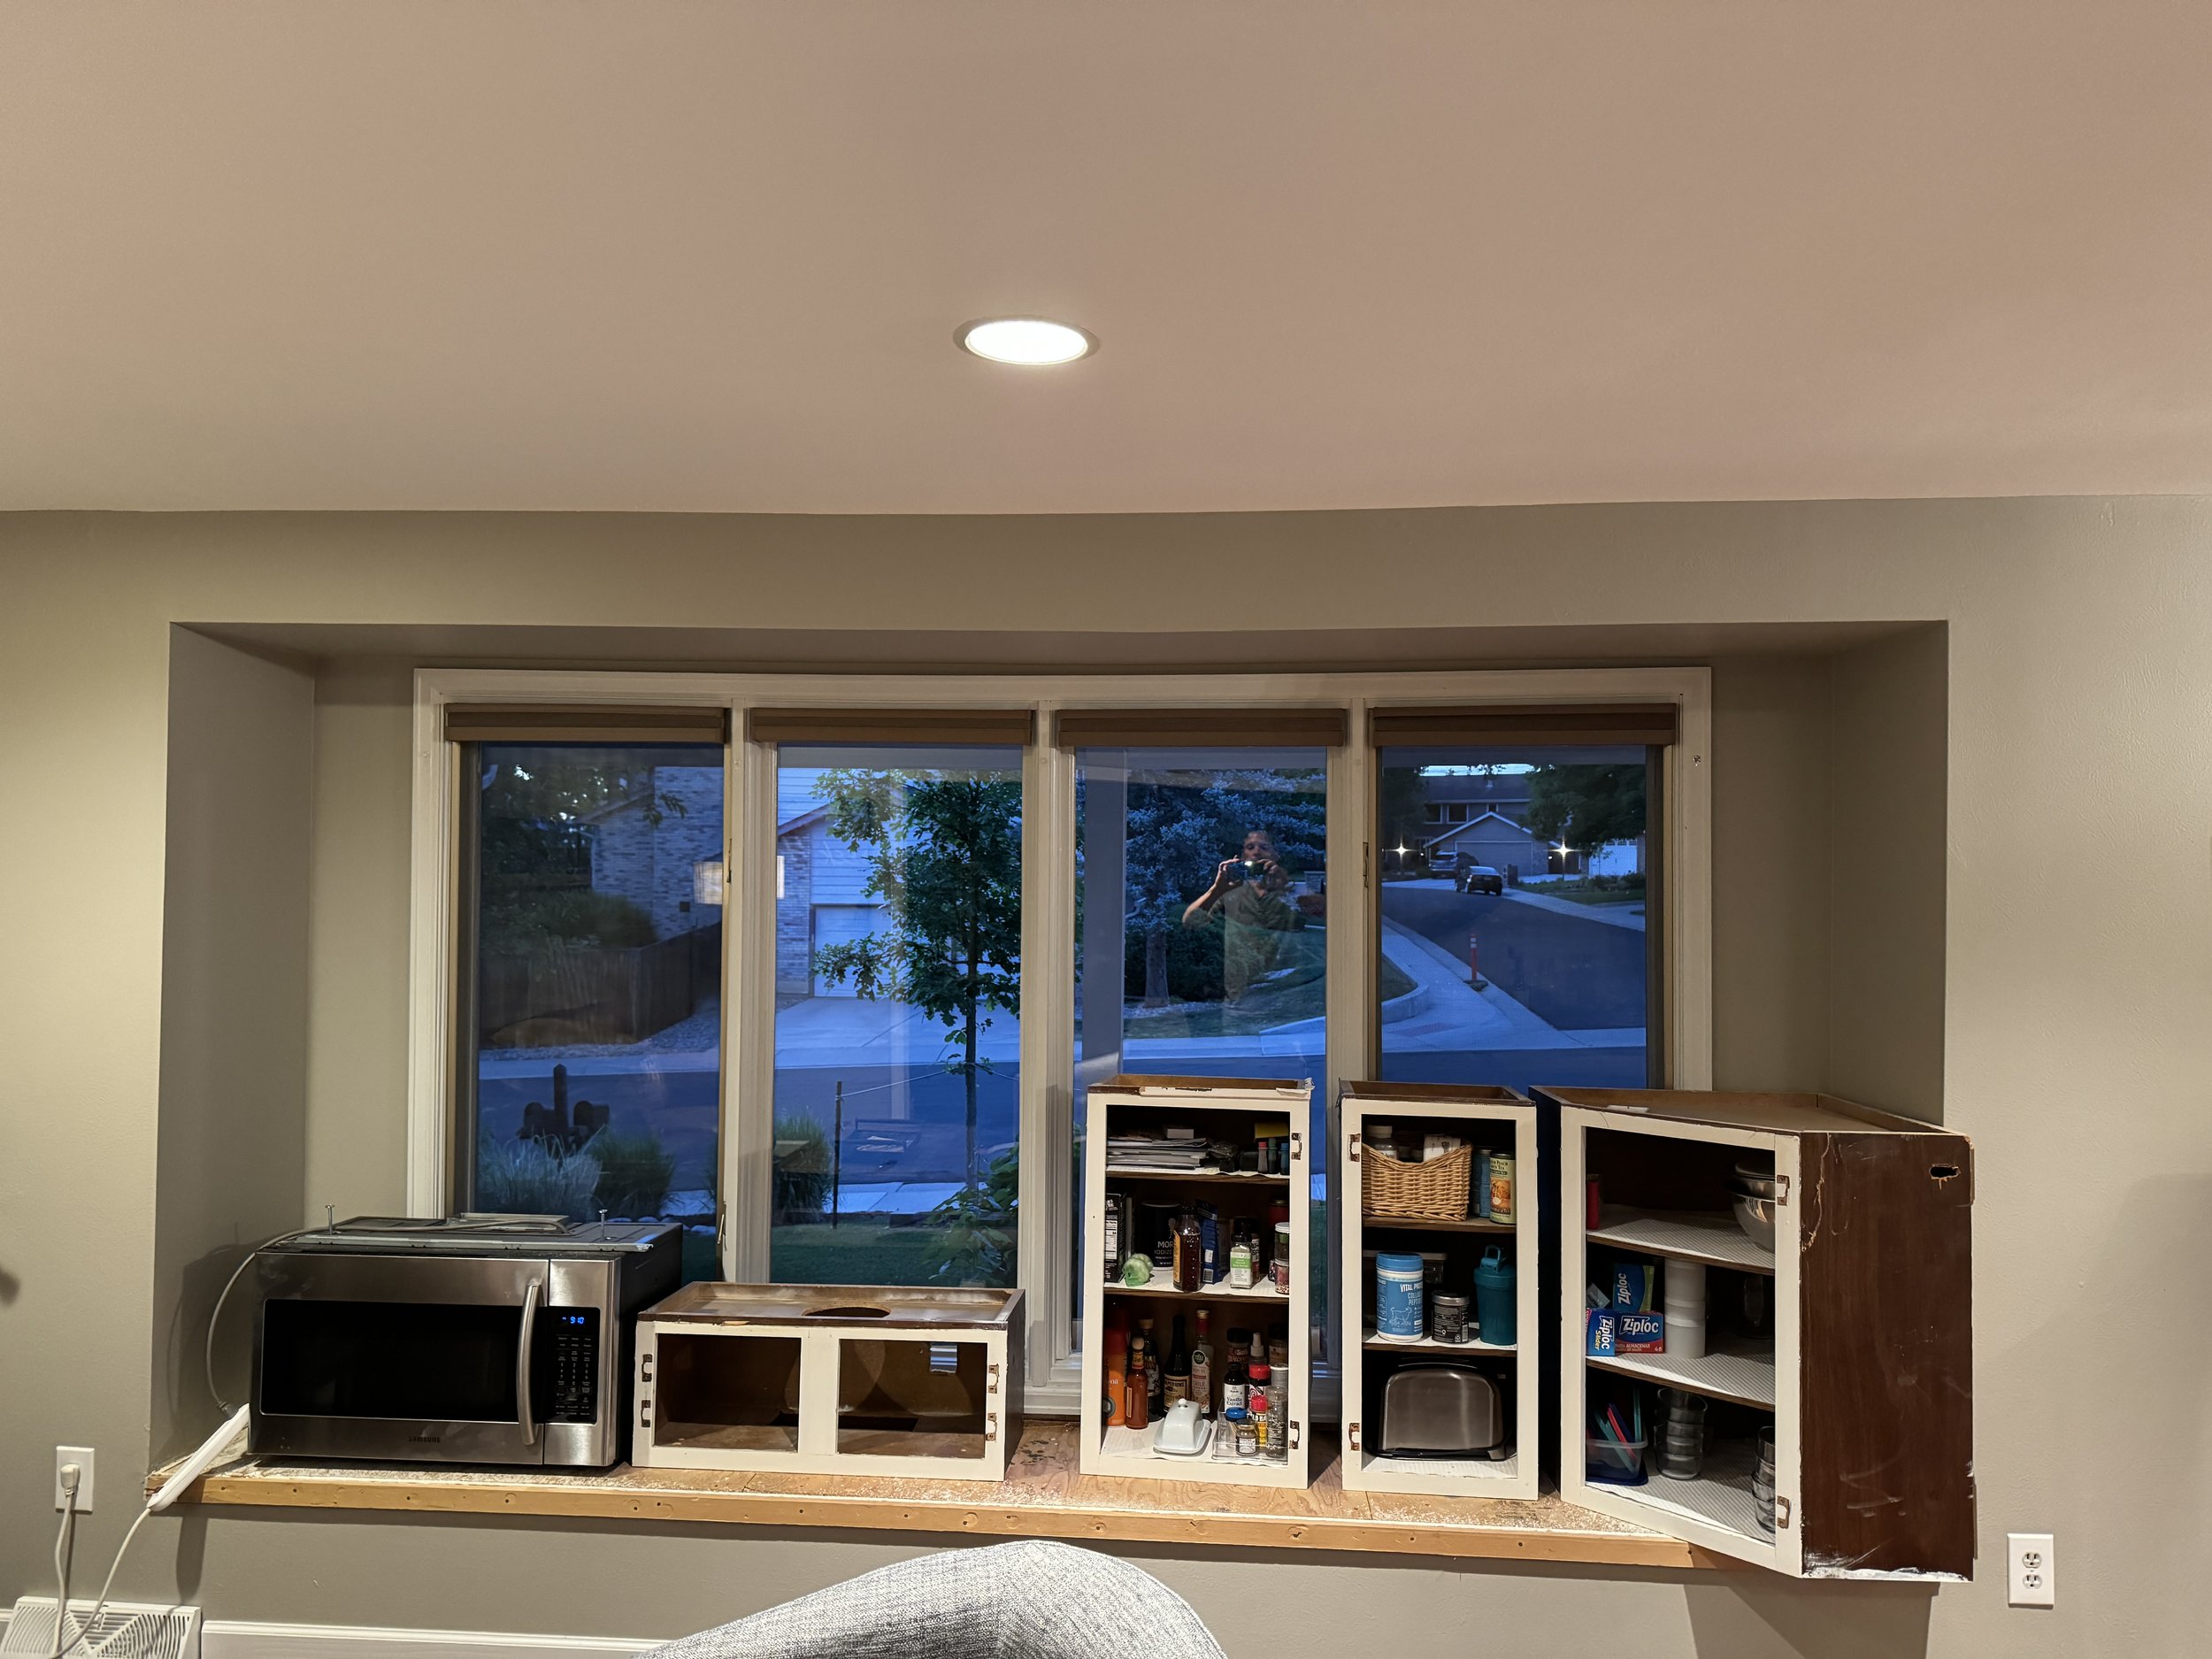
Oh! Can't forget to include a shot of our current, "temporary" kitchen cabinetry. :)
Well, lots of progress since my last update on this project! We had a couple of unexpected delays, though: the first was having to wait for the Heating and Air company to come and assess where to put our new return air line... we no longer need the one to the upstairs shown in this pic--because we have mini-split units in all of the rooms upstairs, and they pull in fresh air to cool or heat the room. BUT, you can't just eliminate a return air line, or the A/C unit will not get enough air, and will fail. So, I had to have an expert come to tell me where the new return should go--which ended up being in the basement. So, after this, we could move forward again!
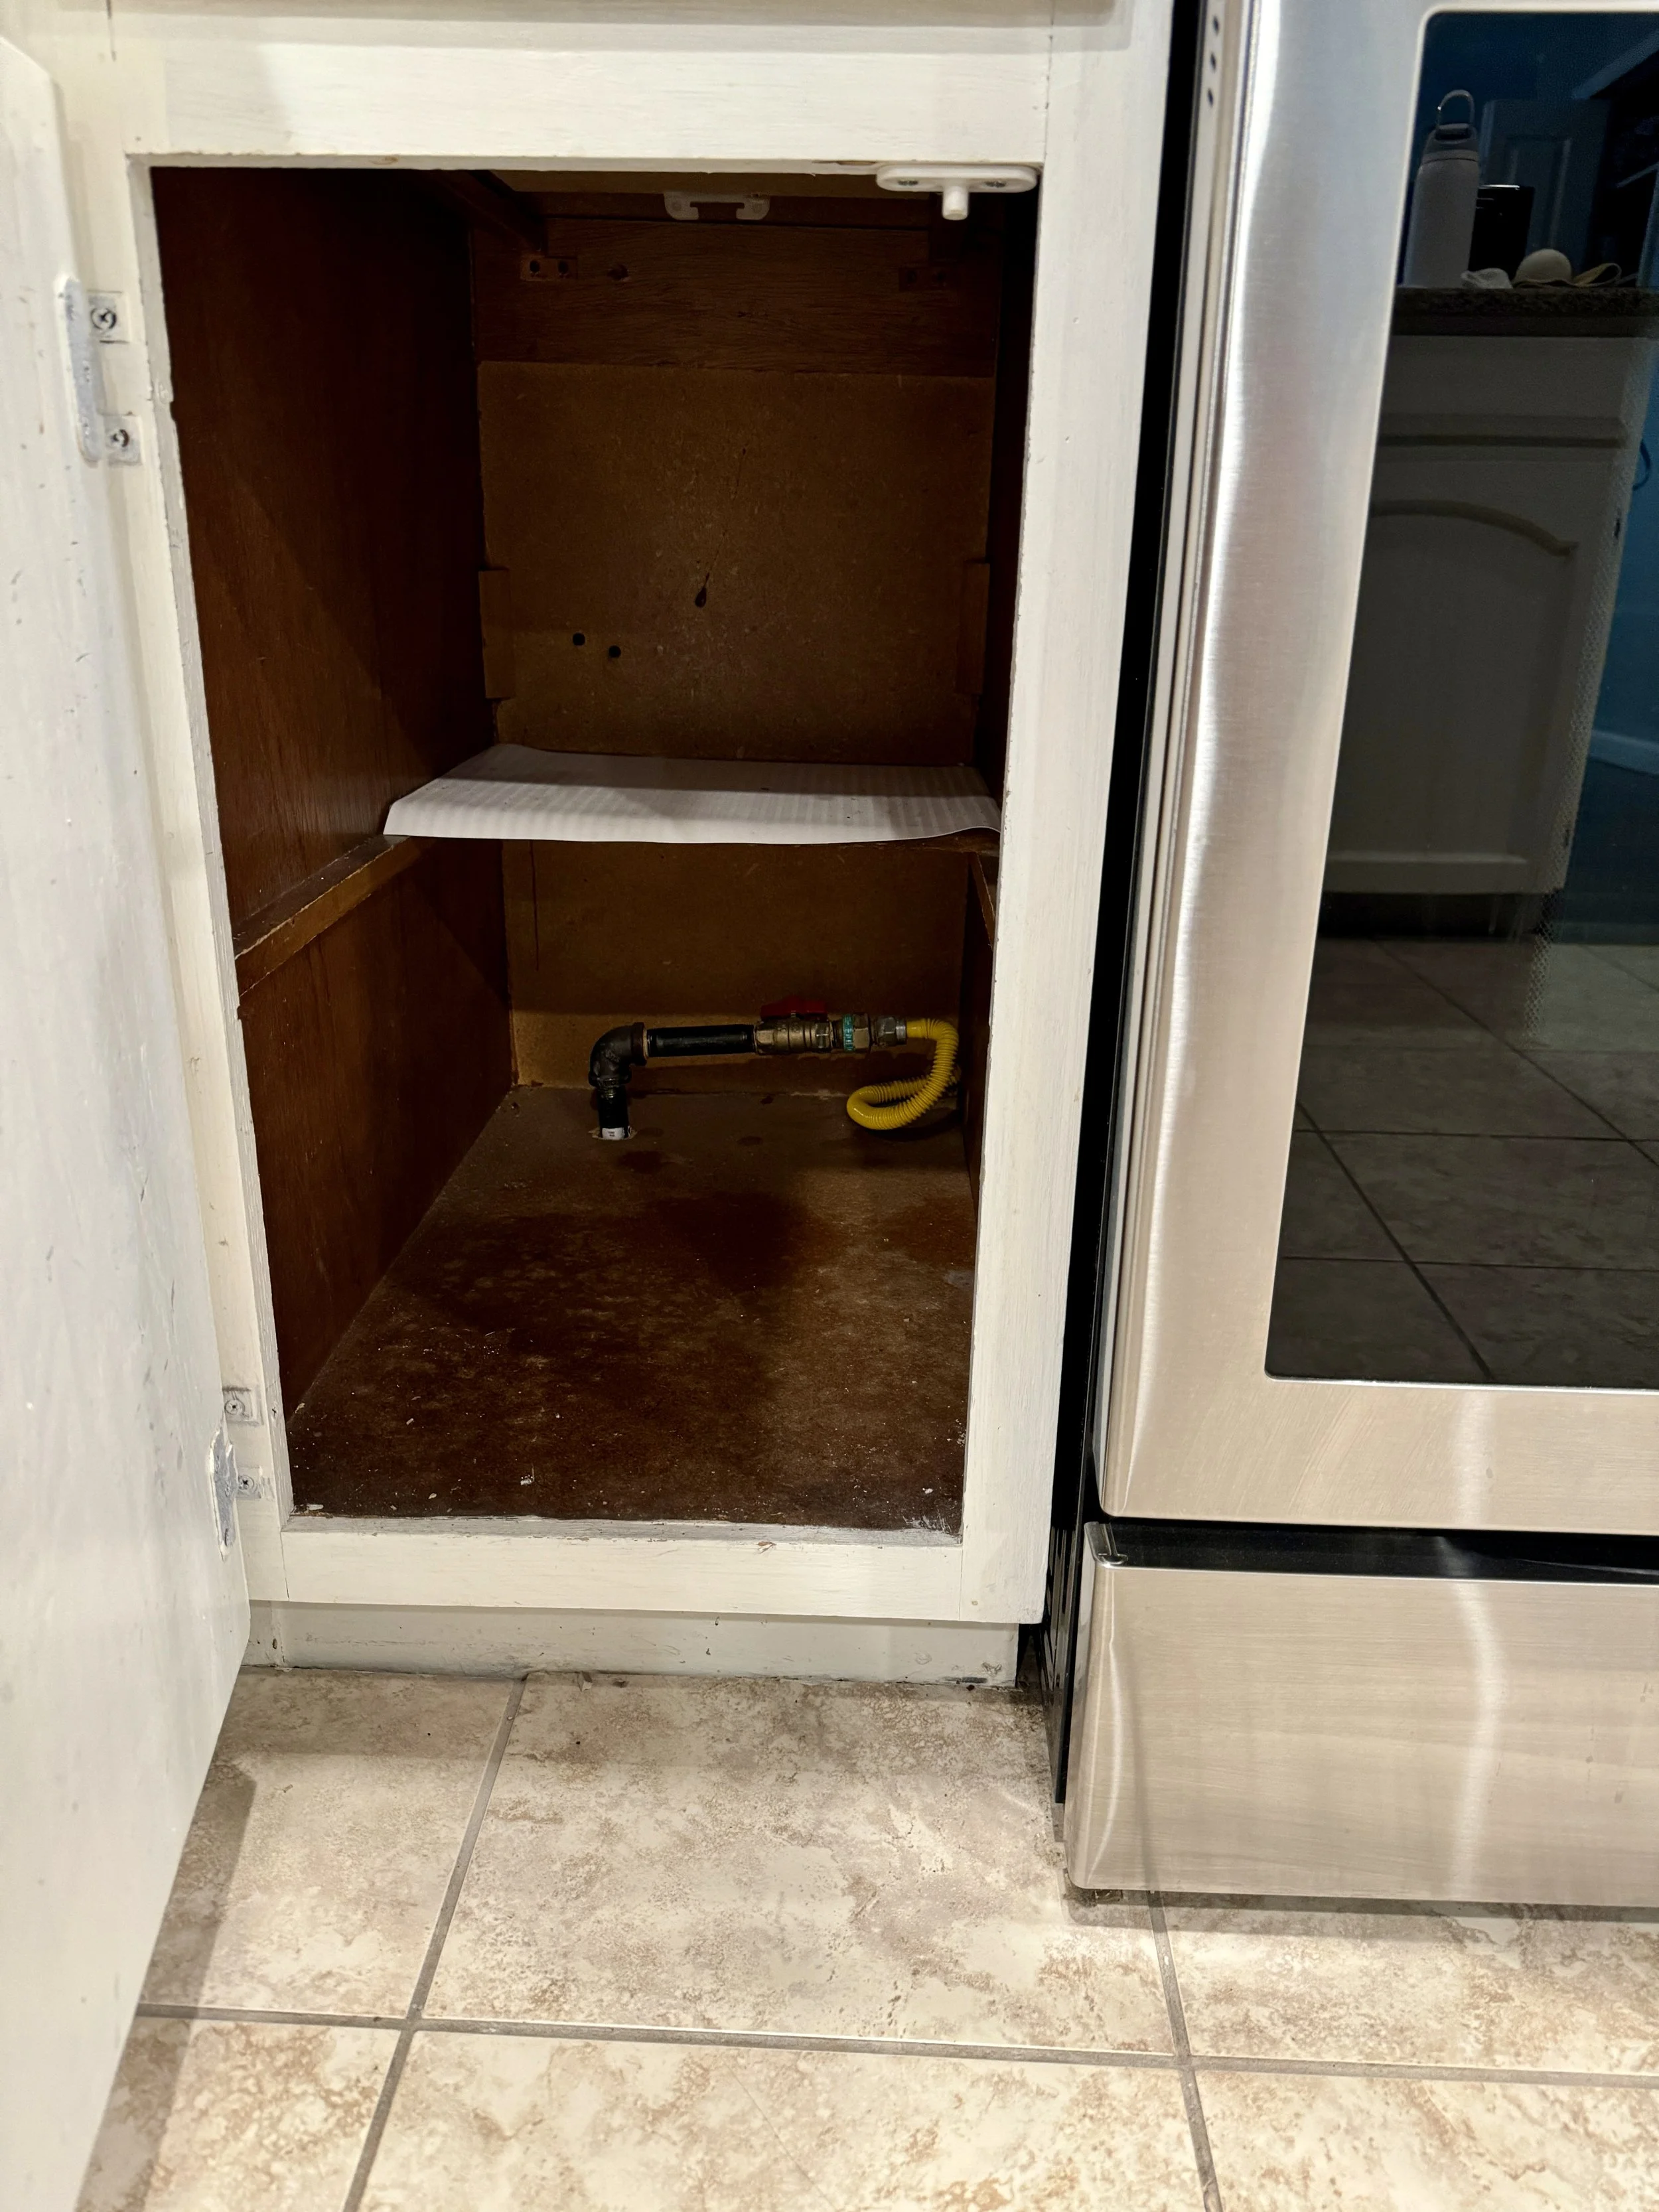
So... you can imagine my delight when, the next day, there was another unexpected delay. I realized that this gas line came up from the basement, INTO the cabinet, and then OUT of the side of the cabinet. Which meant that there was no way to remove this cabinet without moving the gas line. And NO WAY was I messing around with gas, I needed to have a professional handle that. So, four days later, this issue was finally resolved. Moving forward! :)
Base cabinets are coming out... Hooray! Also installed recessed lighting in the ceiling.

Lily was happy to have the lights back and working. (She's also posing with her new outfit lol)
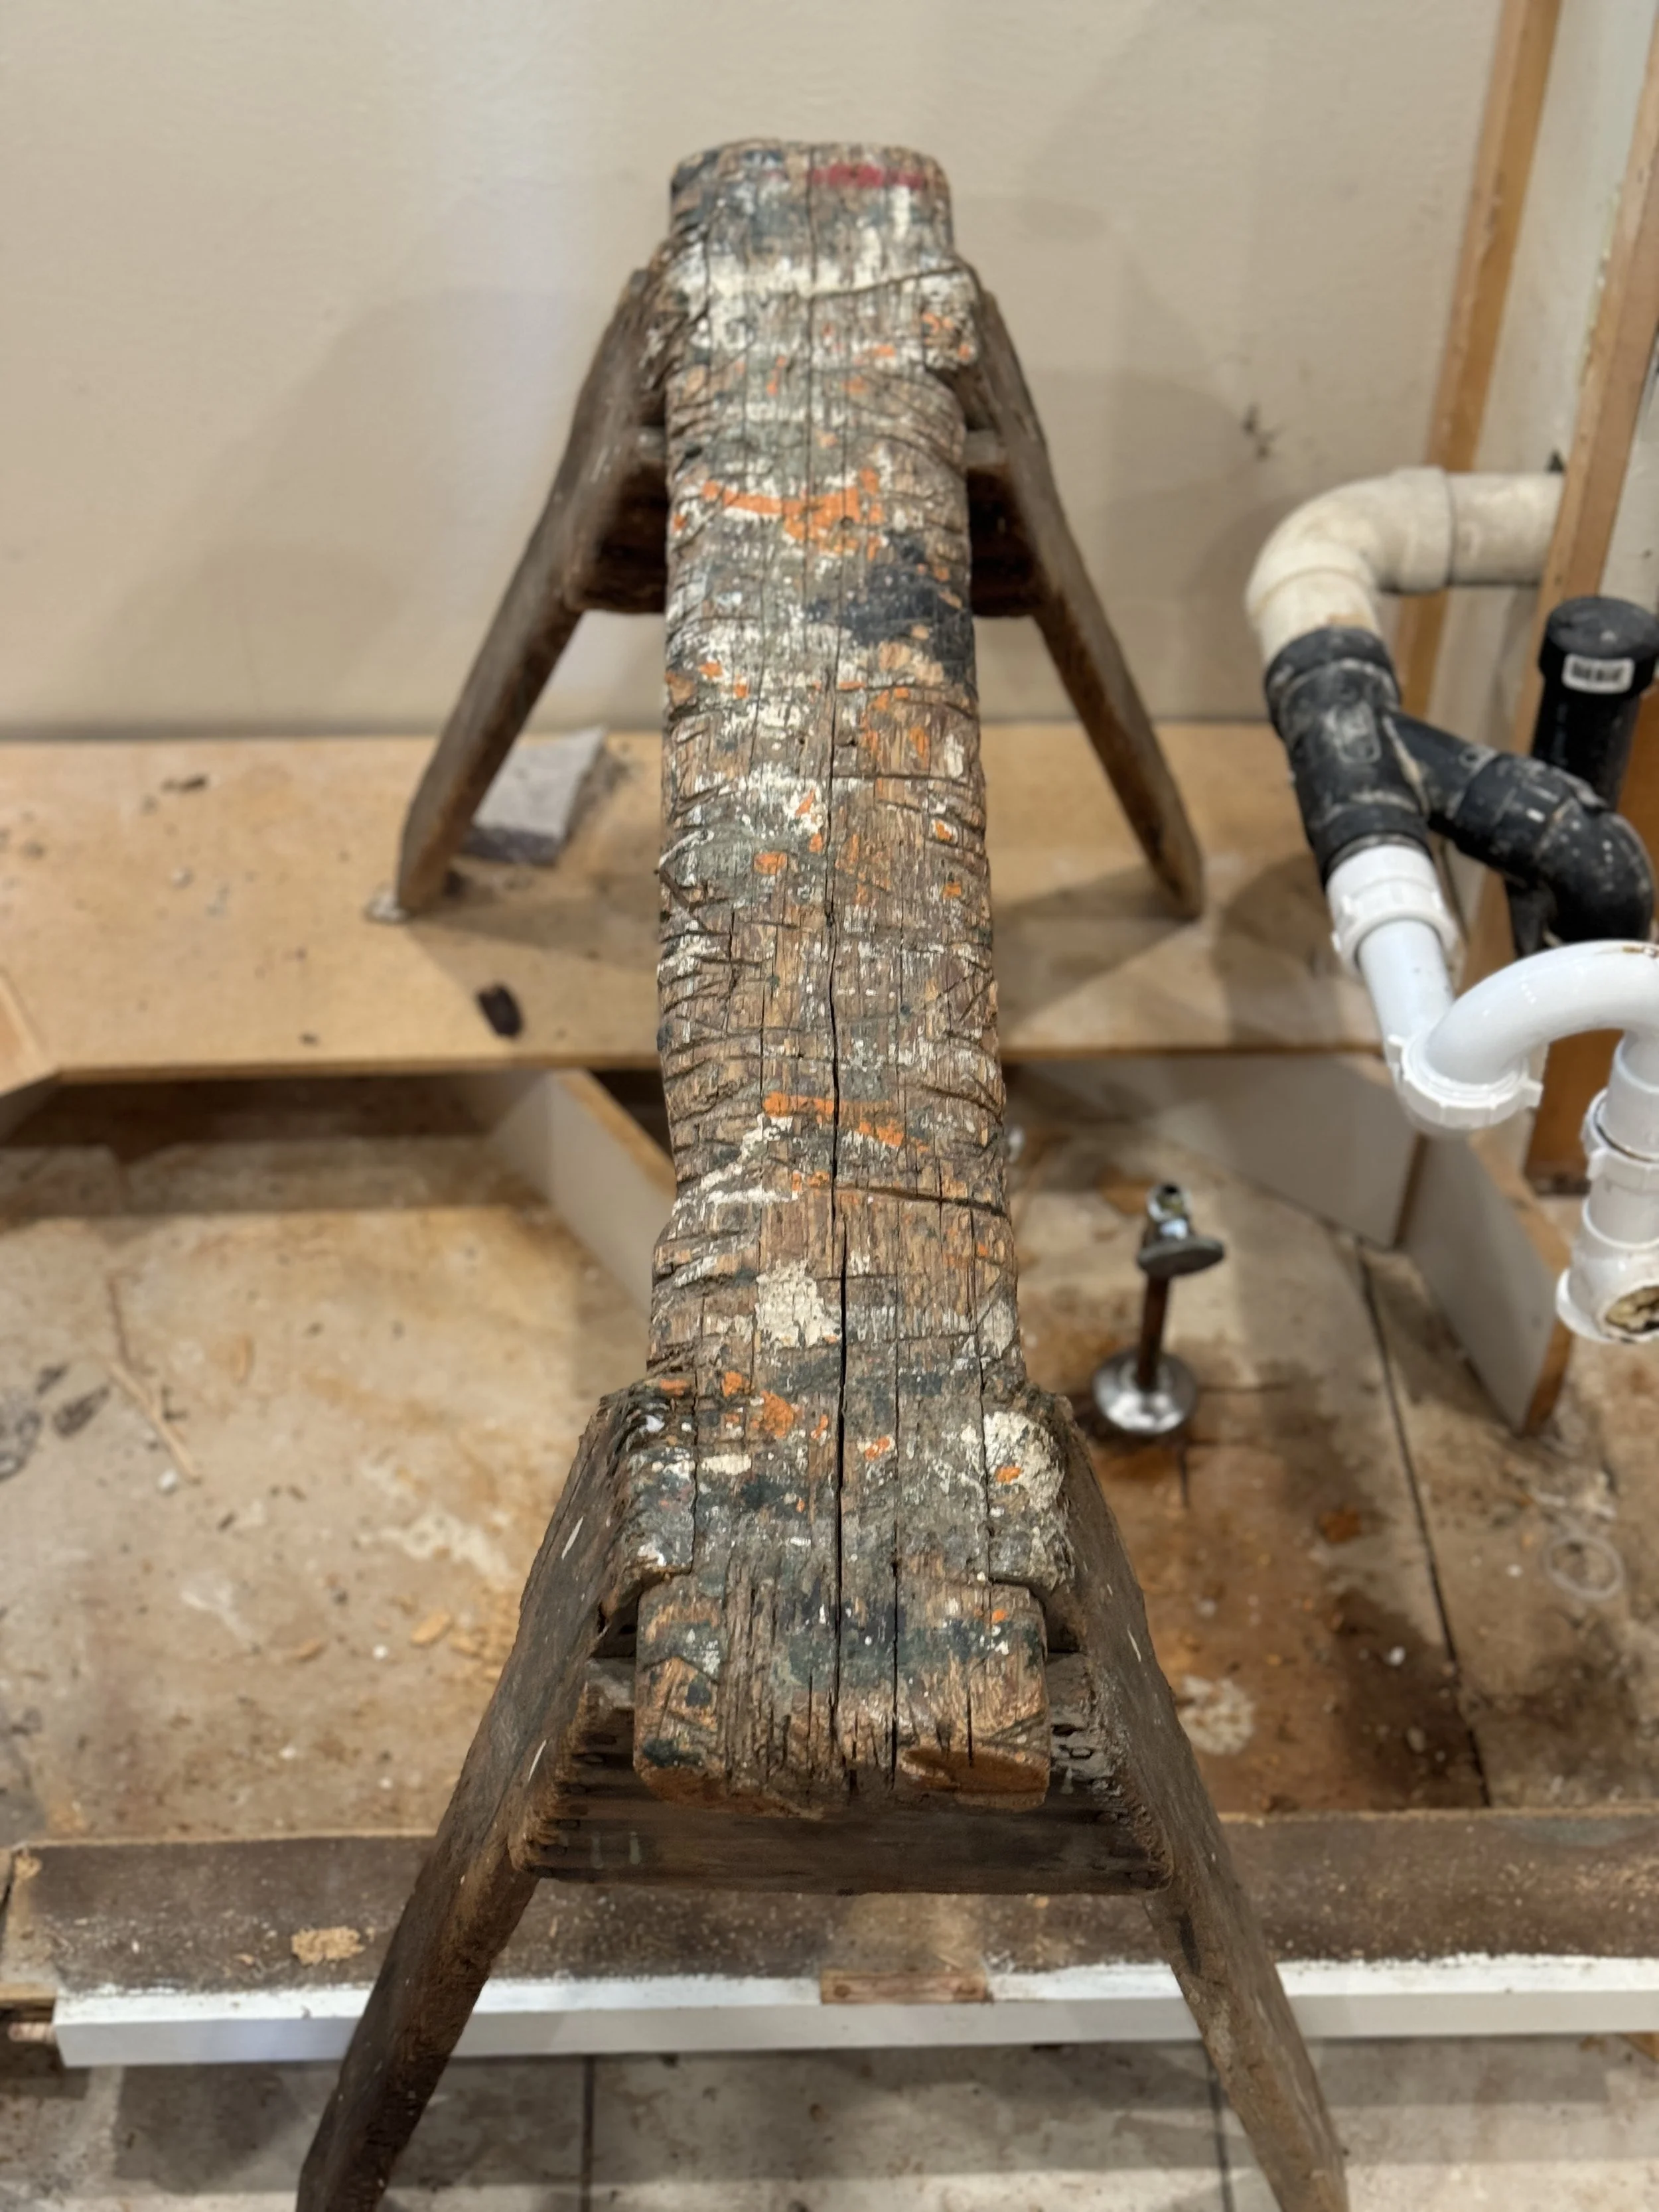
My Grandpa Van Zandt's 90-year old handmade sawhorses are seeing a lot of action in this project... I love these, they look like art to me. The orange paint is from when my Dad painted his front door orange... in 1976.
I also finished insulating the inside of the outside drain line housings...

...and sealed them up. They still need to be painted, though, which I'll do in the Fall.
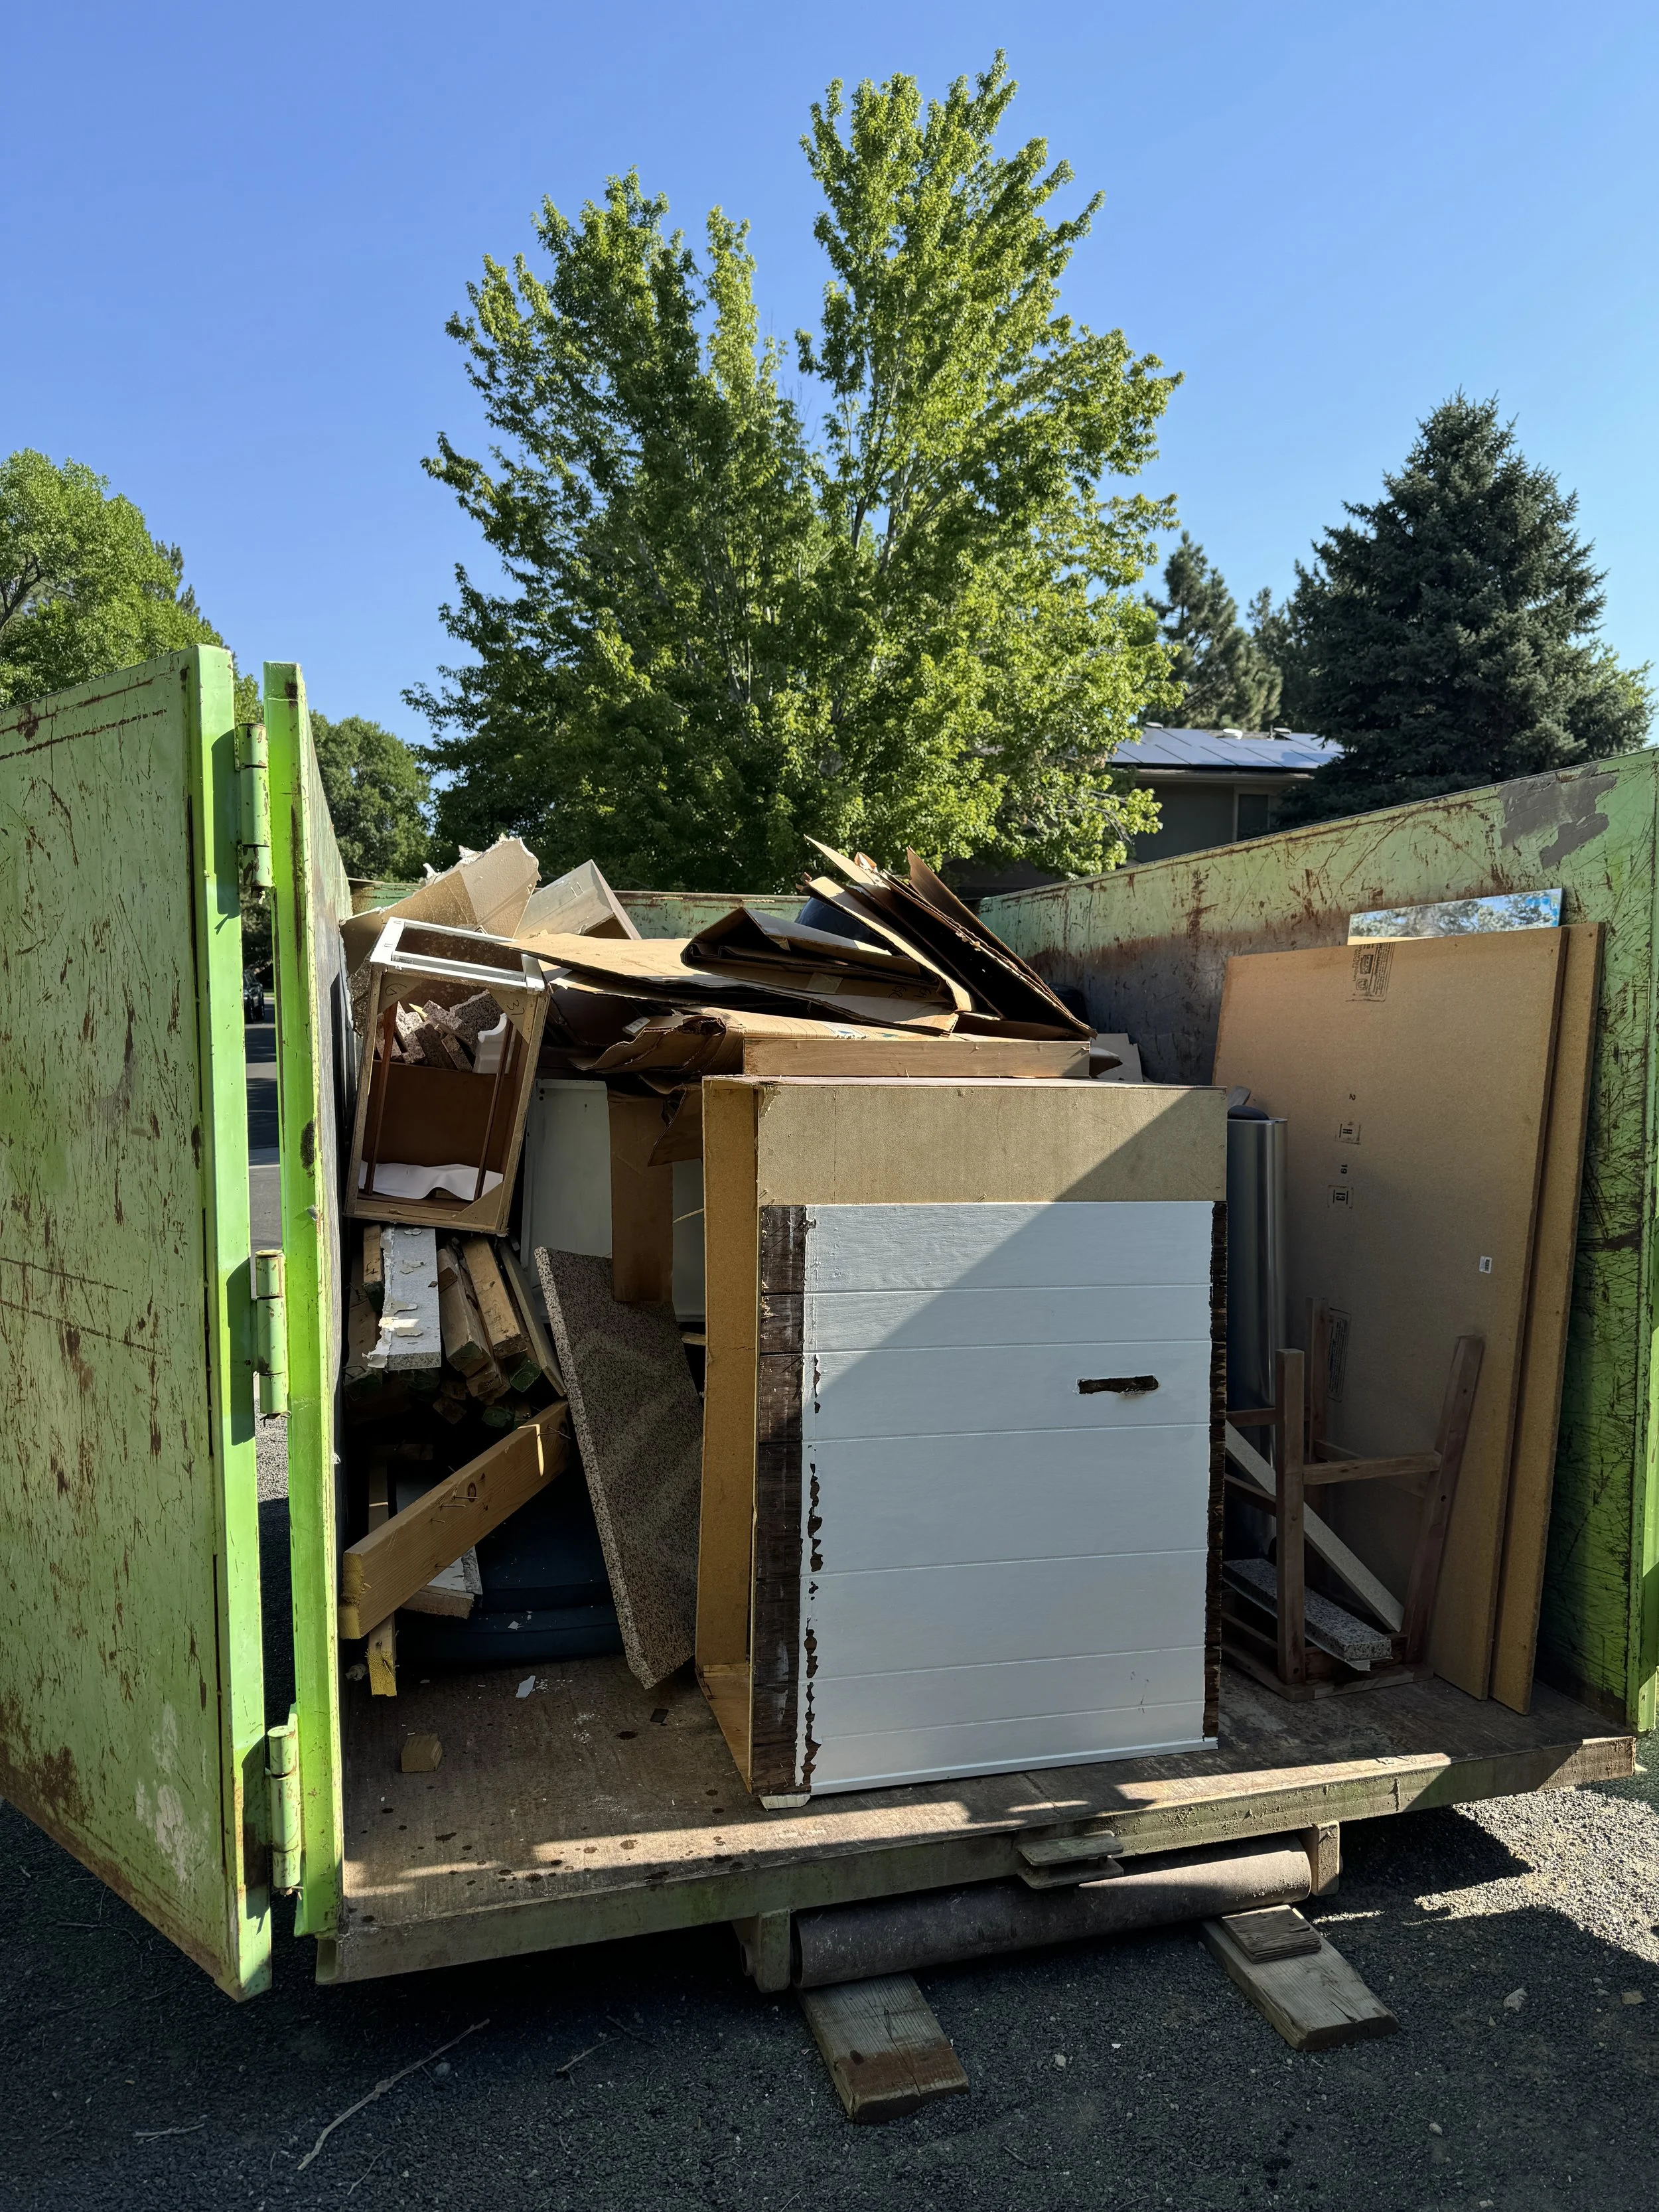
There's our old kitchen, in the dumpster! Breaking up the granite with a sledgehammer was really fun, but that stuff is HEAVY!
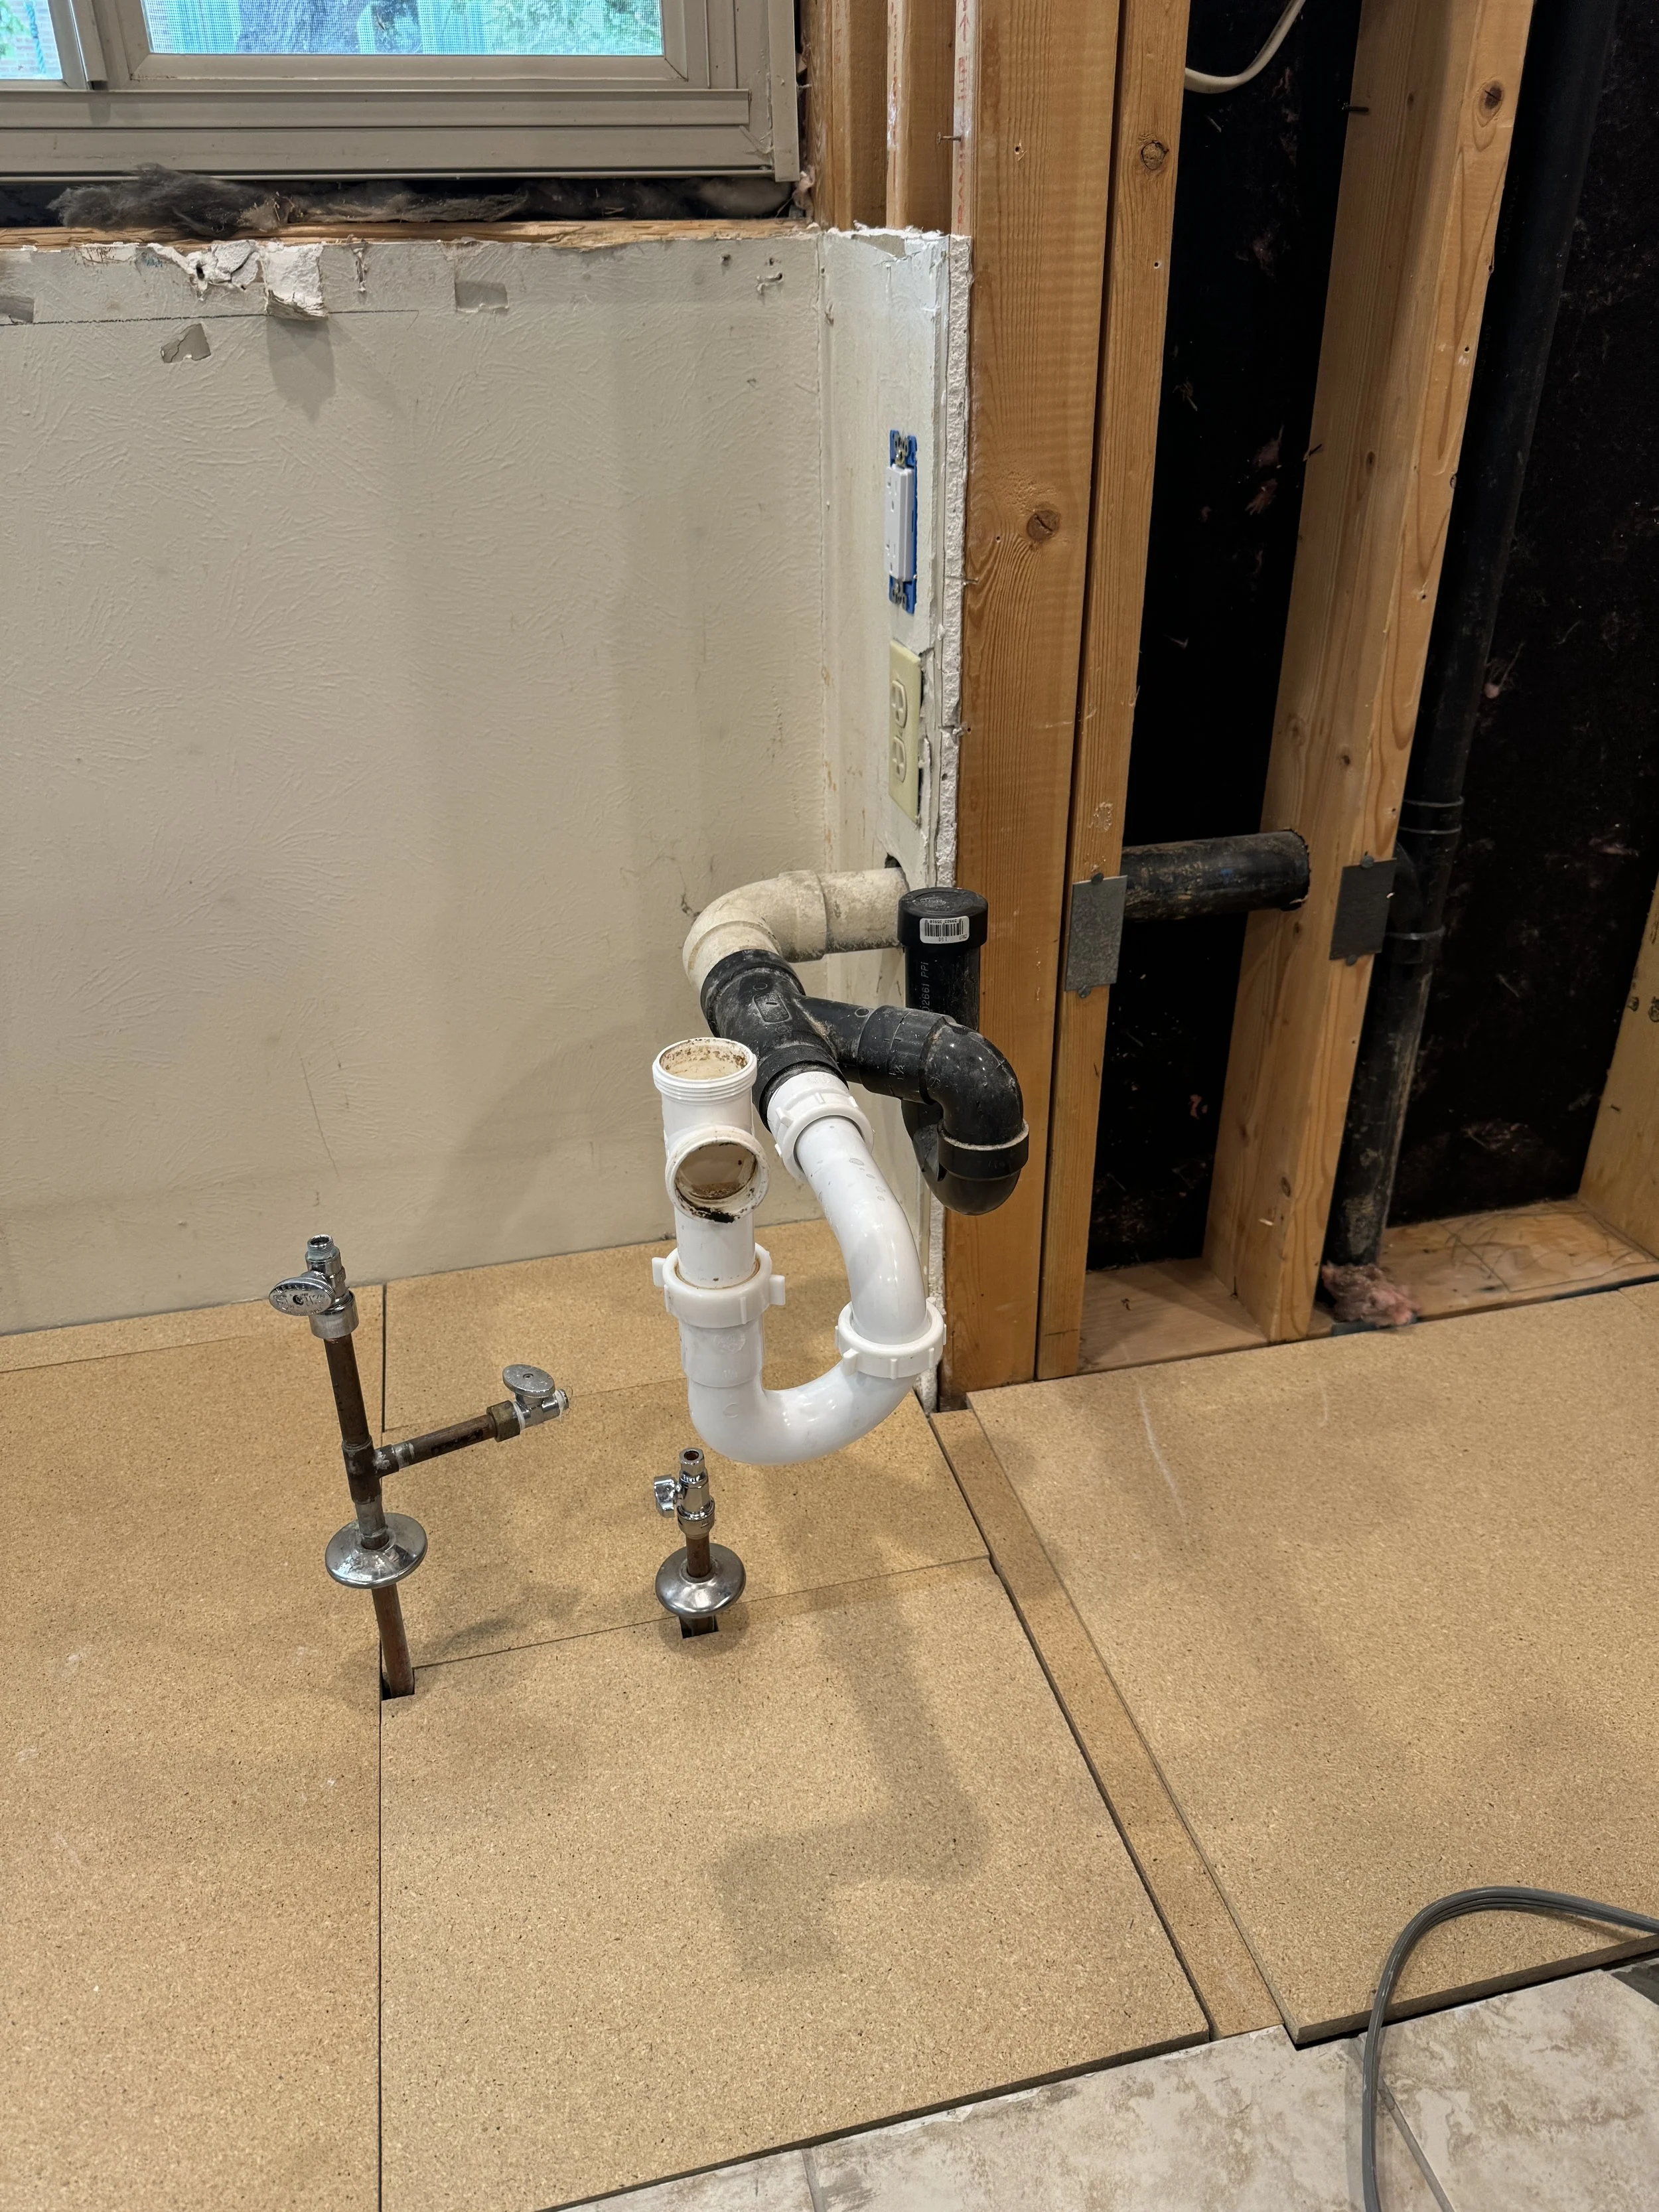
I had to clean this up, re-route the water supply lines, and reconfigure the drain lines... There is no way to slide the new sink base cabinet to the wall, the way this is here.
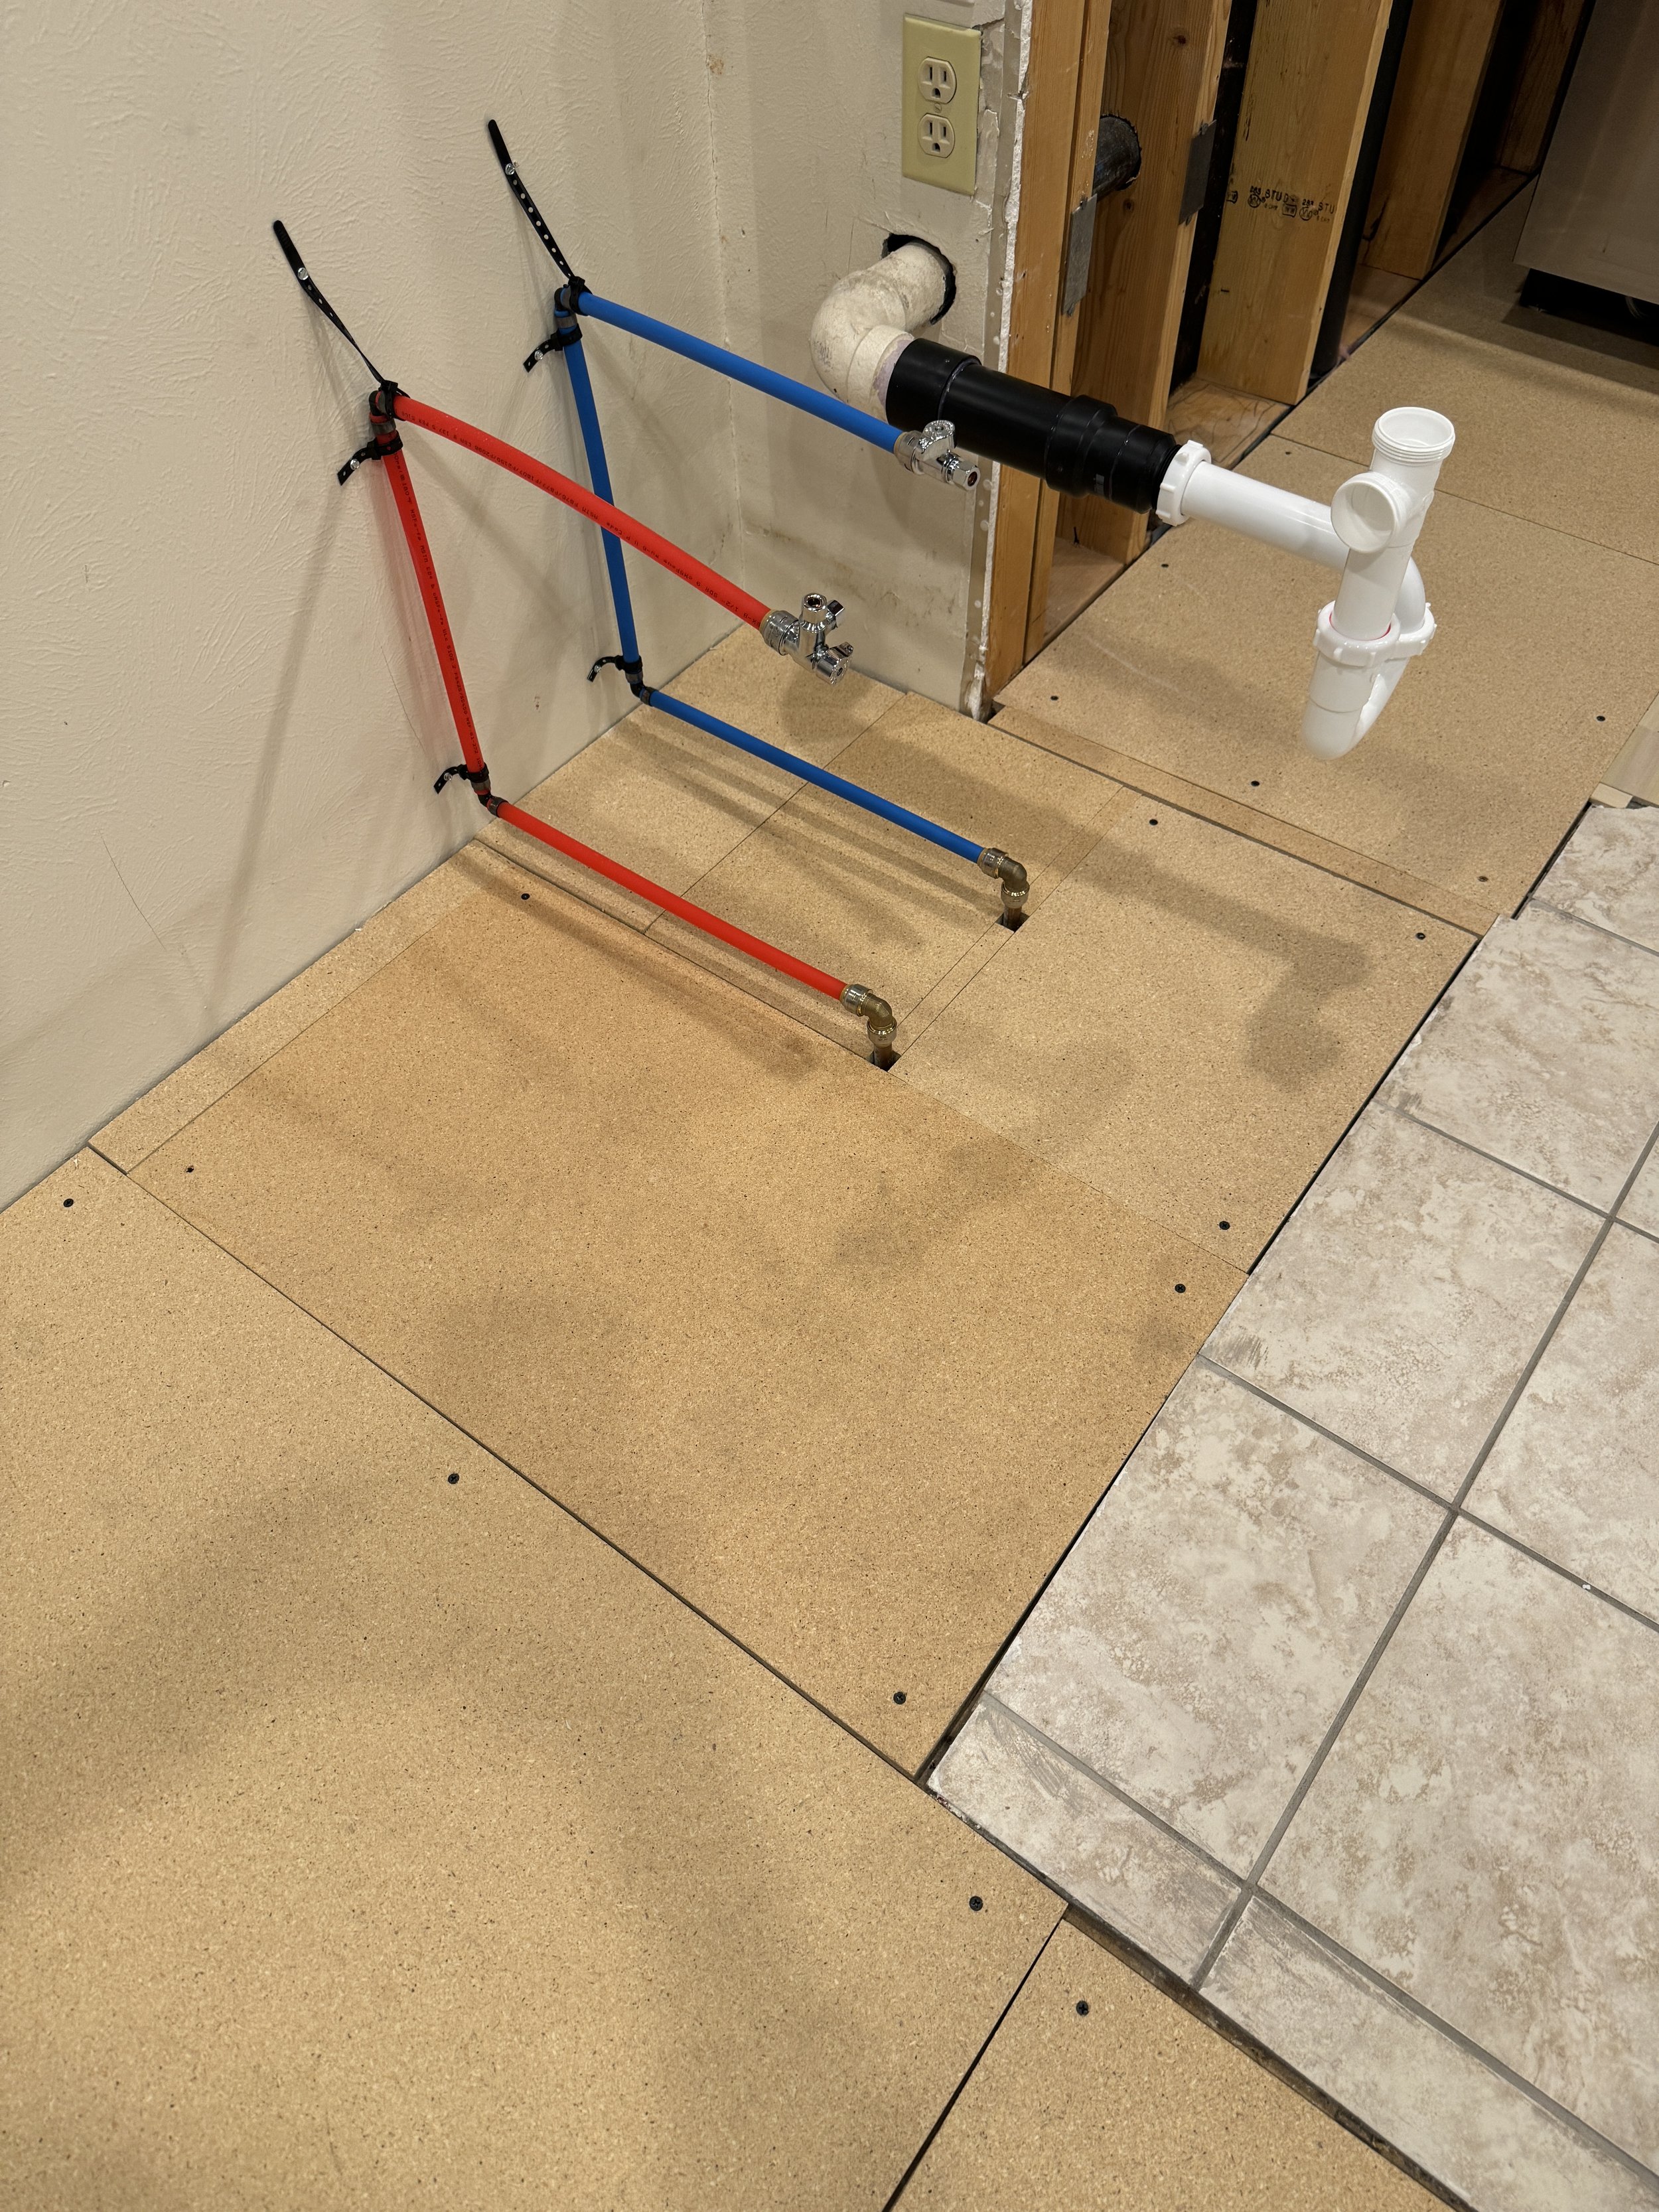
Much better, everything clean and new. :)
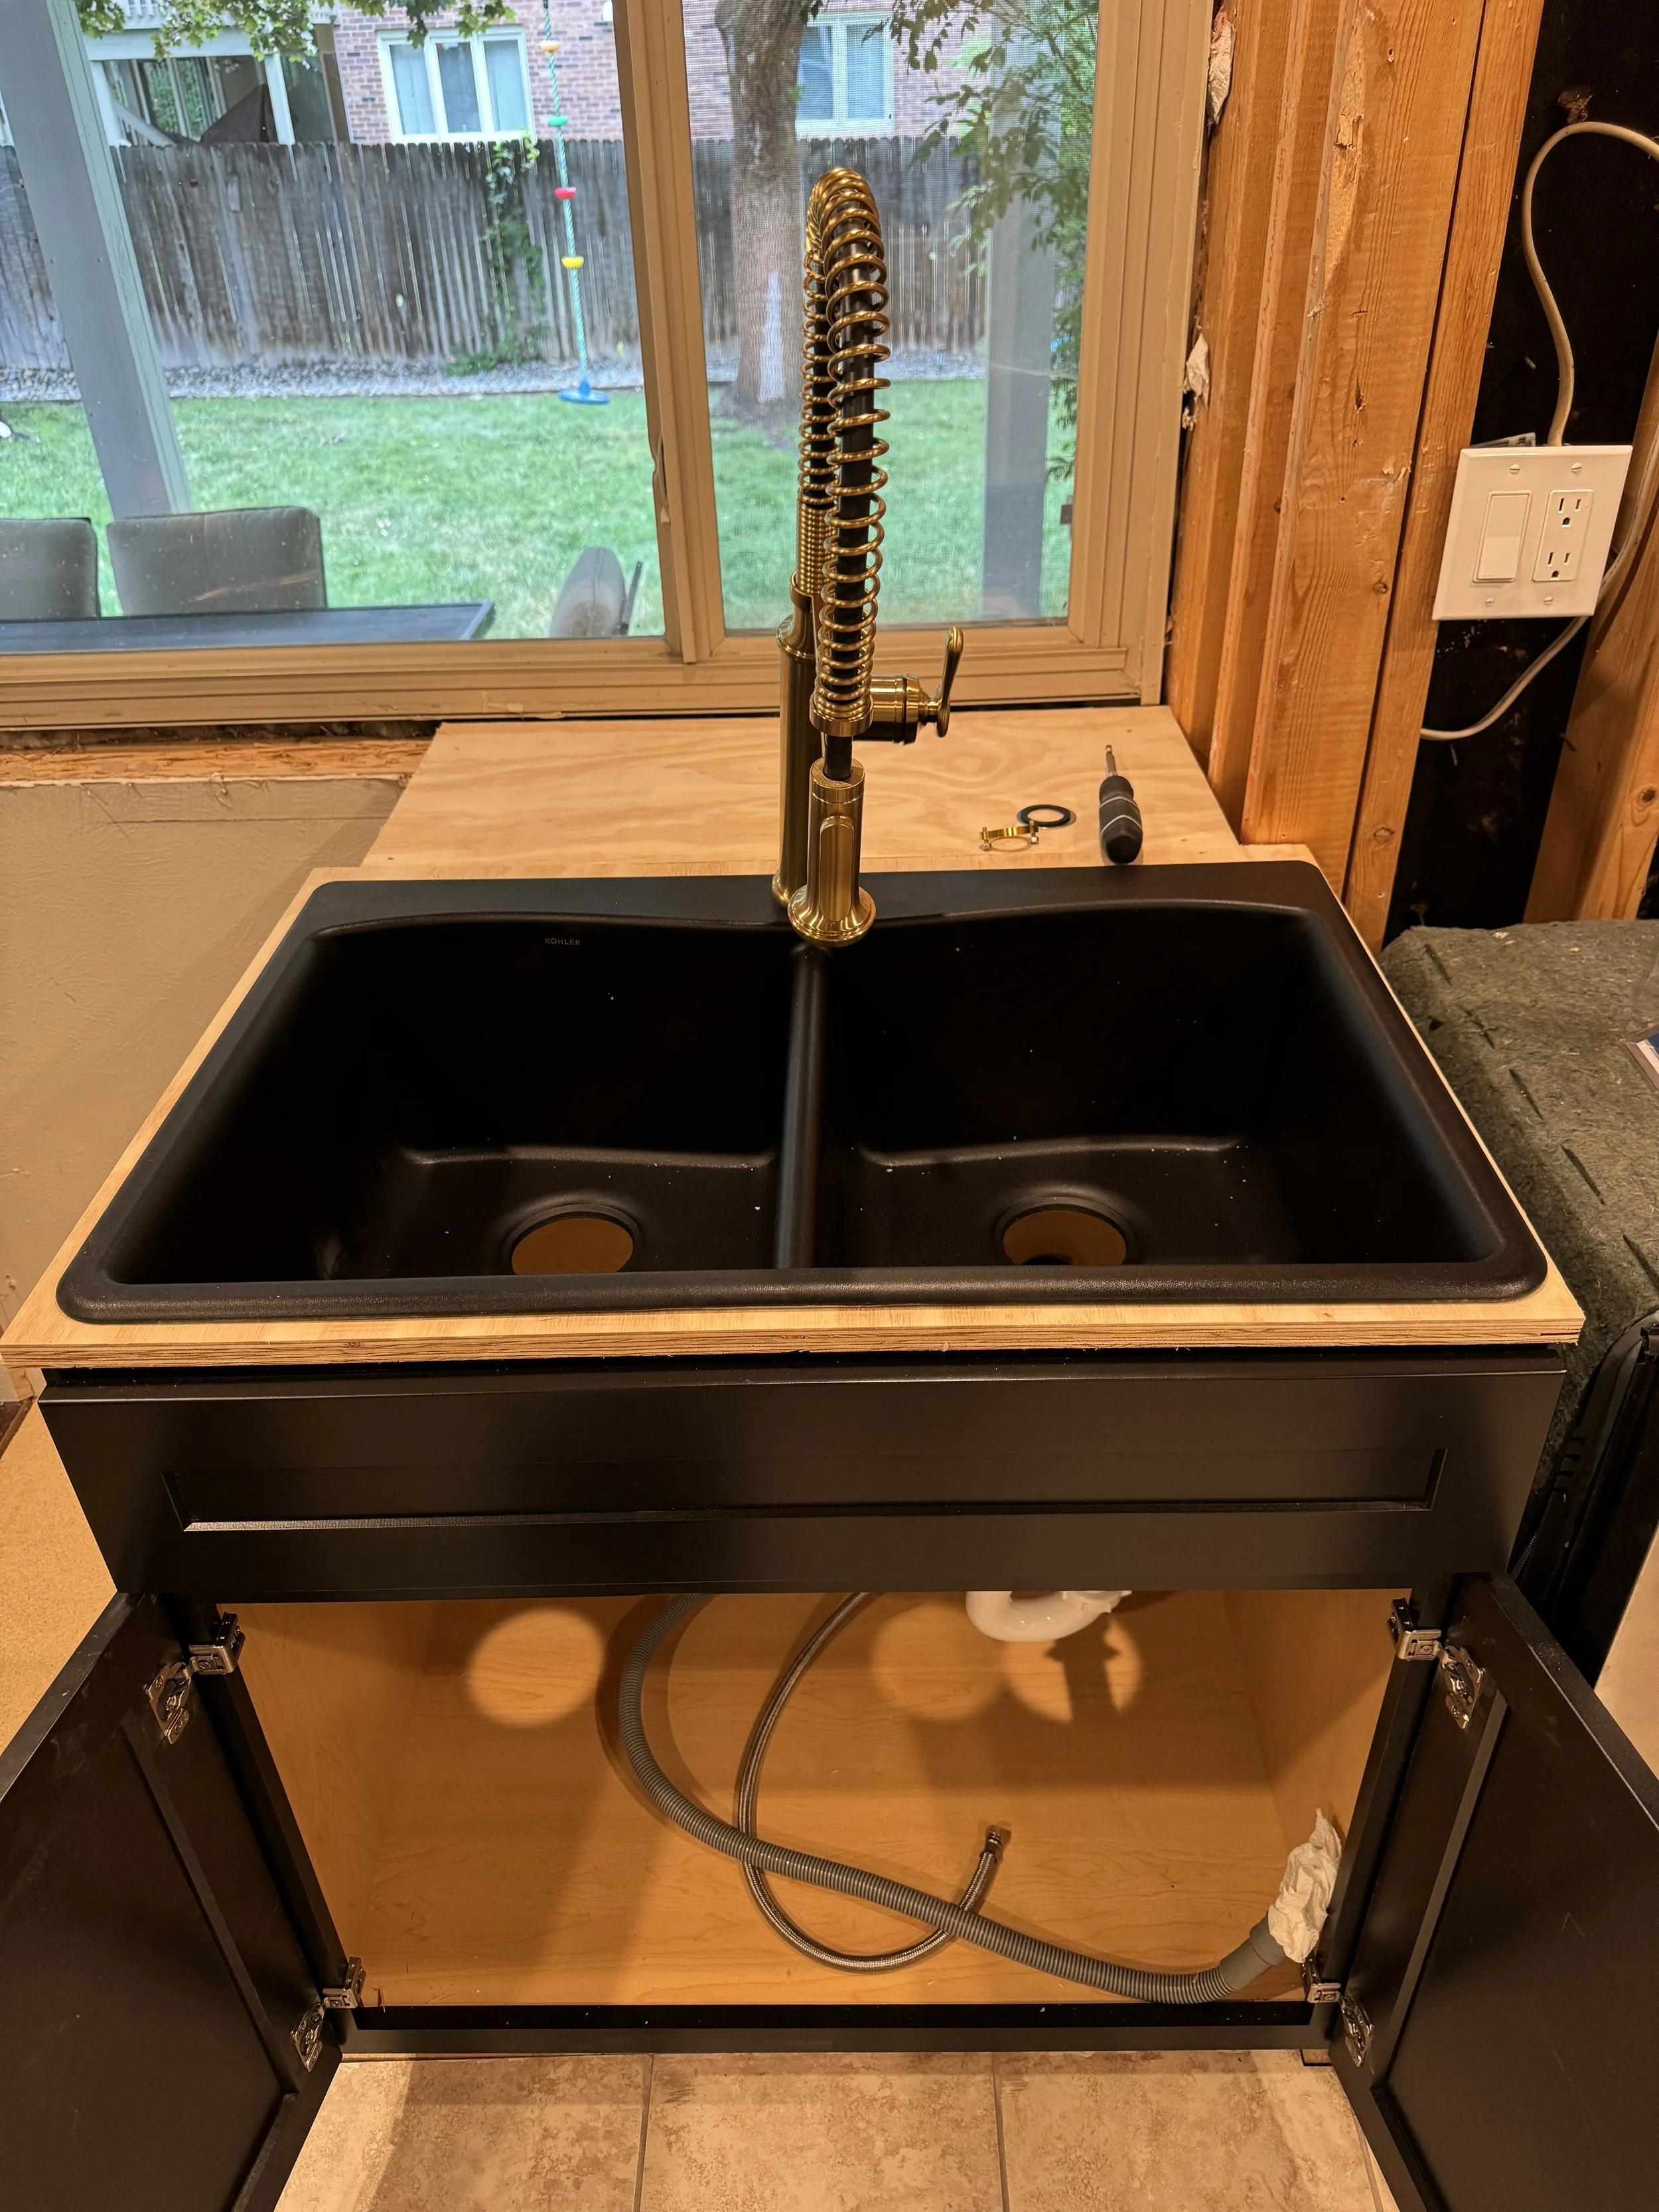
And now I can install the new sink base, sink, faucet, and disposal. Good to have a sink again!

Next is getting the ducting in place for the new range hood... I had to use the sledgehammer to get access to where the duct had to go.

Then I had to use a 6.5" hole saw to run the range hood ducting out of the house...
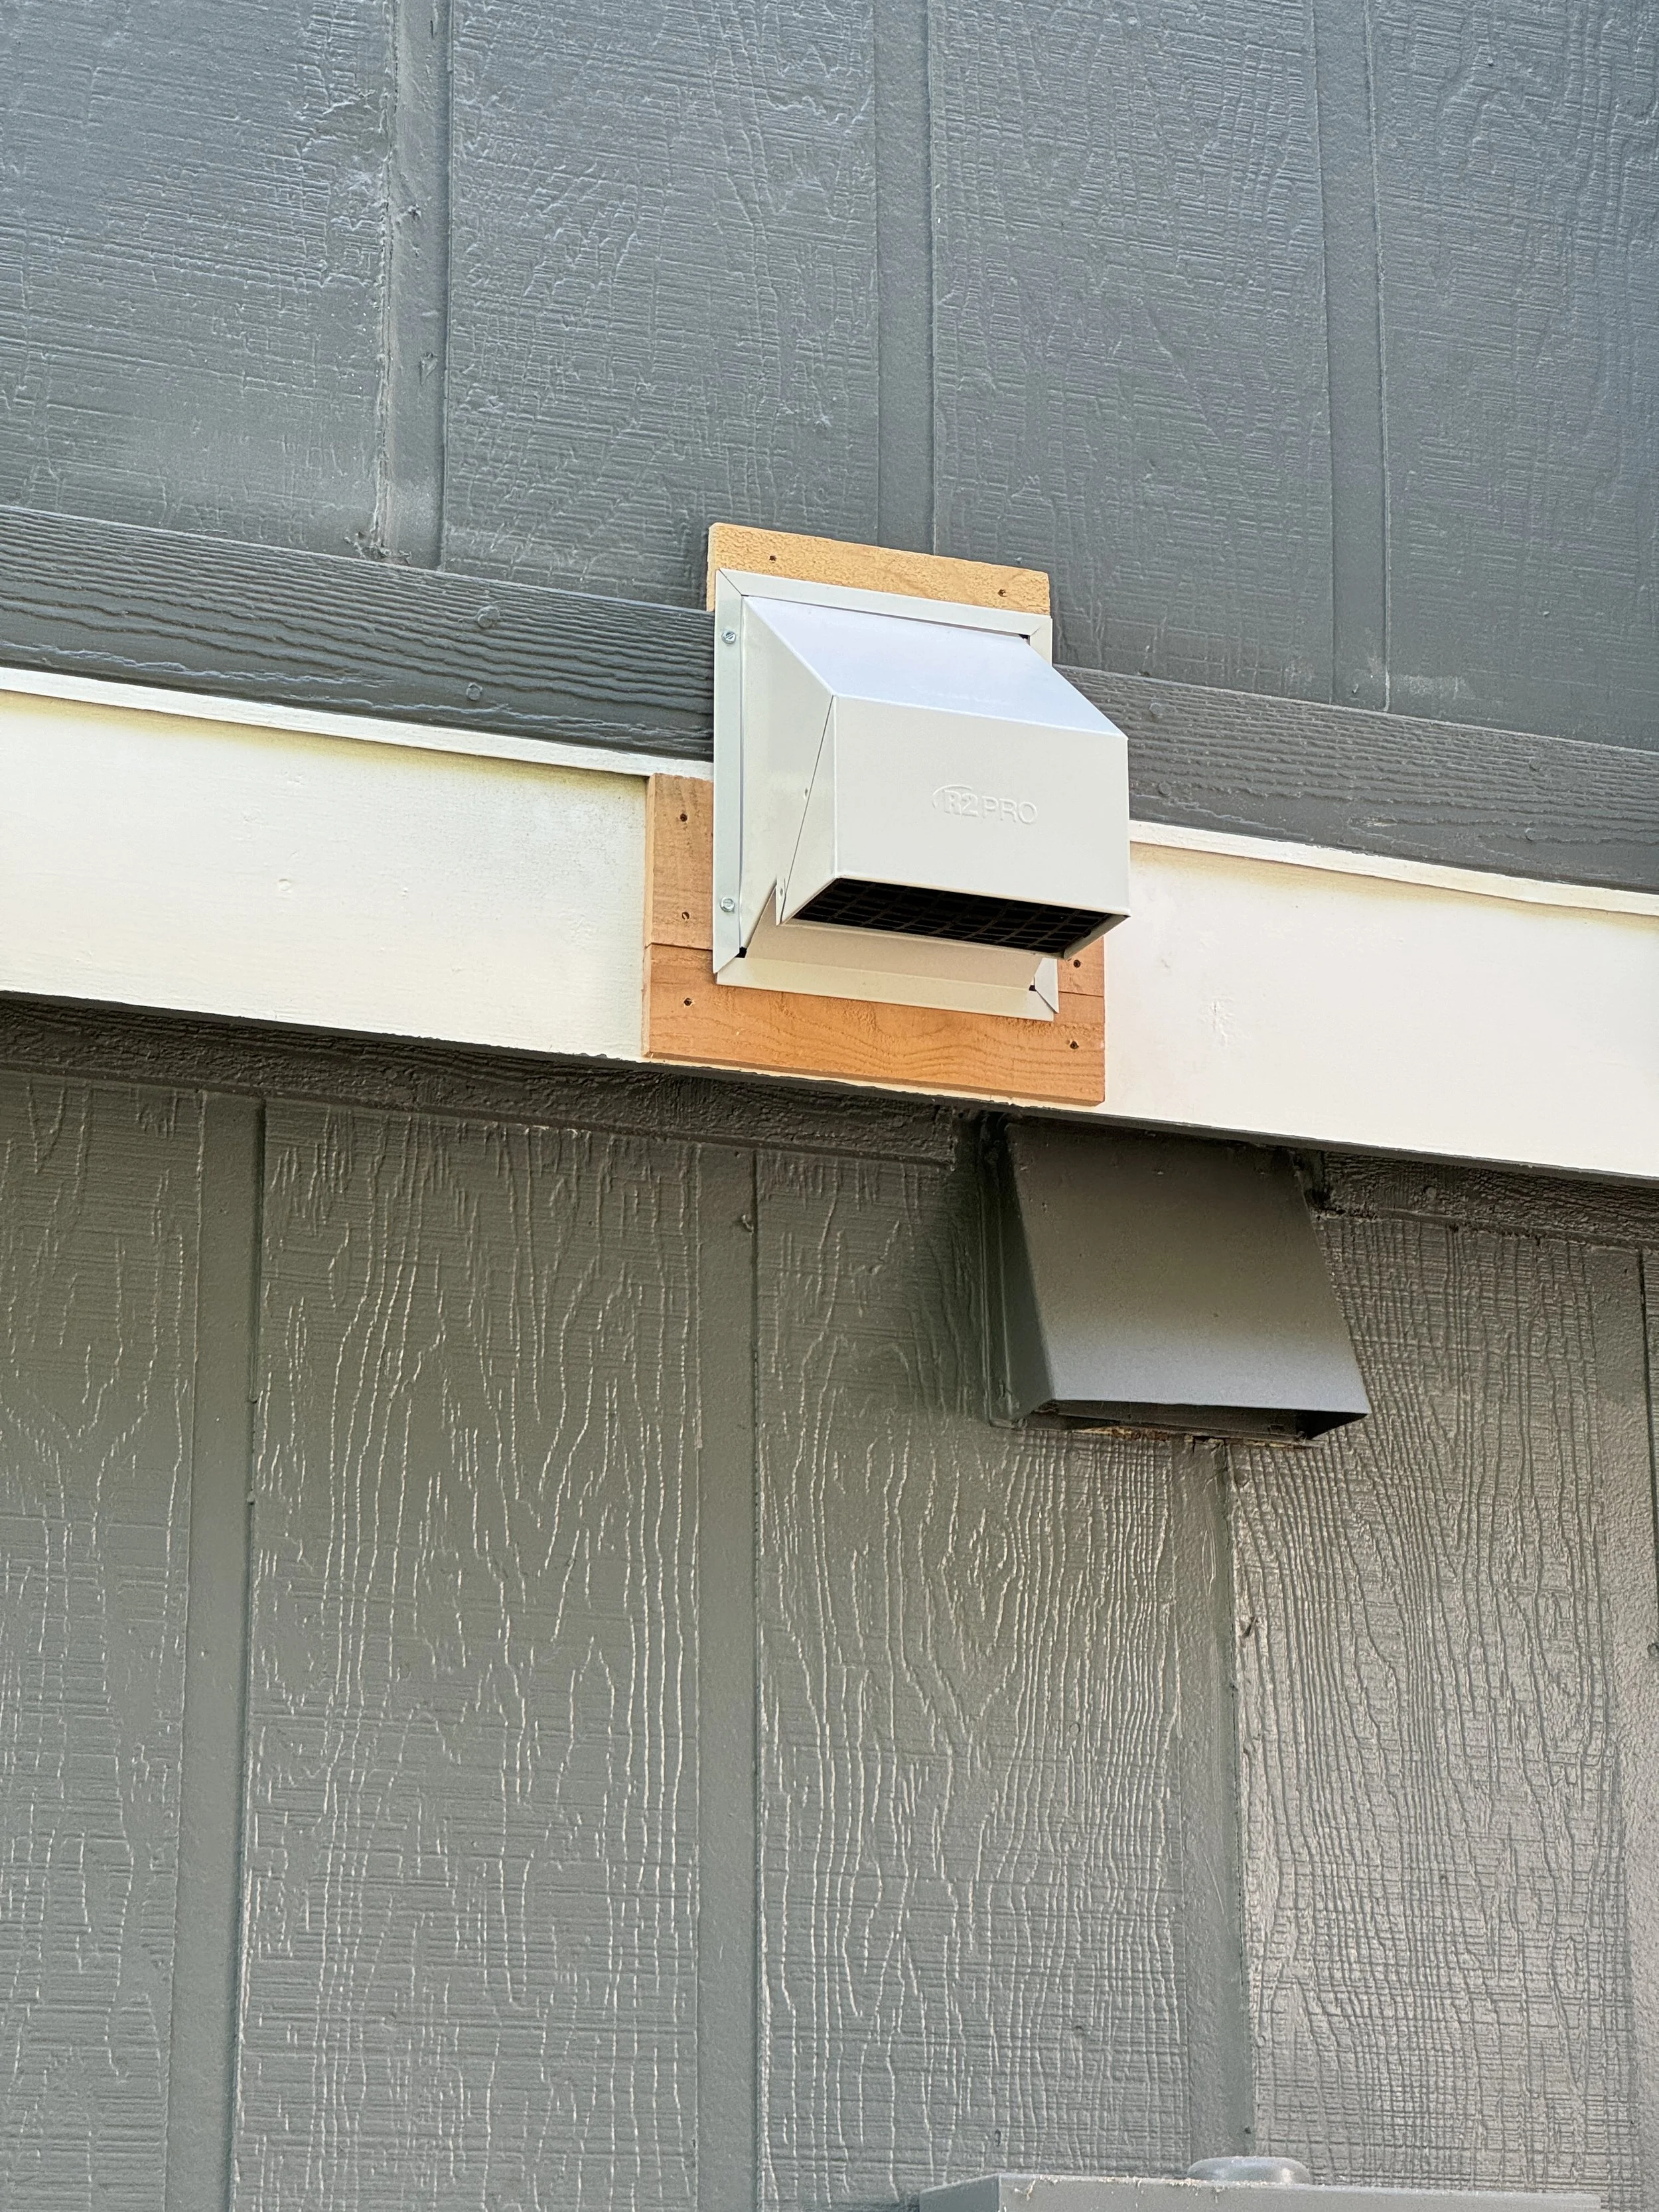
Then add the duct hood to the exterior, and seal it up.

And there it is, coming in exactly where it needed to be. :)

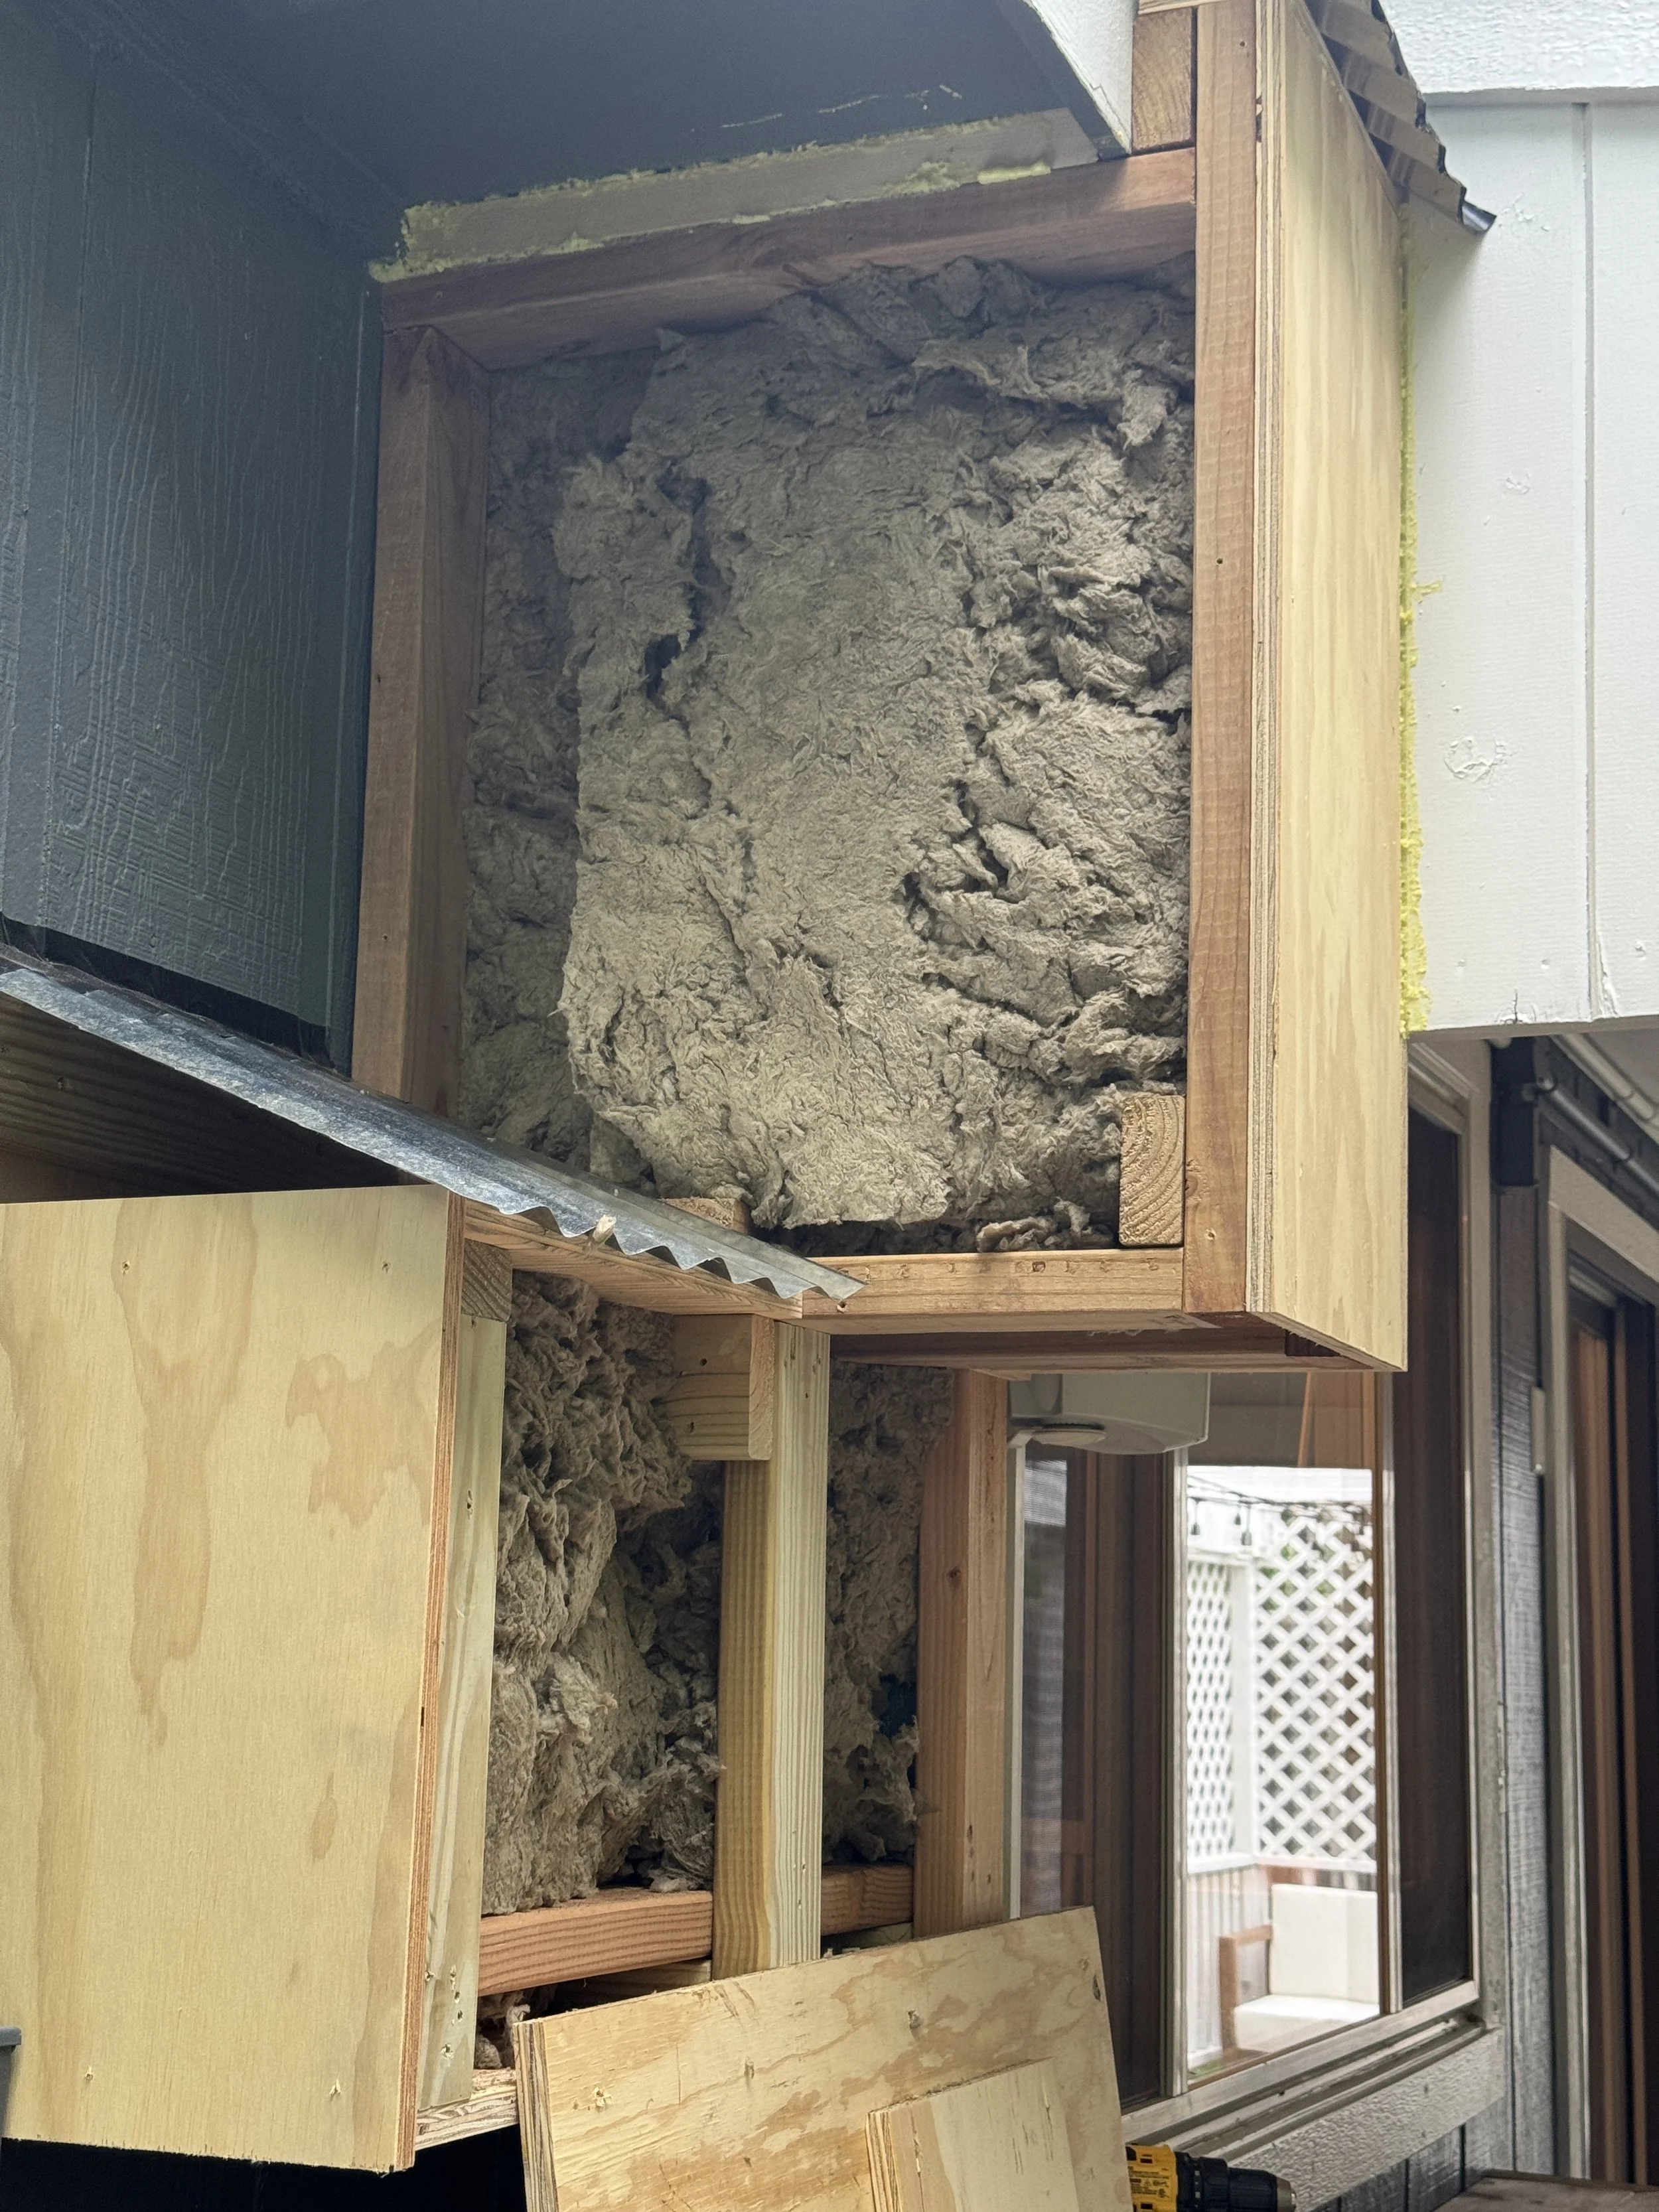
Next, I needed to insulate the exterior walls. I went with Rockwool insulation (like I did in the basement), because it has a higher R-value, doesn't absorb water (so no mold or mildew), and is incredibly fire-resistant and can act as a fire-stop. So this was an easy decision.
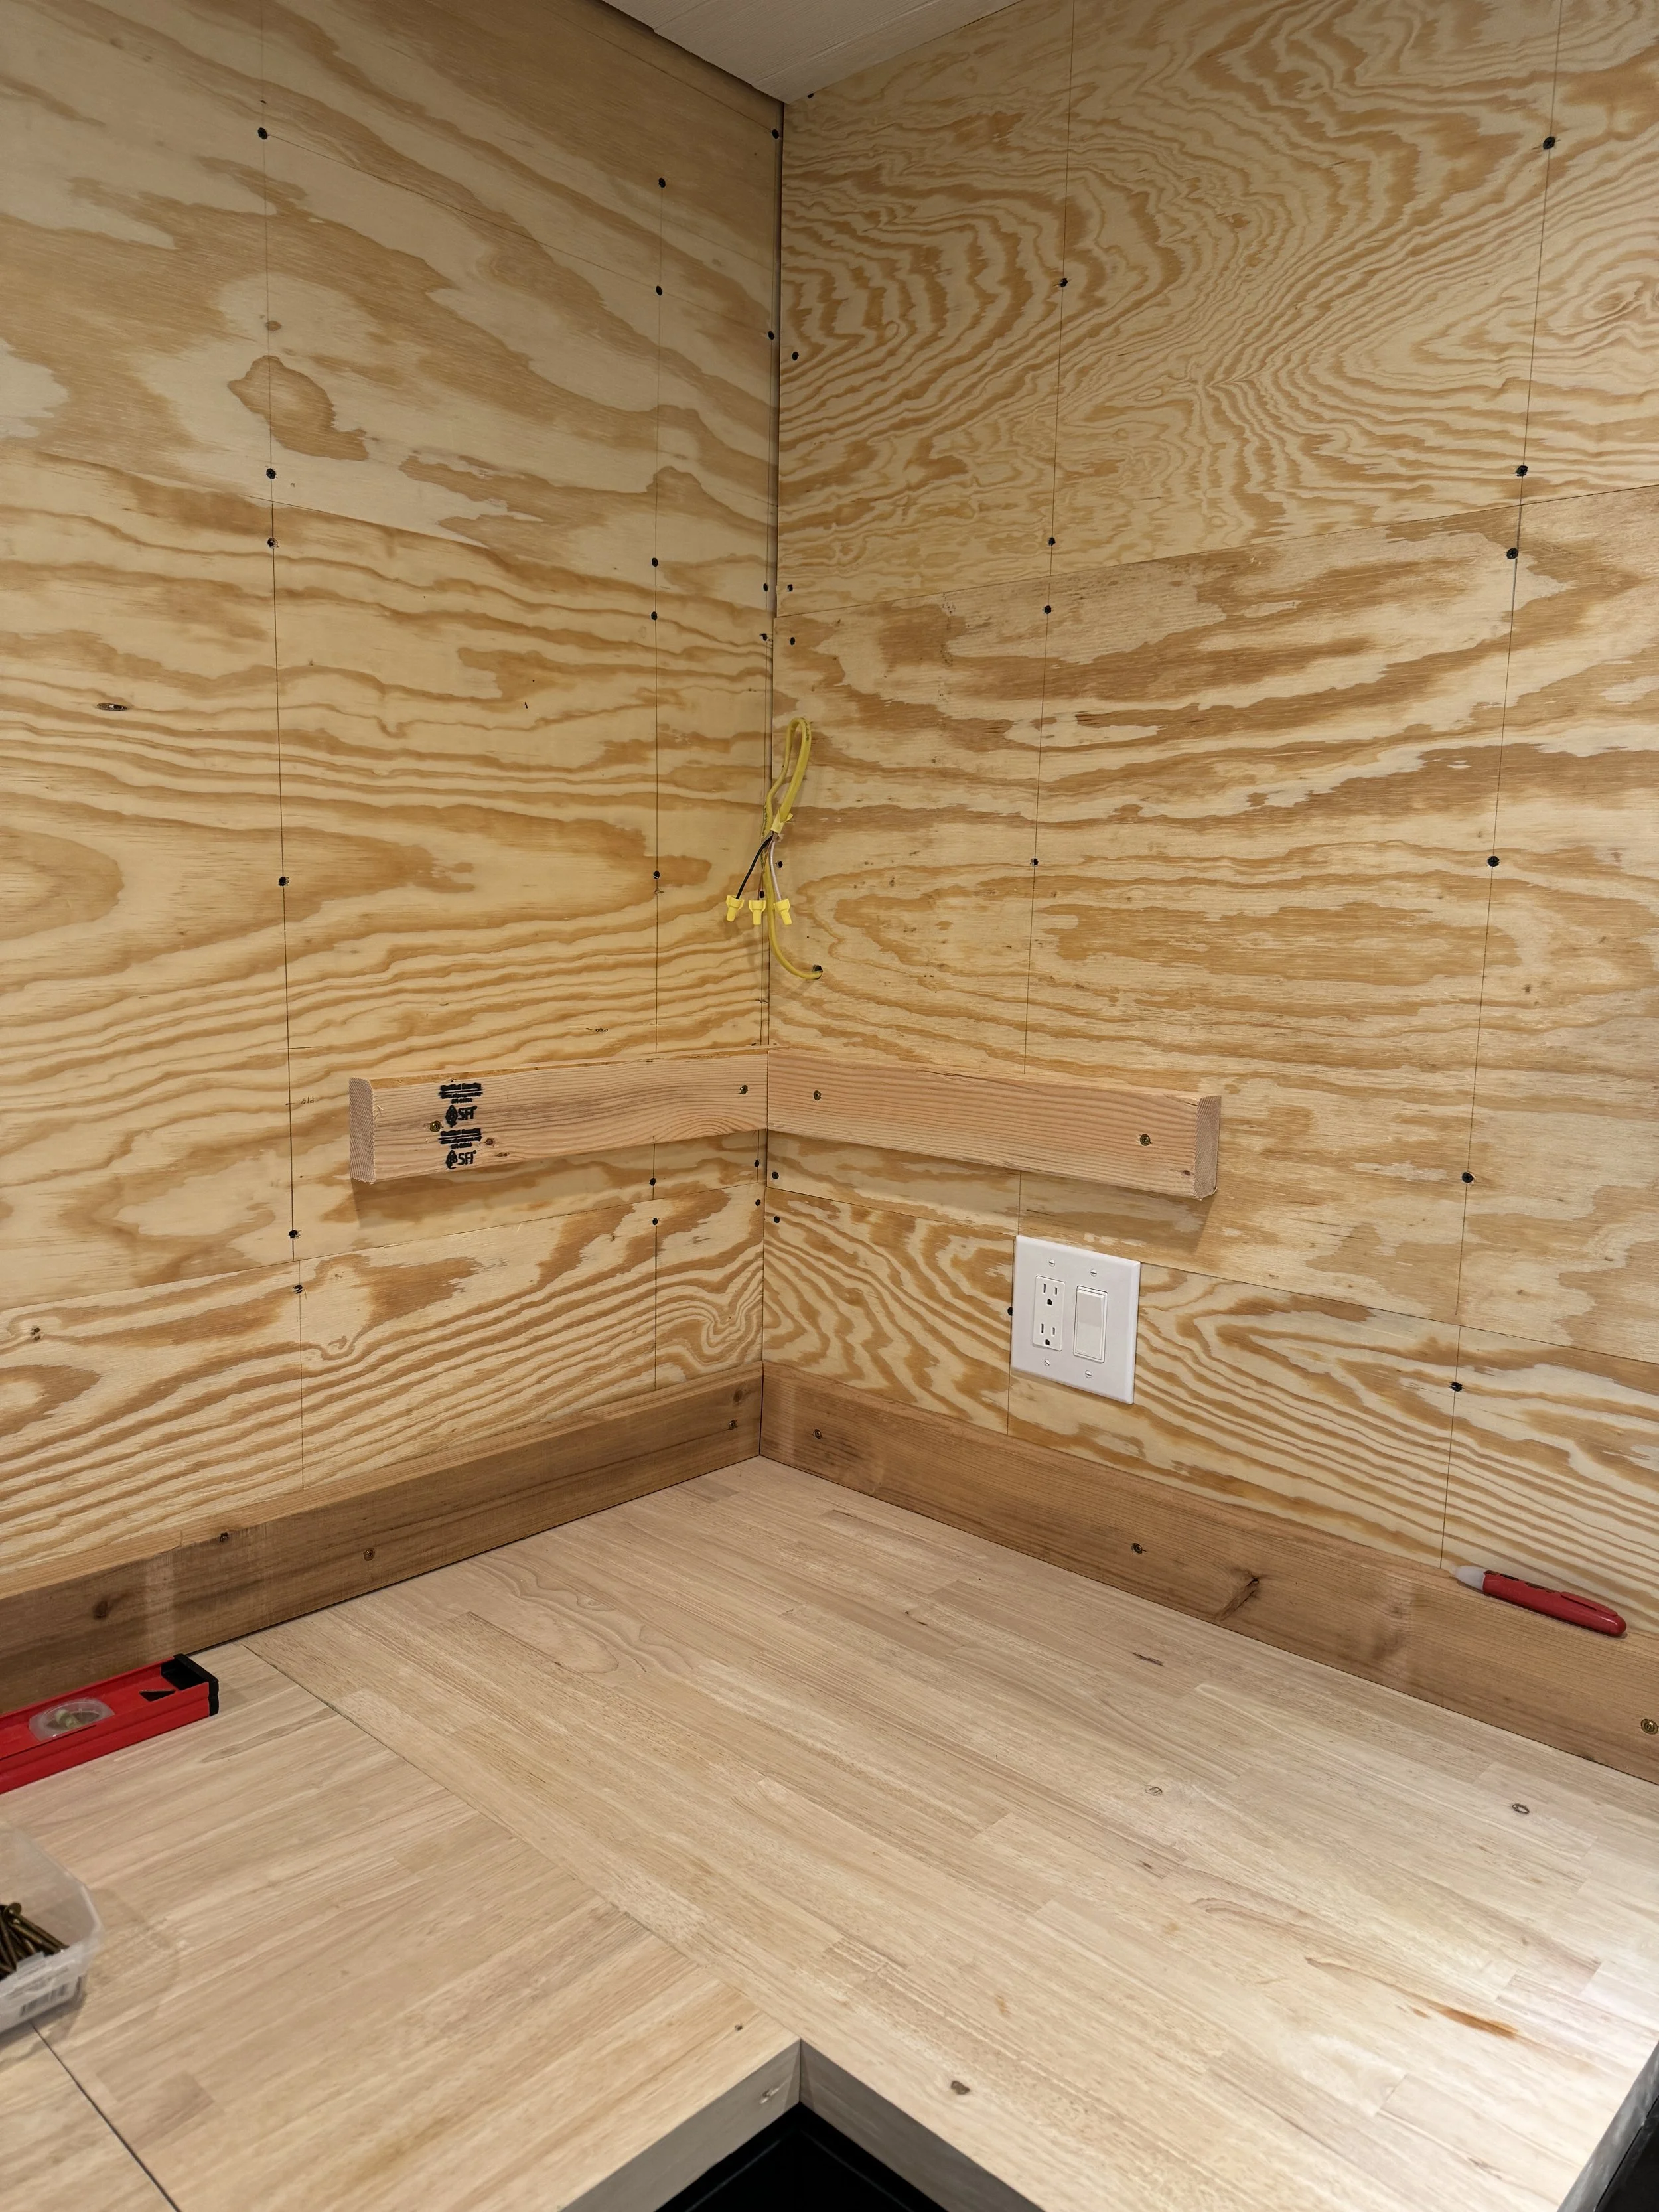
And there we go! All insulated, and ready for sheathing. :)
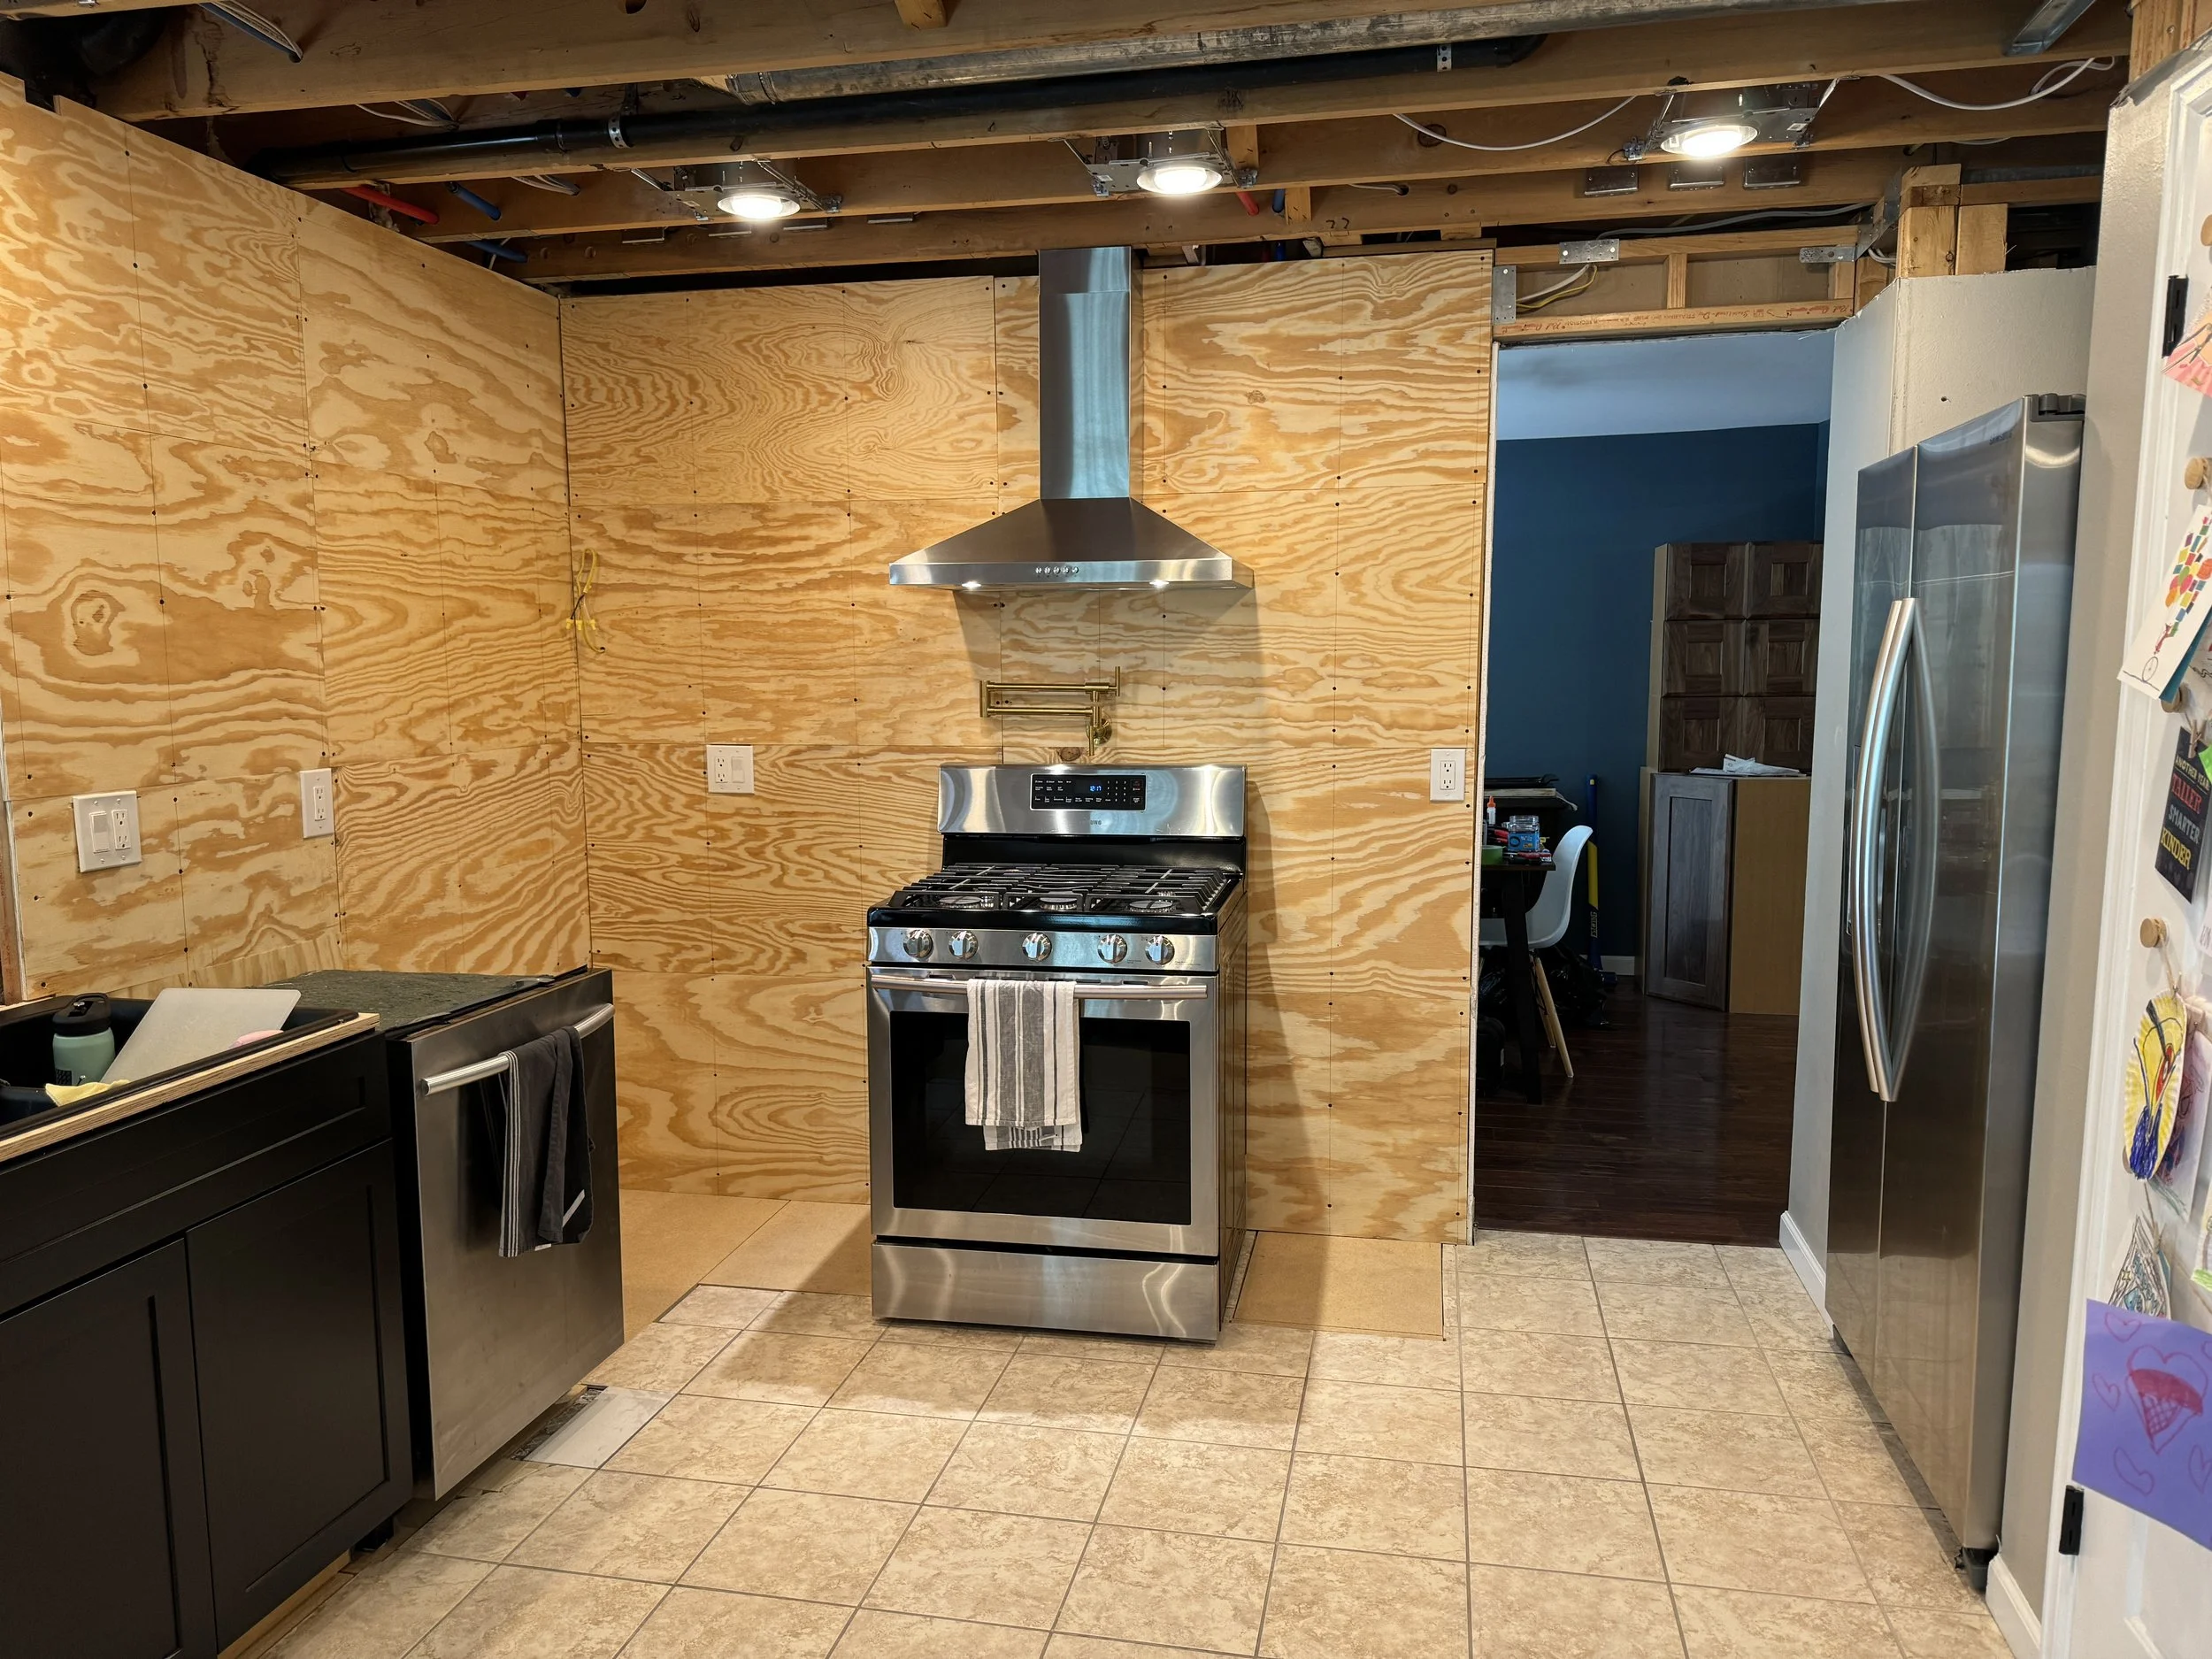
I went with 2x4 sheets of 1/2" plywood, because it's got better insulative properties, and is much easier to work with than drywall... especially since I would need to take the sheathing off as I adjusted the pot filler, range hood, etc. (I started with a stainless steel range hood, then exchanged it for black instead.)

Jamie helping to texture the drywall, getting it to match perfectly with the existing stuff. She also primed and painted it! I really appreciated her help on this part. :)
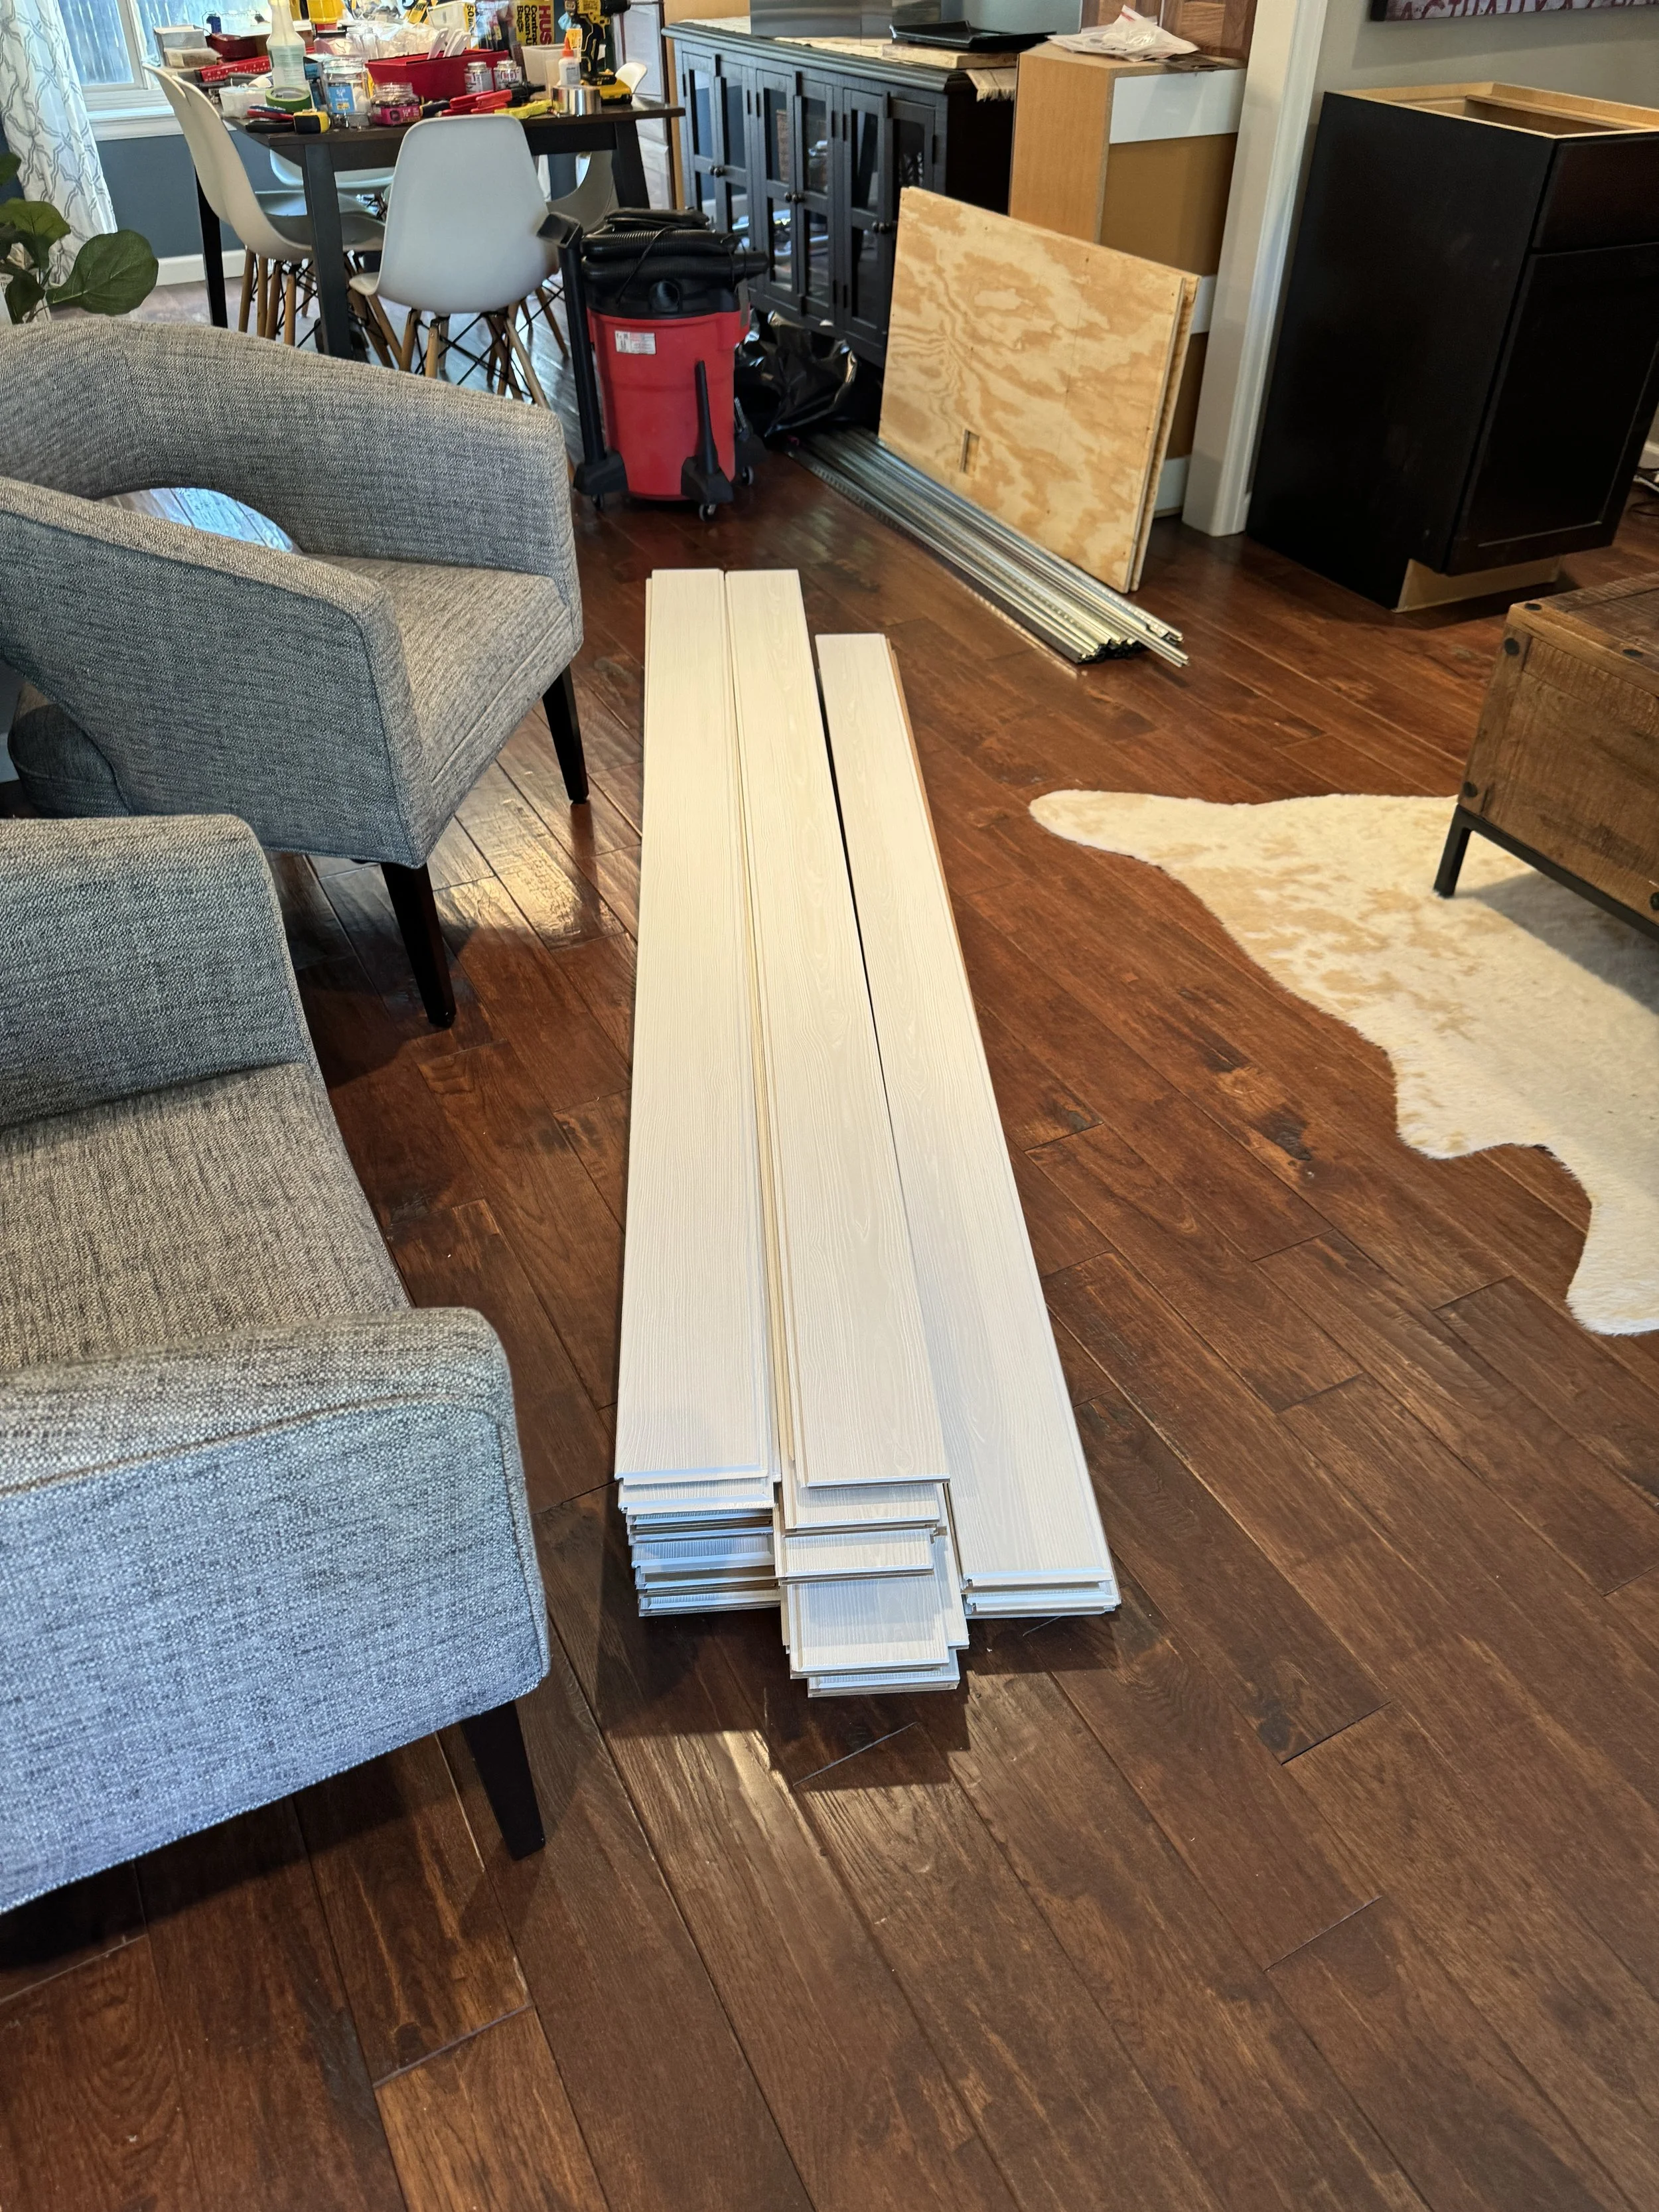
Next... the plank ceiling. This is an Armstrong product, and they have an installation system for it that made it go up really fast.

First I installed the tracks directly to the joists, a maximum of 24" apart...
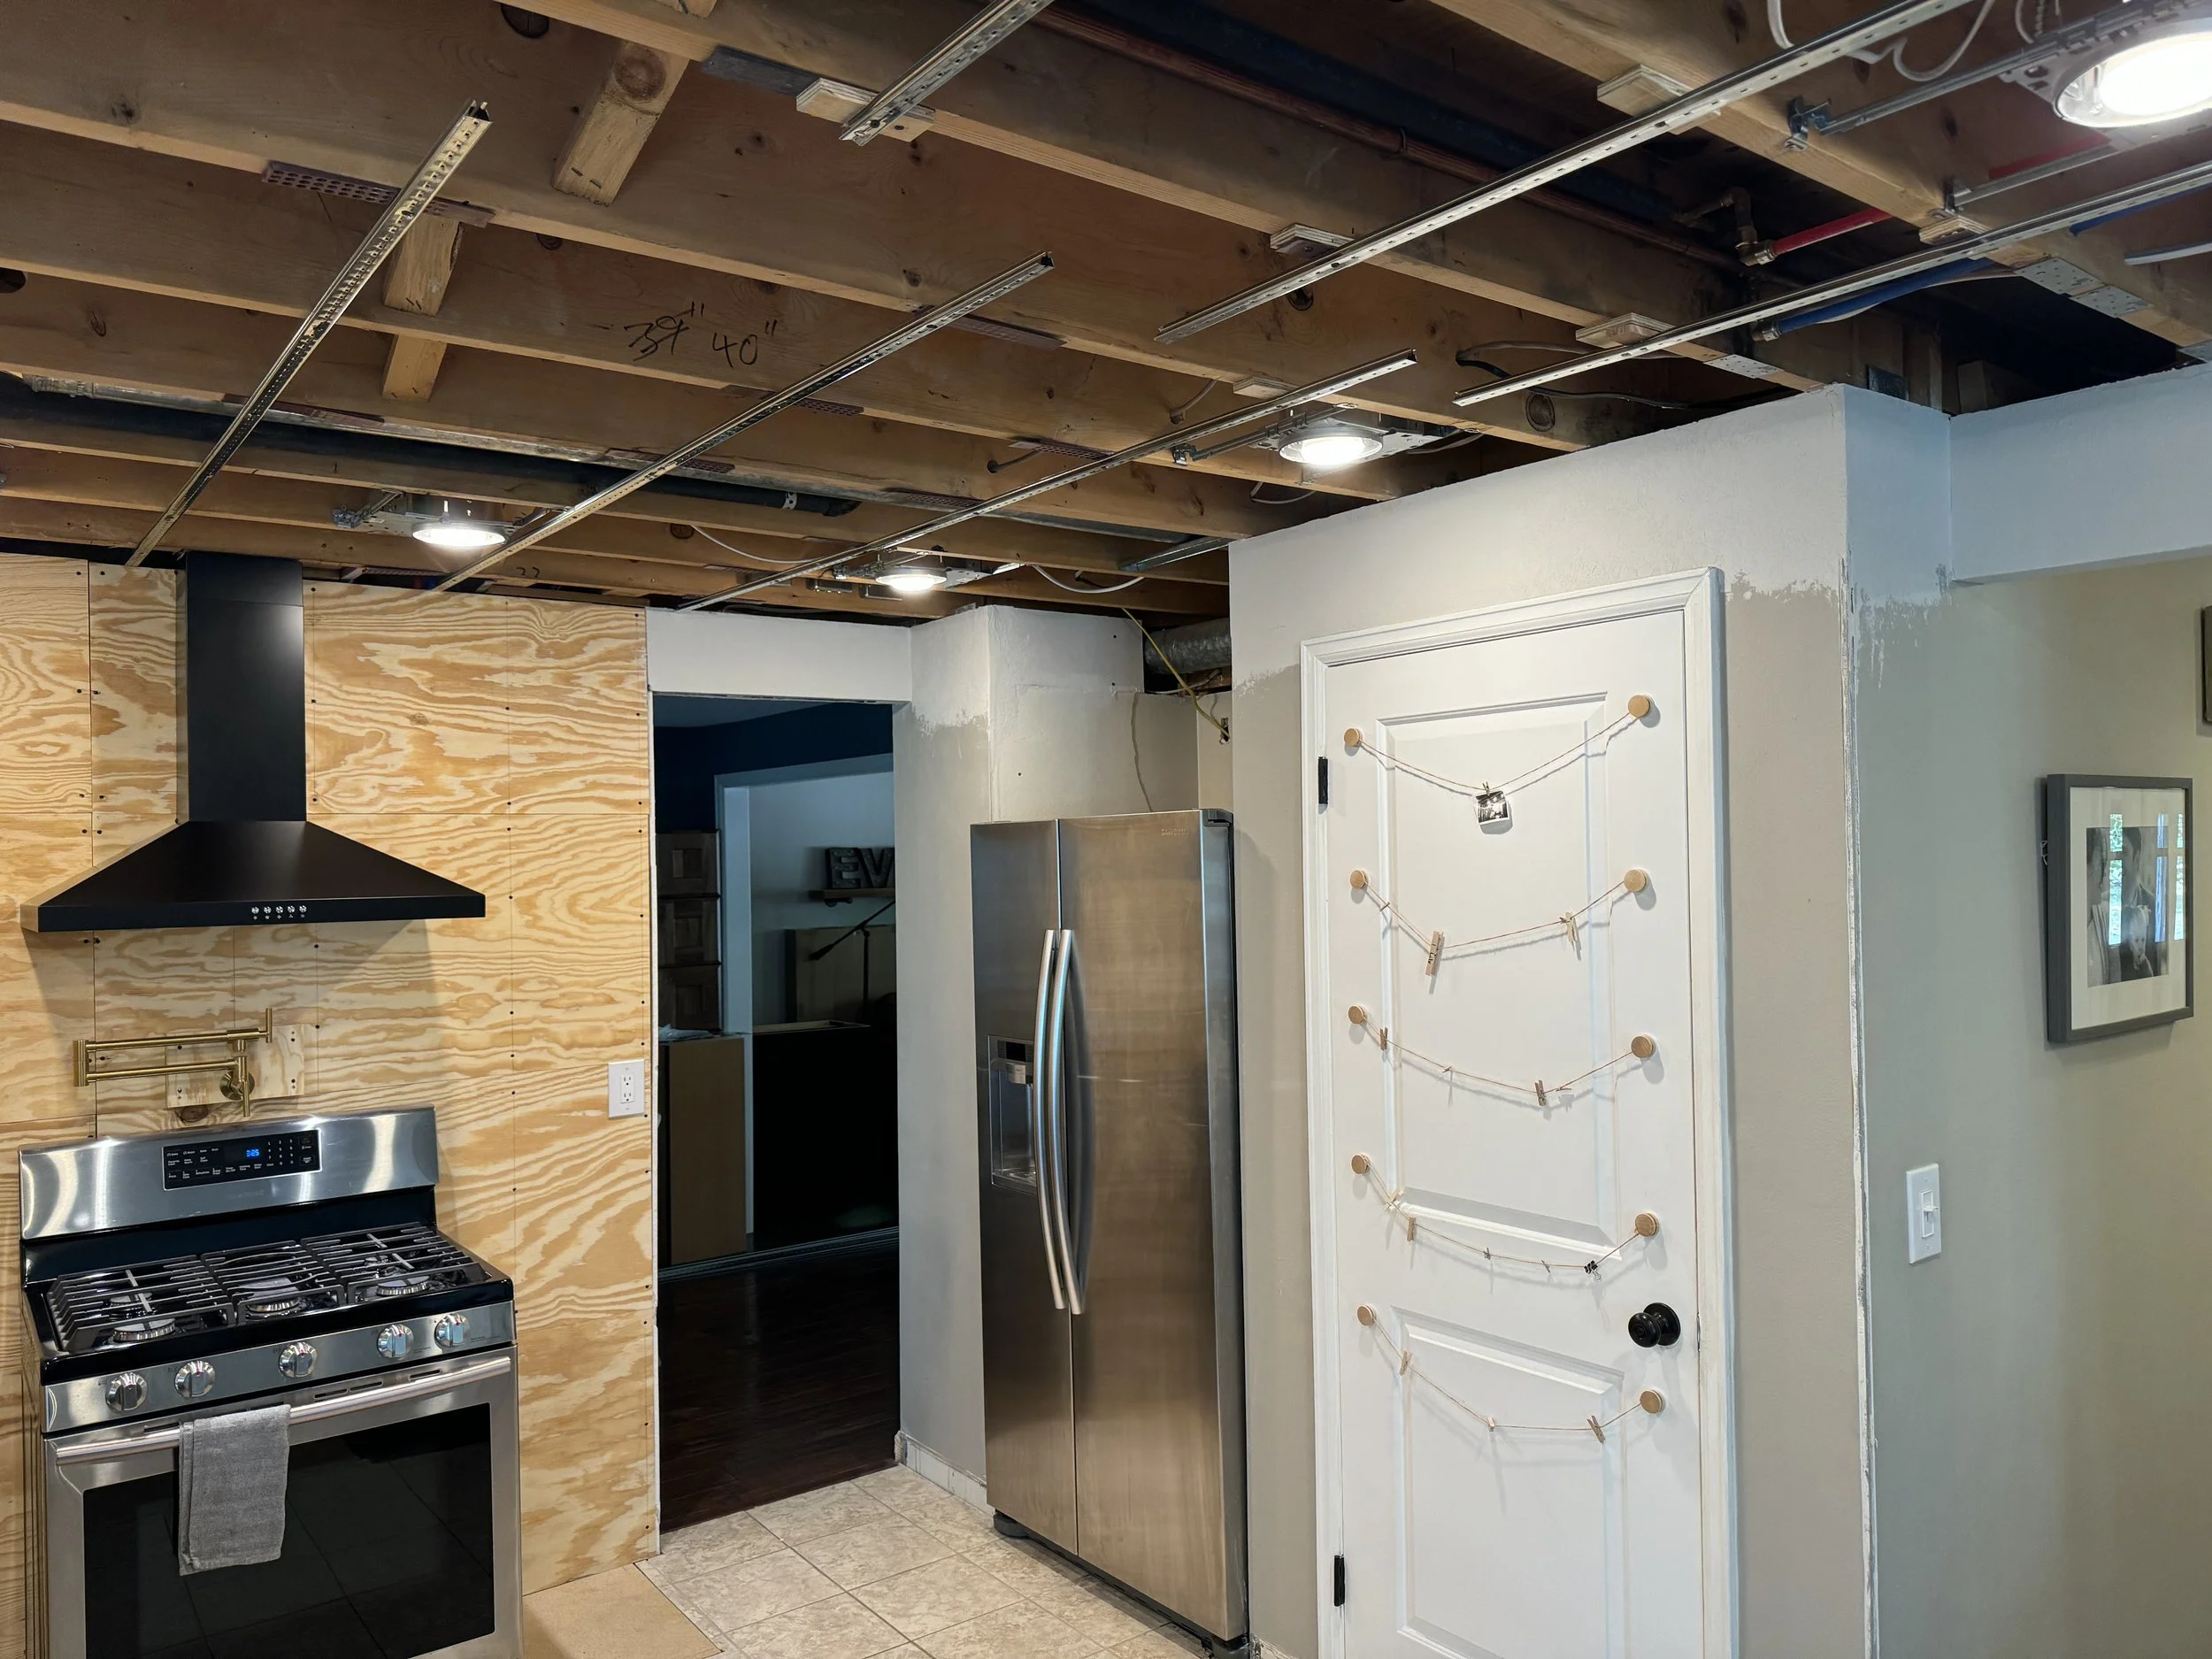
Then once that is done, I just attached the planks to the tracks, using the clips they provide. Easy peasy!

Me with my project assistant, Stacie Van Zandt, attaching the ceiling planks! :)

Getting close…

Cutting the last two can light holes (using those amazing sawhorses...)
And done! I love the way this turned out. :)
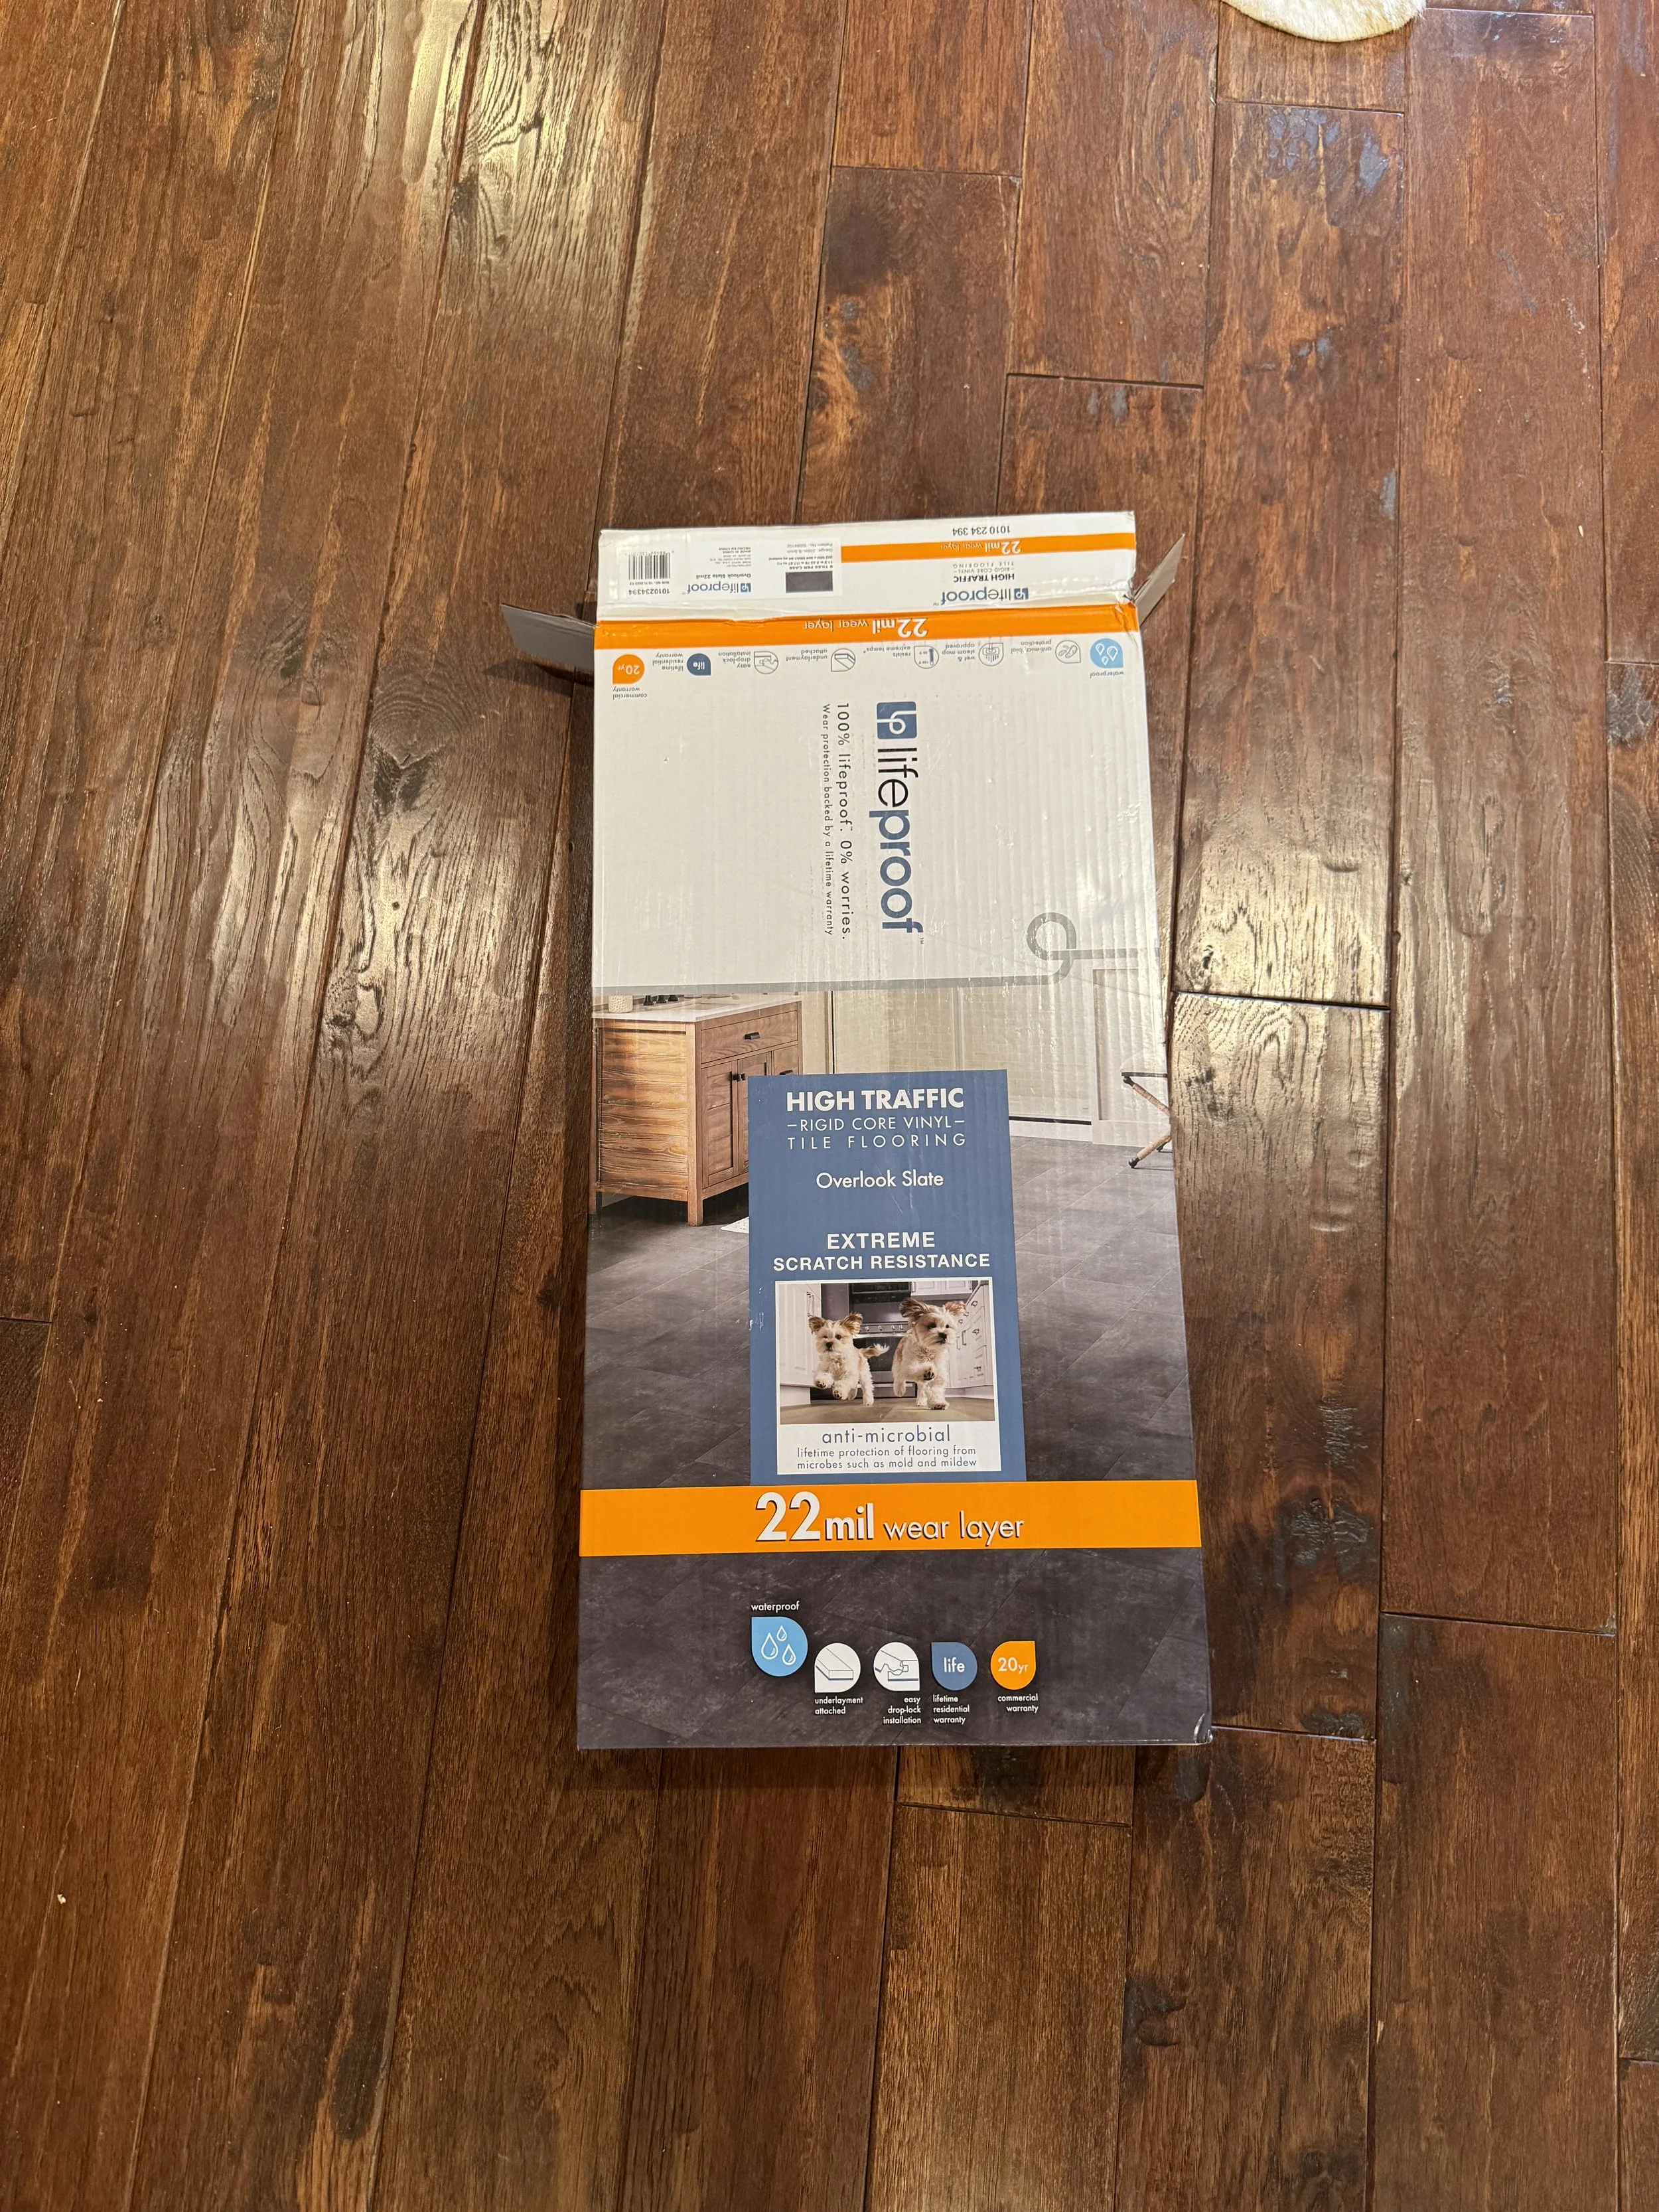
Now for the floors! I'm using luxury vinyl plank, since it's incredibly durable, easy to install, looks fantastic, and is very reasonably priced. Win/win/win/win!
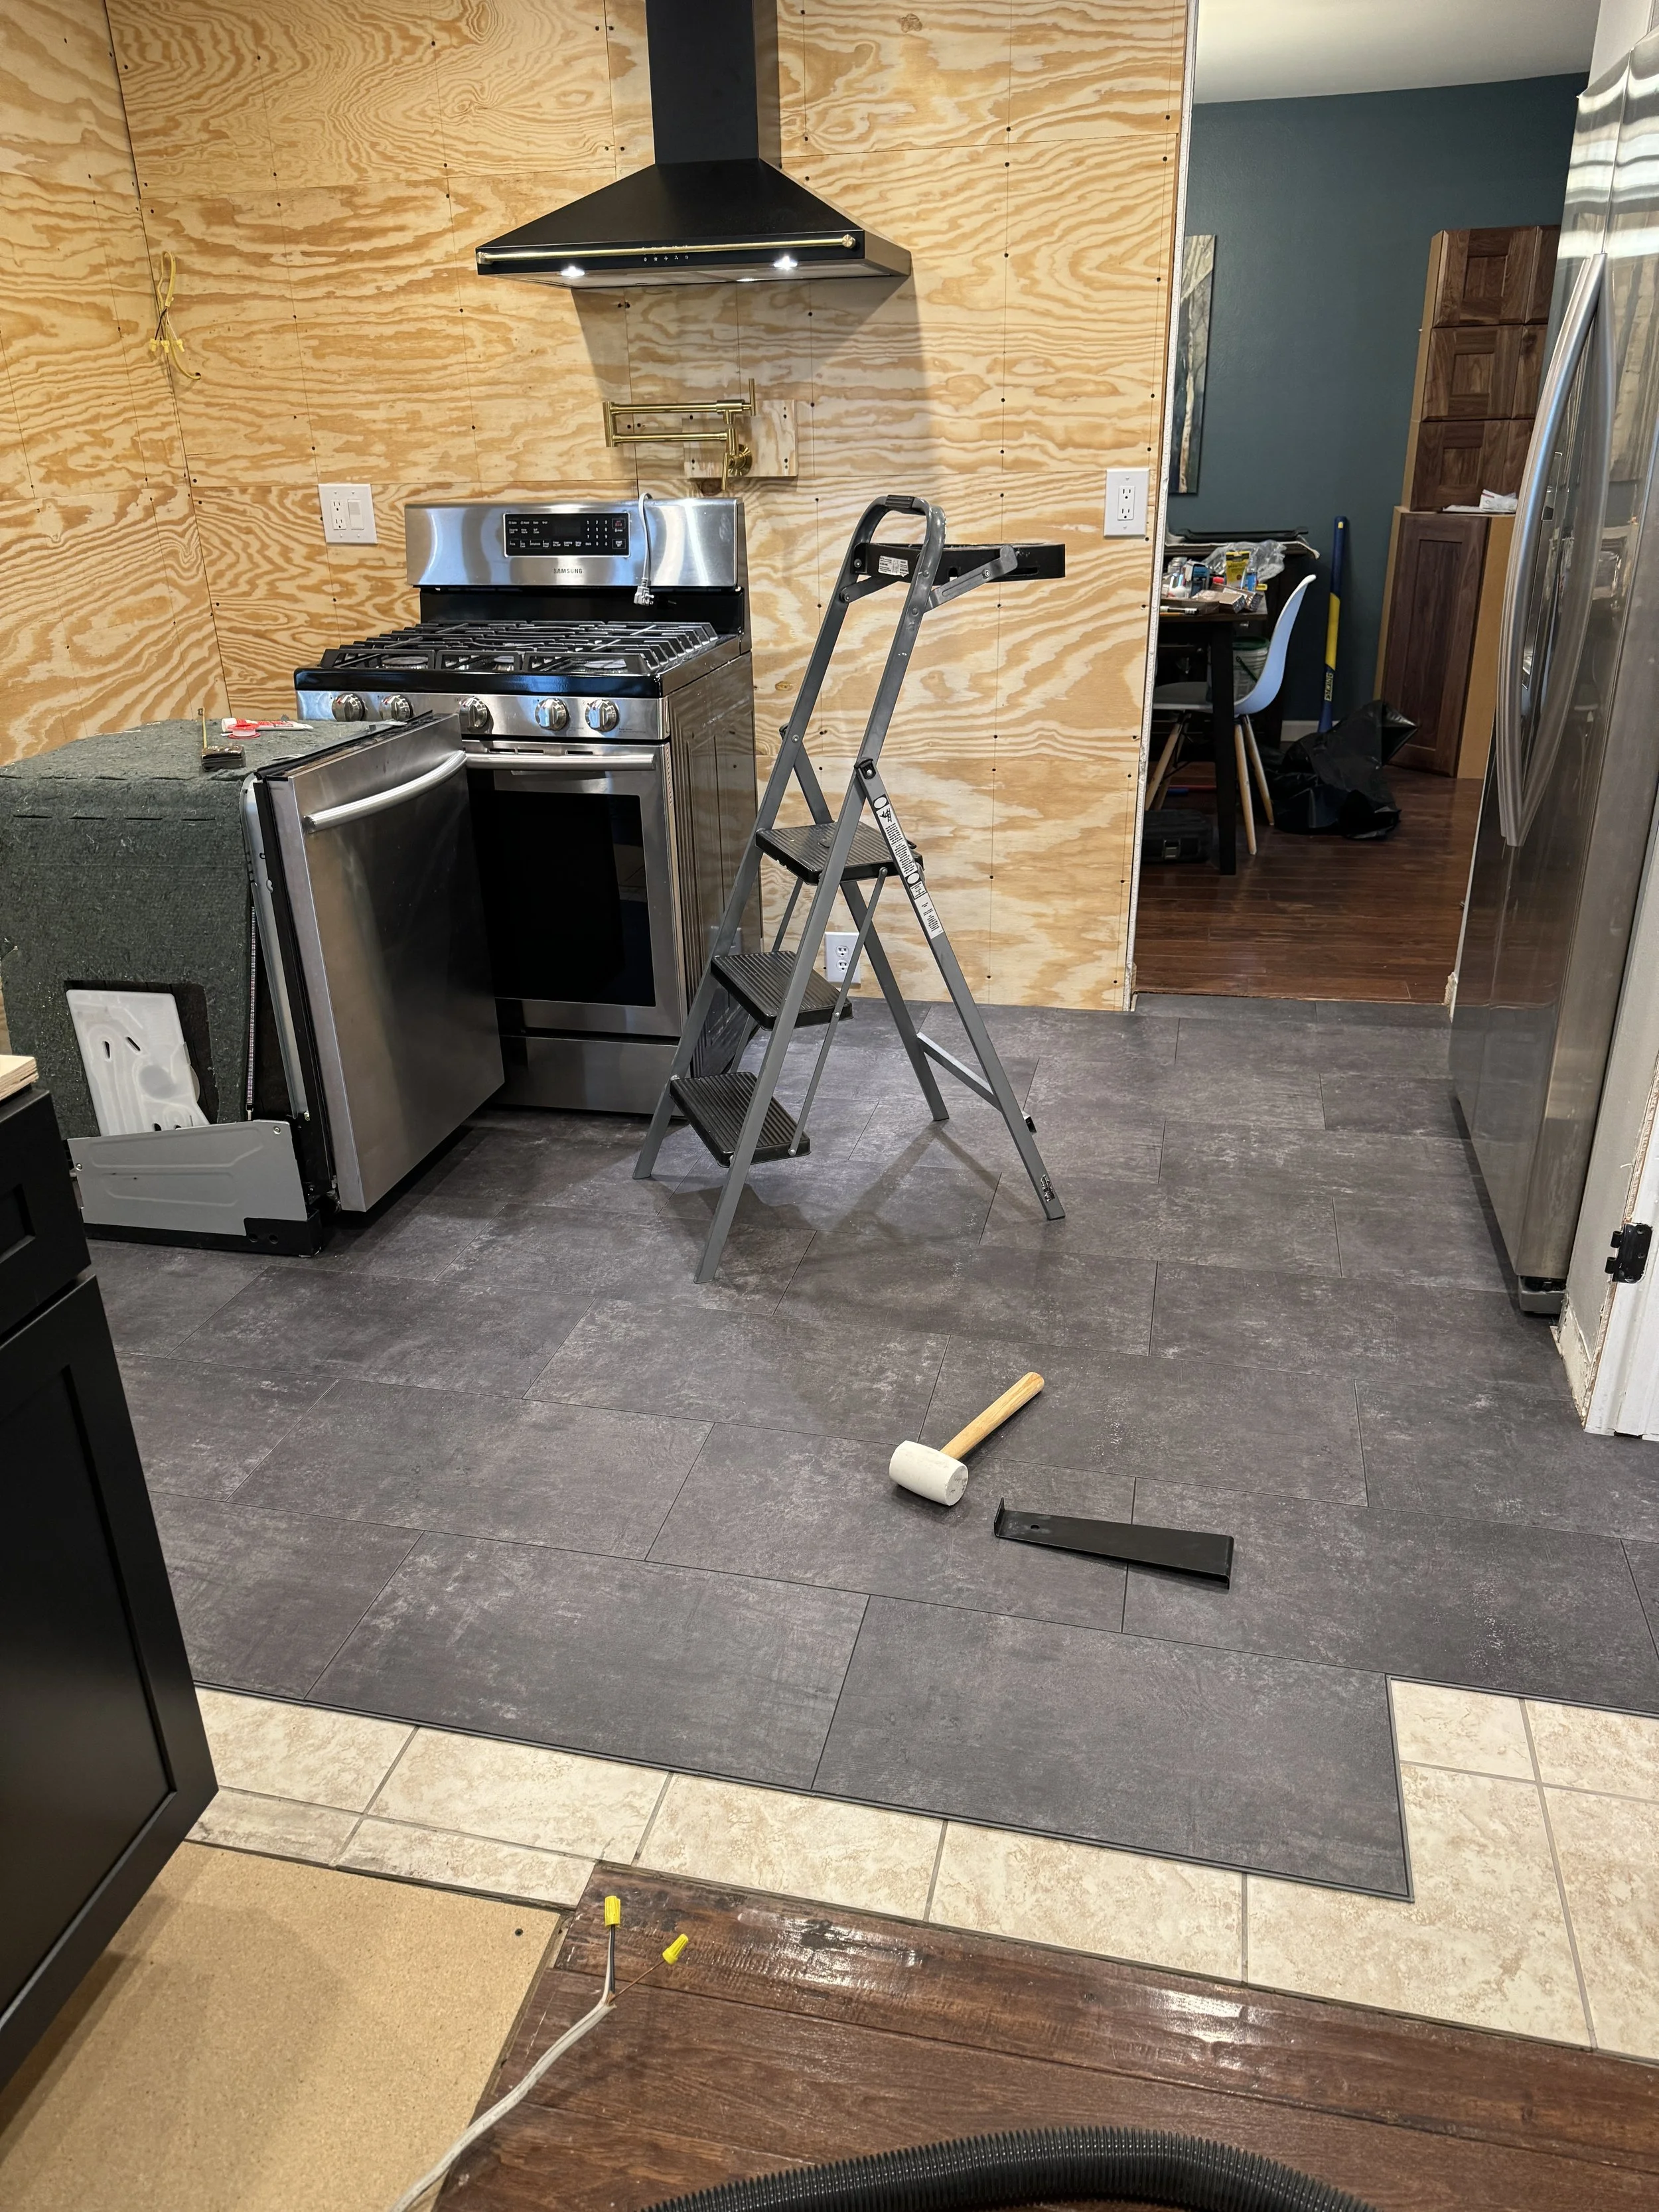
This went in quickly, I got it all done in like 5 hours. :)

Current status: new ceiling is in, new floors are in, range hood and pot filler are installed and working flawlessly, sink base is set, lighting is done... I think we are ready to install the cabinets! :)

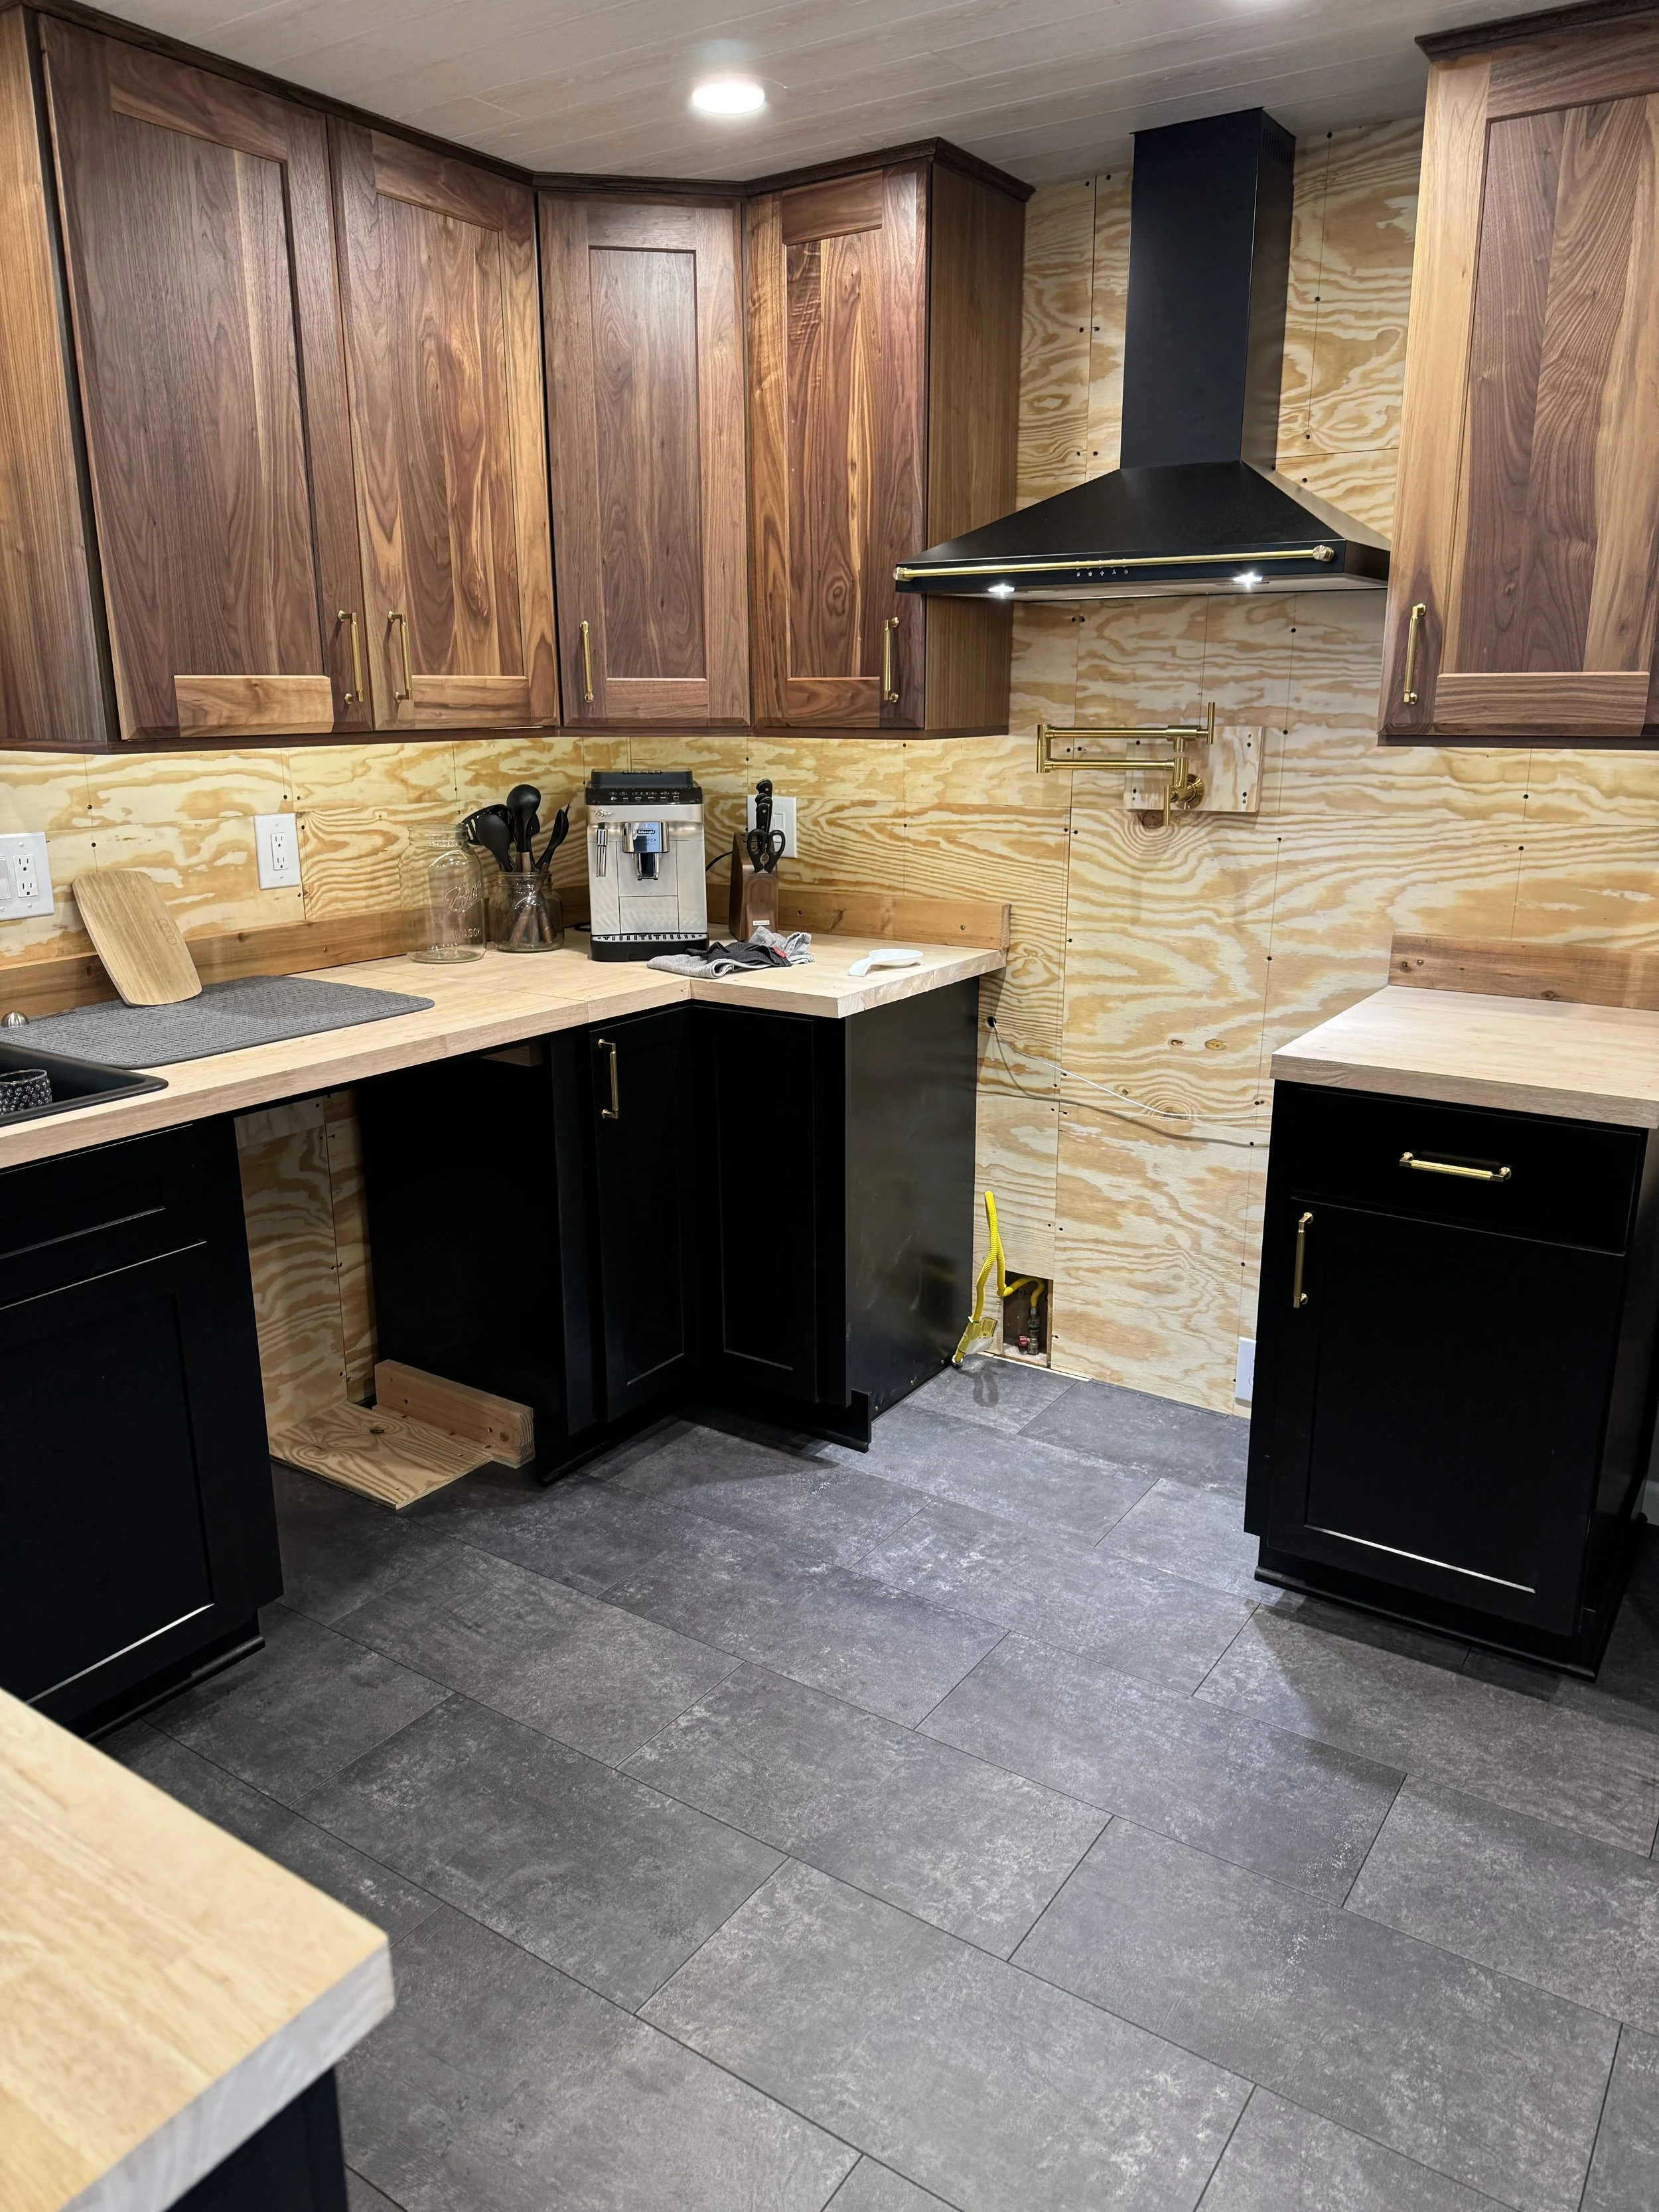
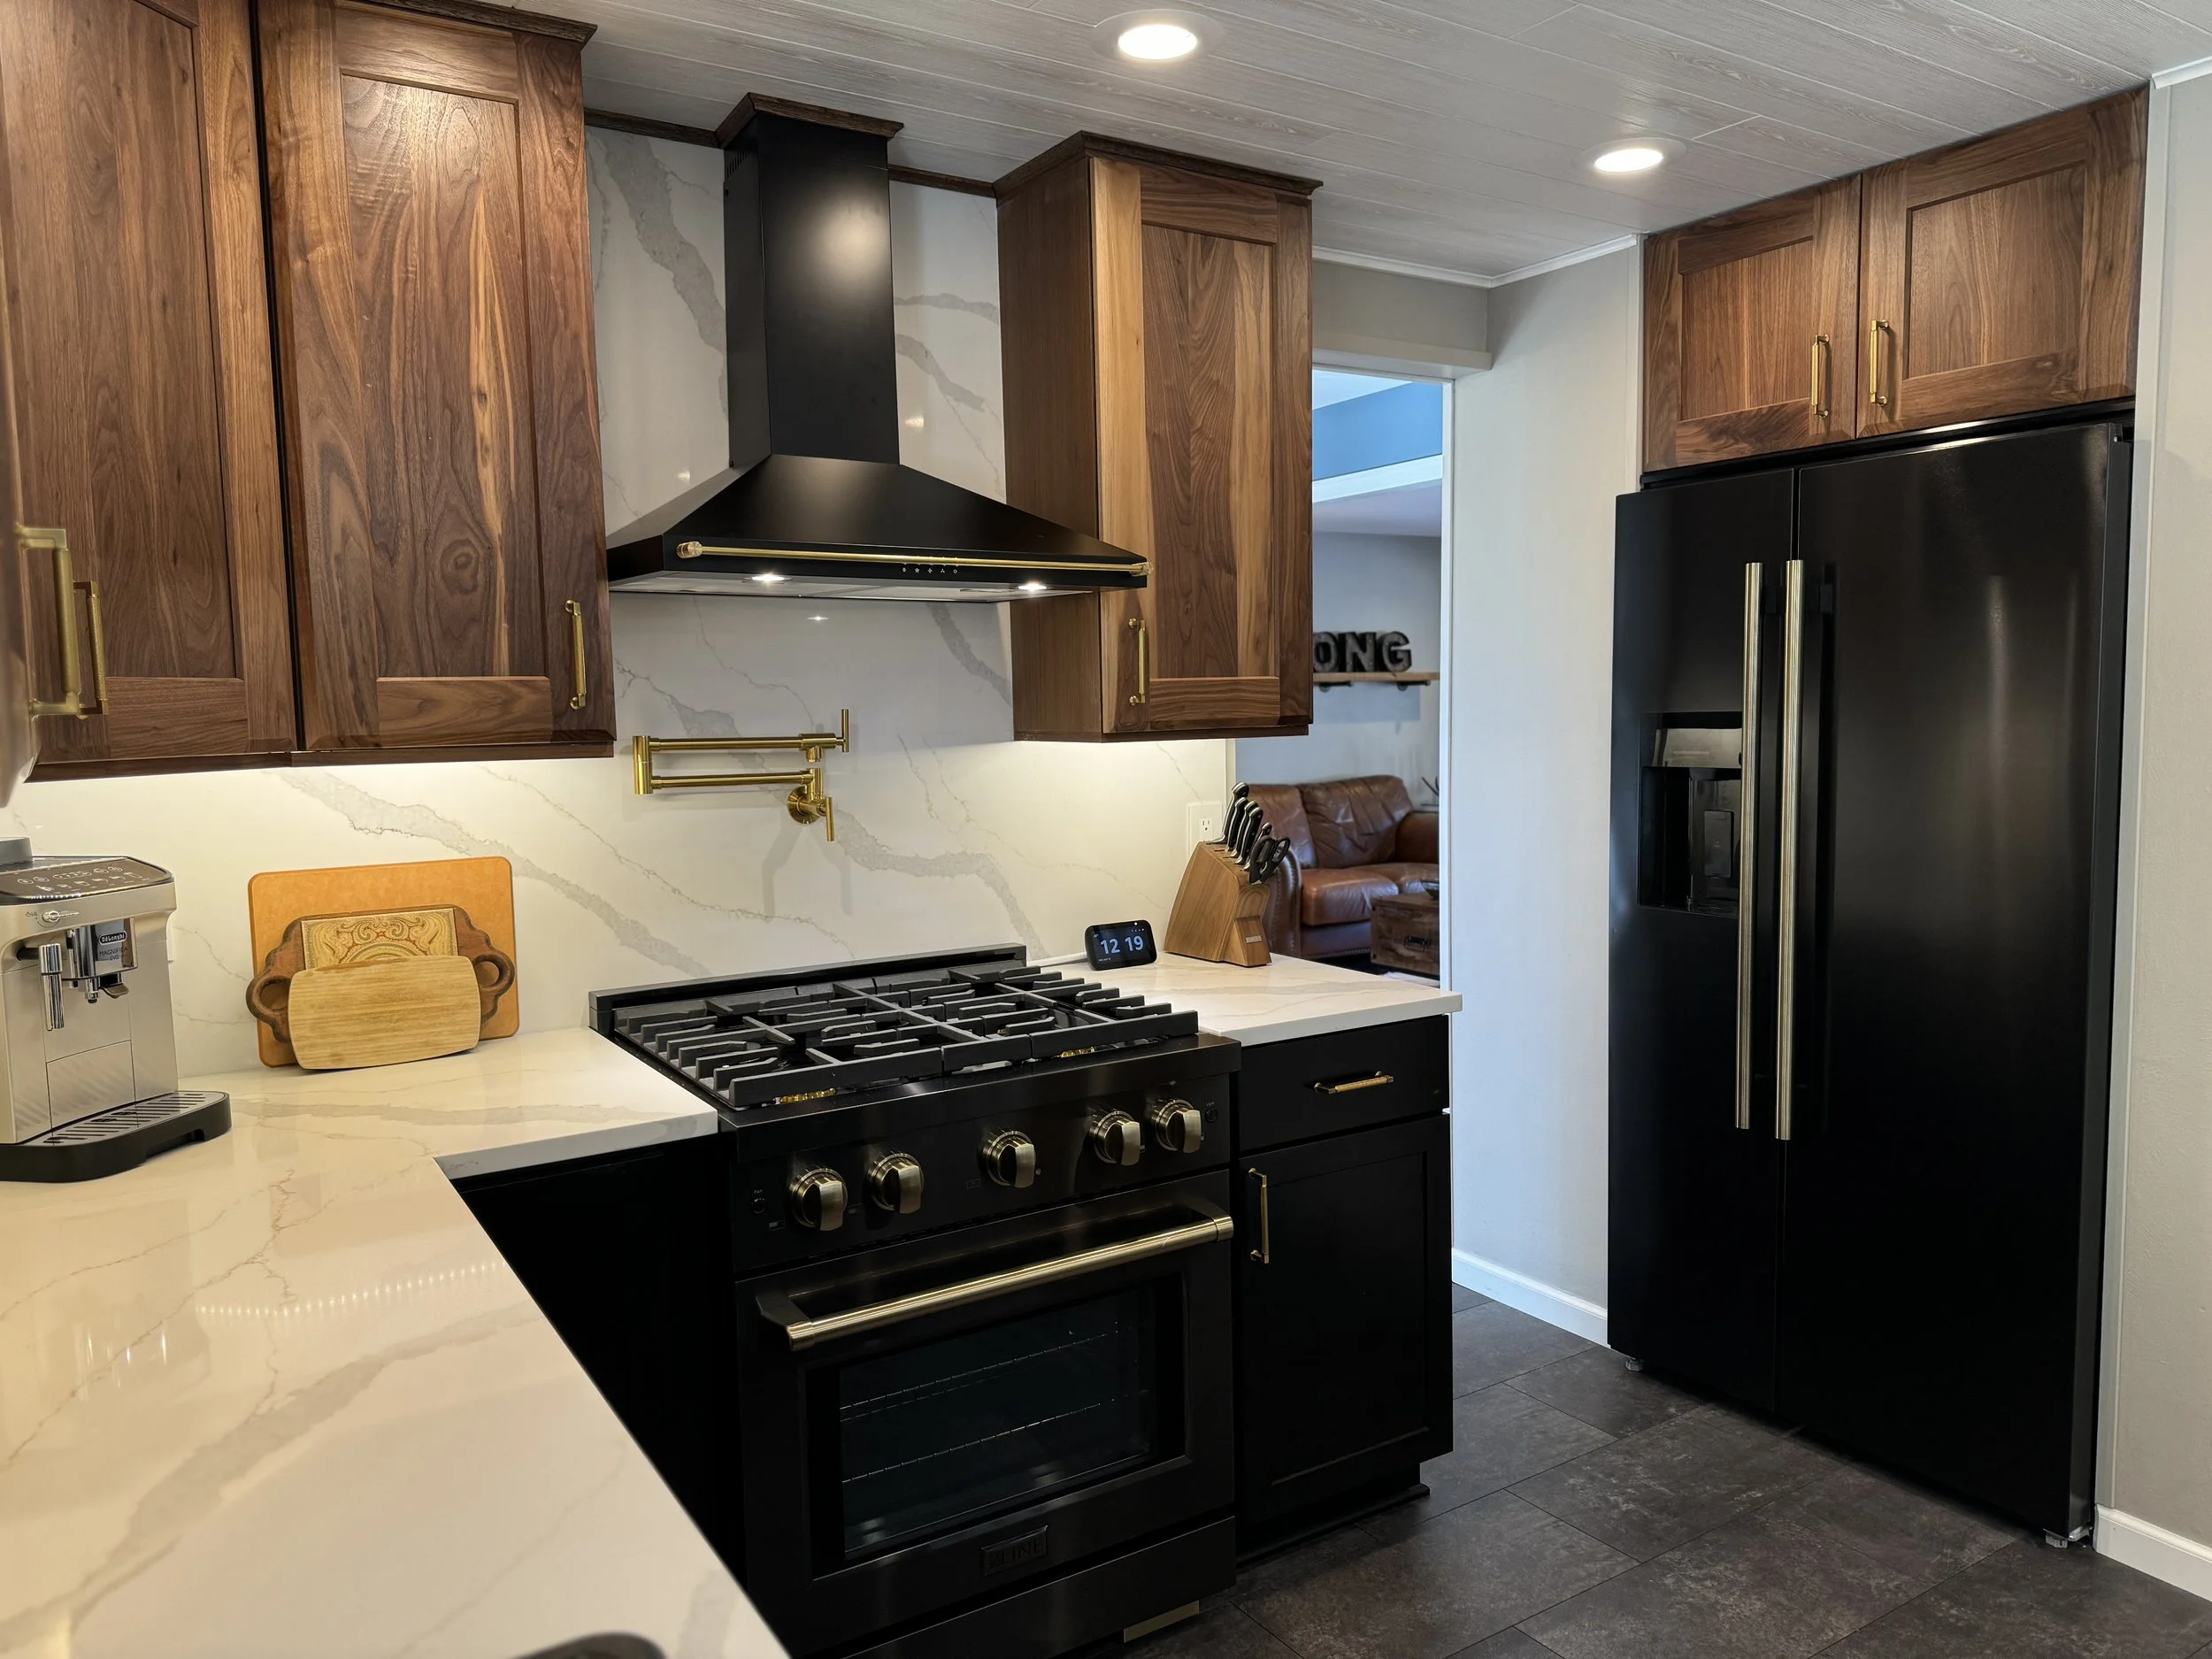
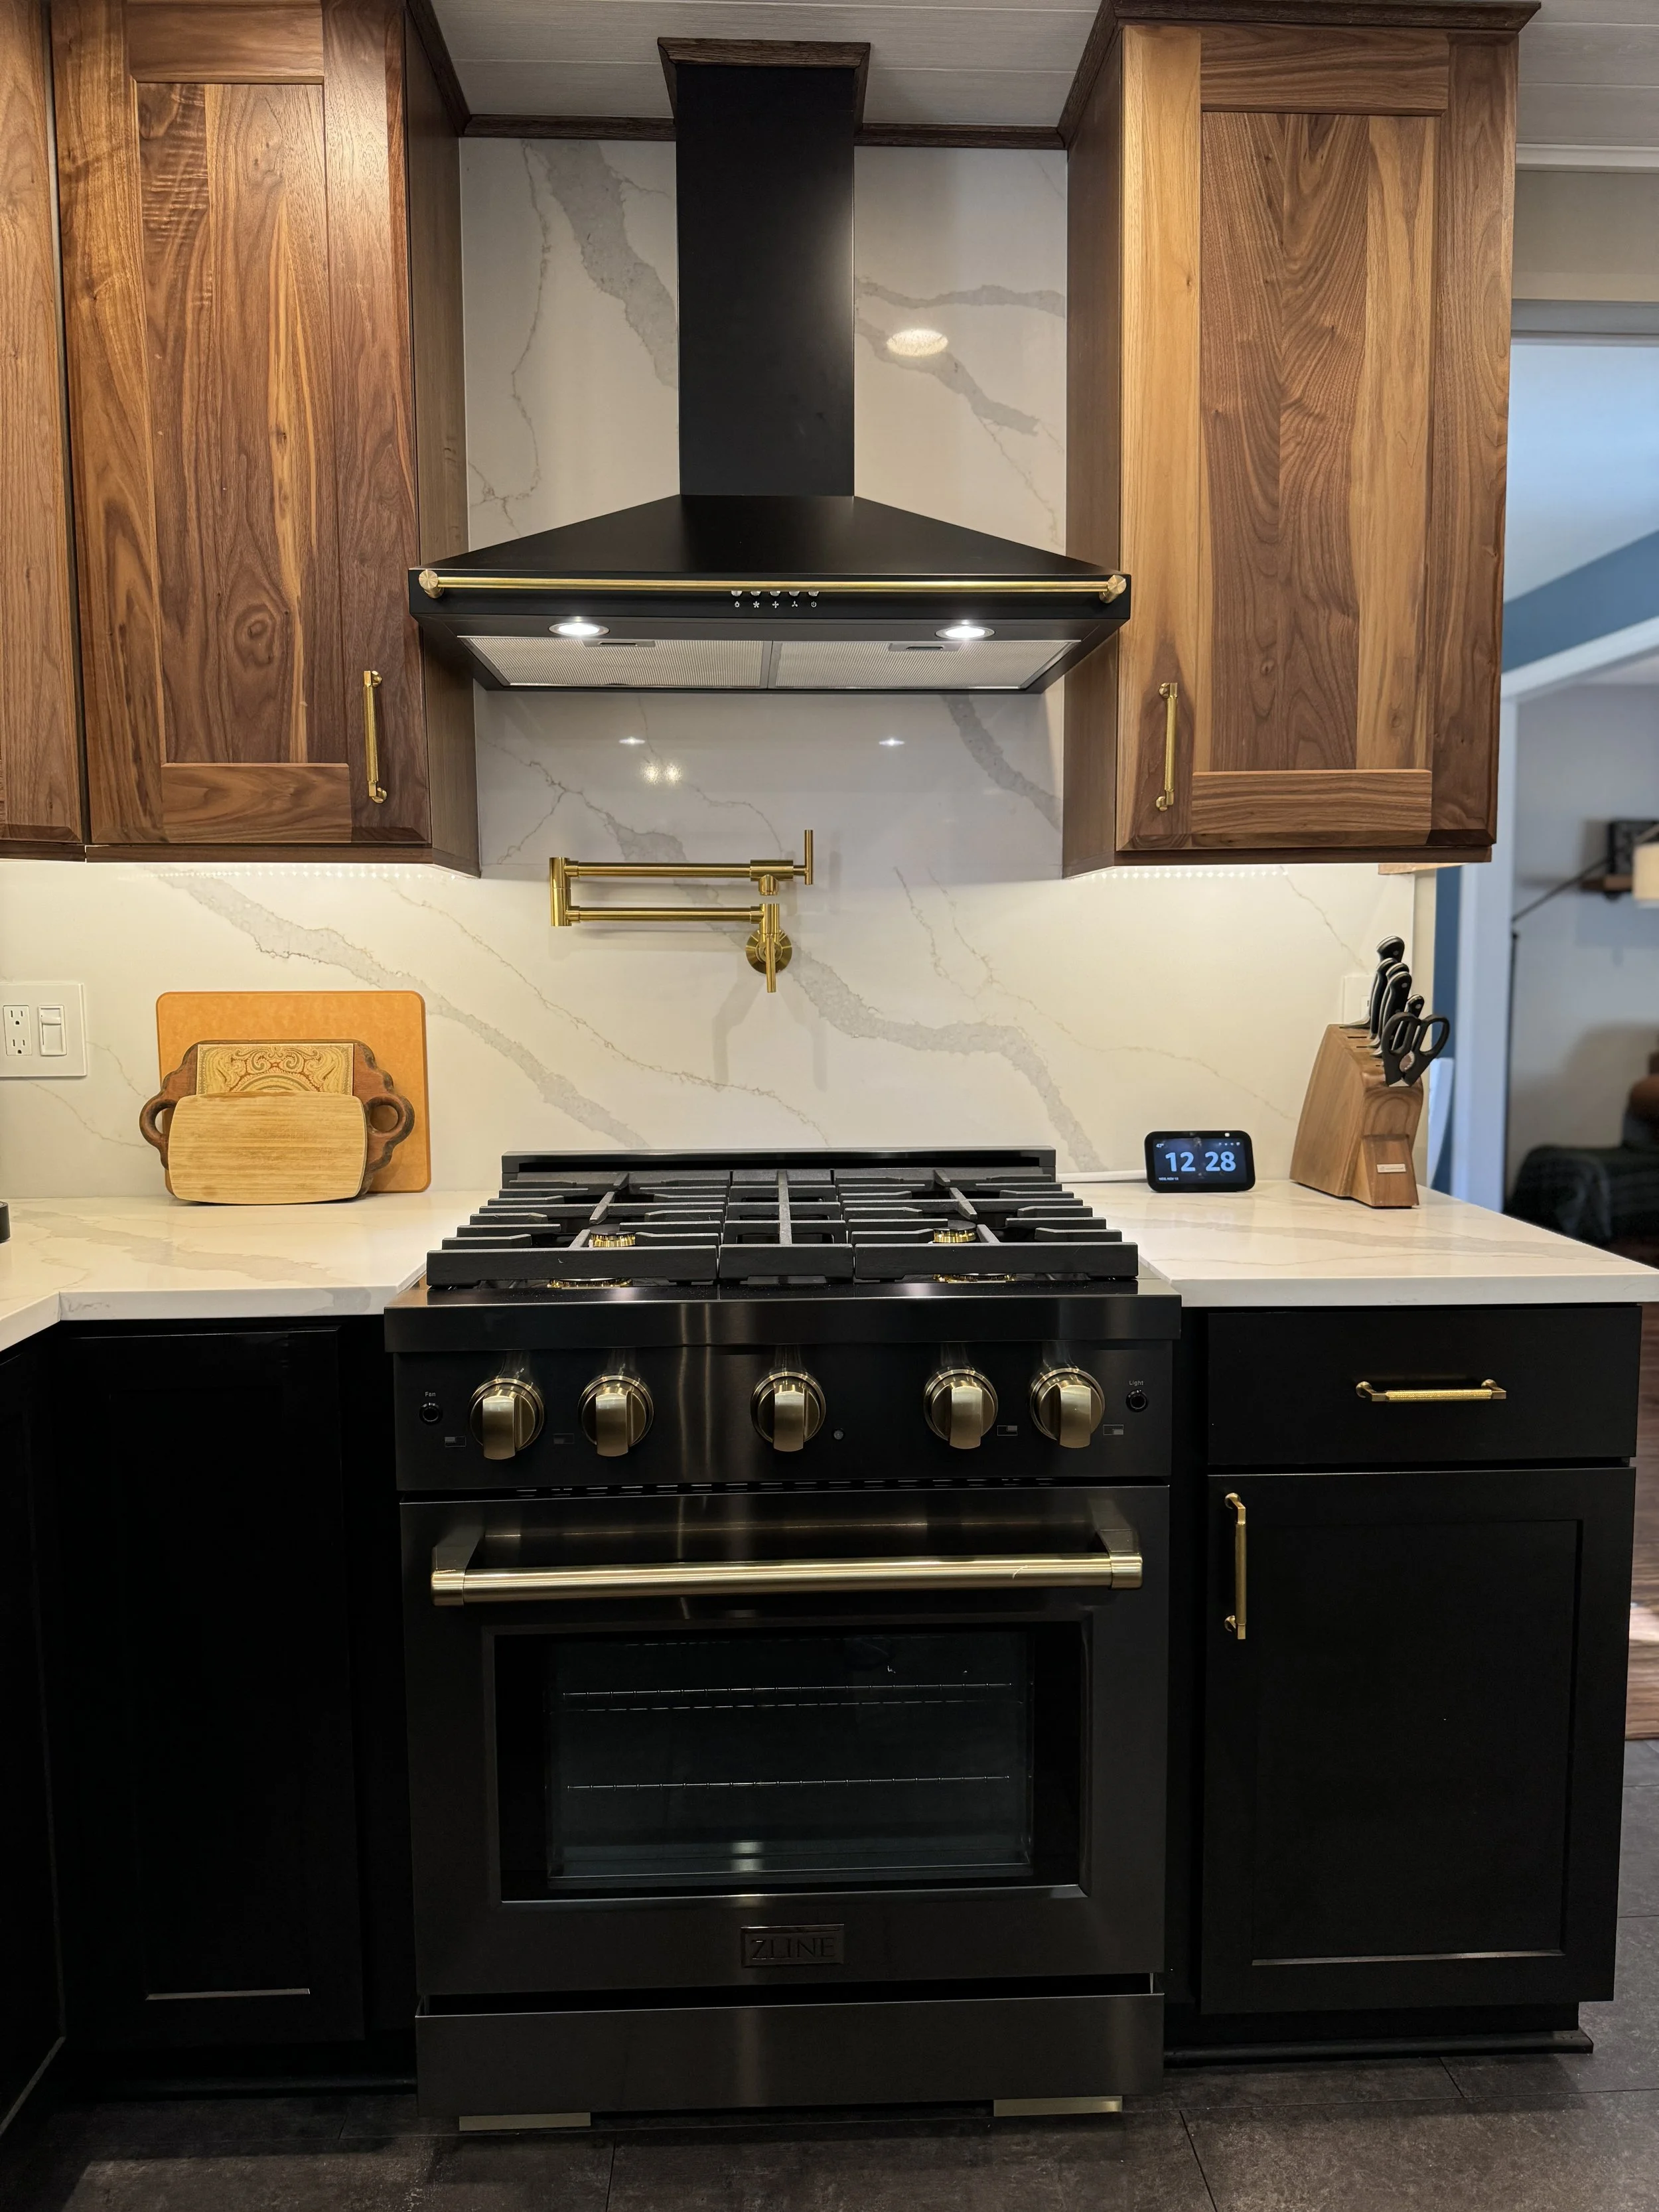
So, I bought the black range hood at Home Depot for $199--then went online and bought this brass "bar shelf" post and rod for $40... and attached it to the front of the hood. Same look, MUCH more reasonable price. :)

I love it.

And the pot filler! I love having this again, it's a small thing but super convenient. :)
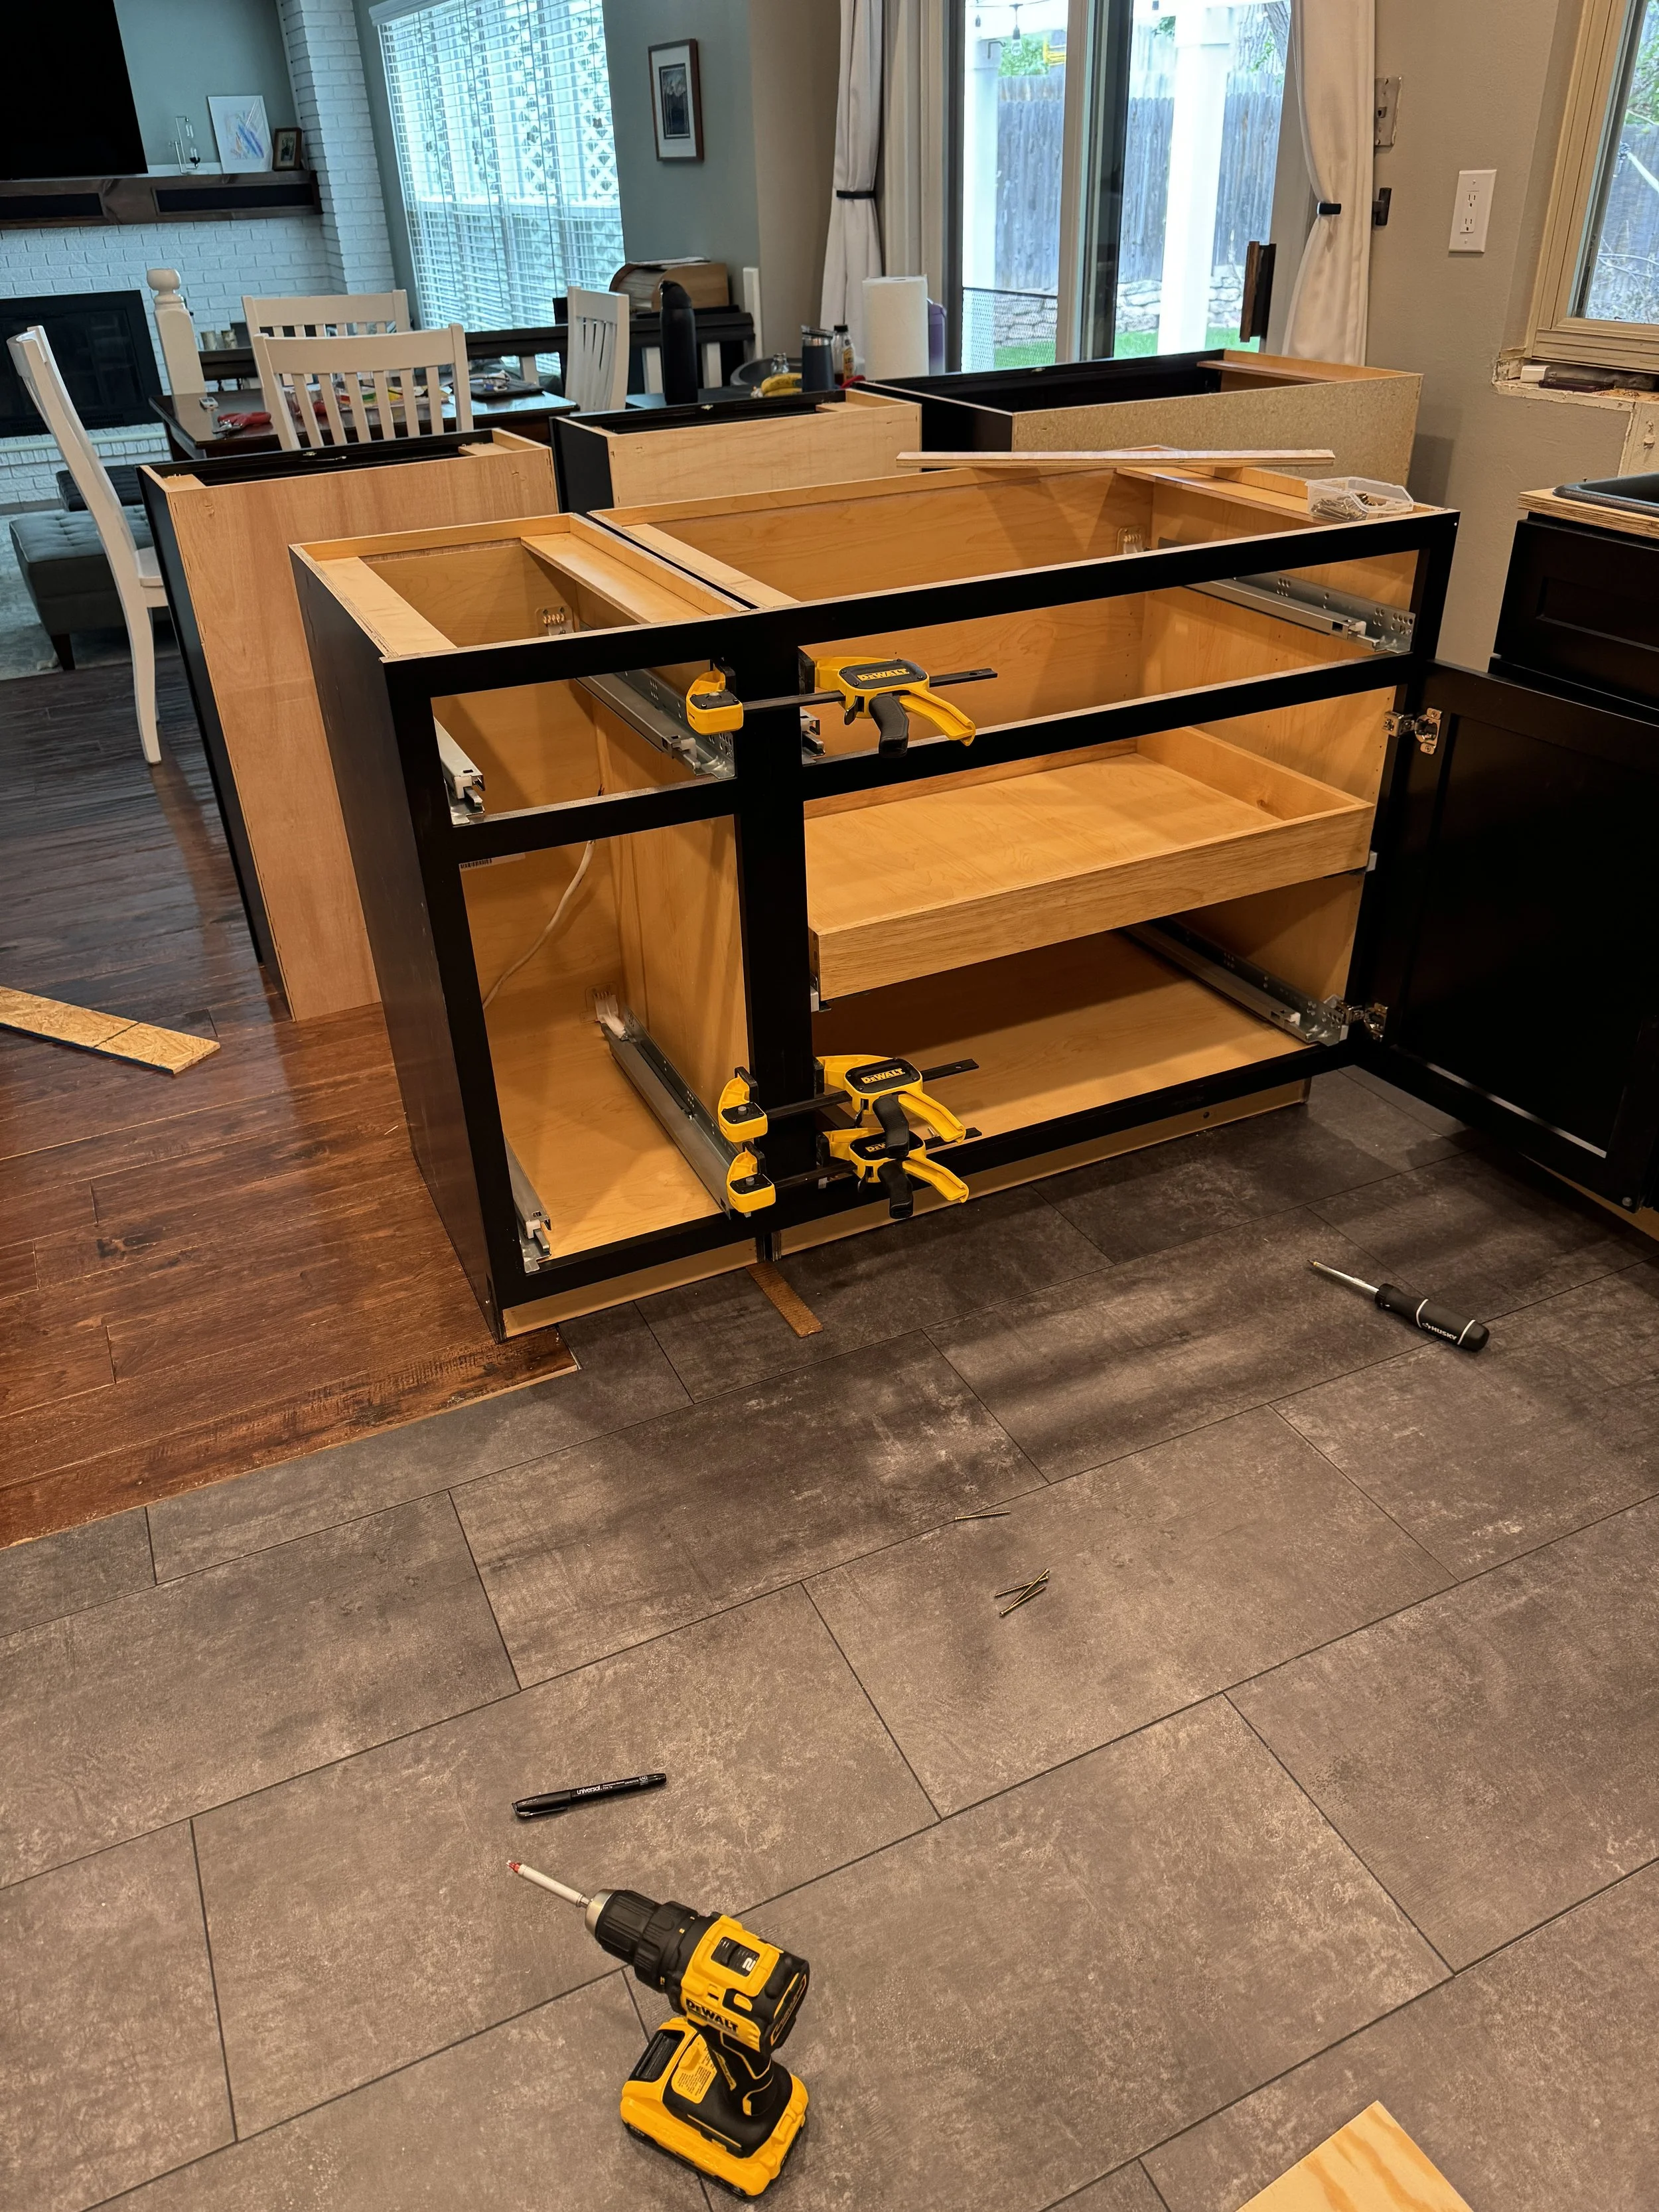
So, after a brief delay (for vacations and such), I started on getting the cabinets installed, starting with the base cabinets. Attached 2x4's to the floor, then attached the cabinets to the 2x4's, then clamped and screwed the cabinets together. Rock solid! *slaps cabinet*... "That's not going anywhere."

Moving along...
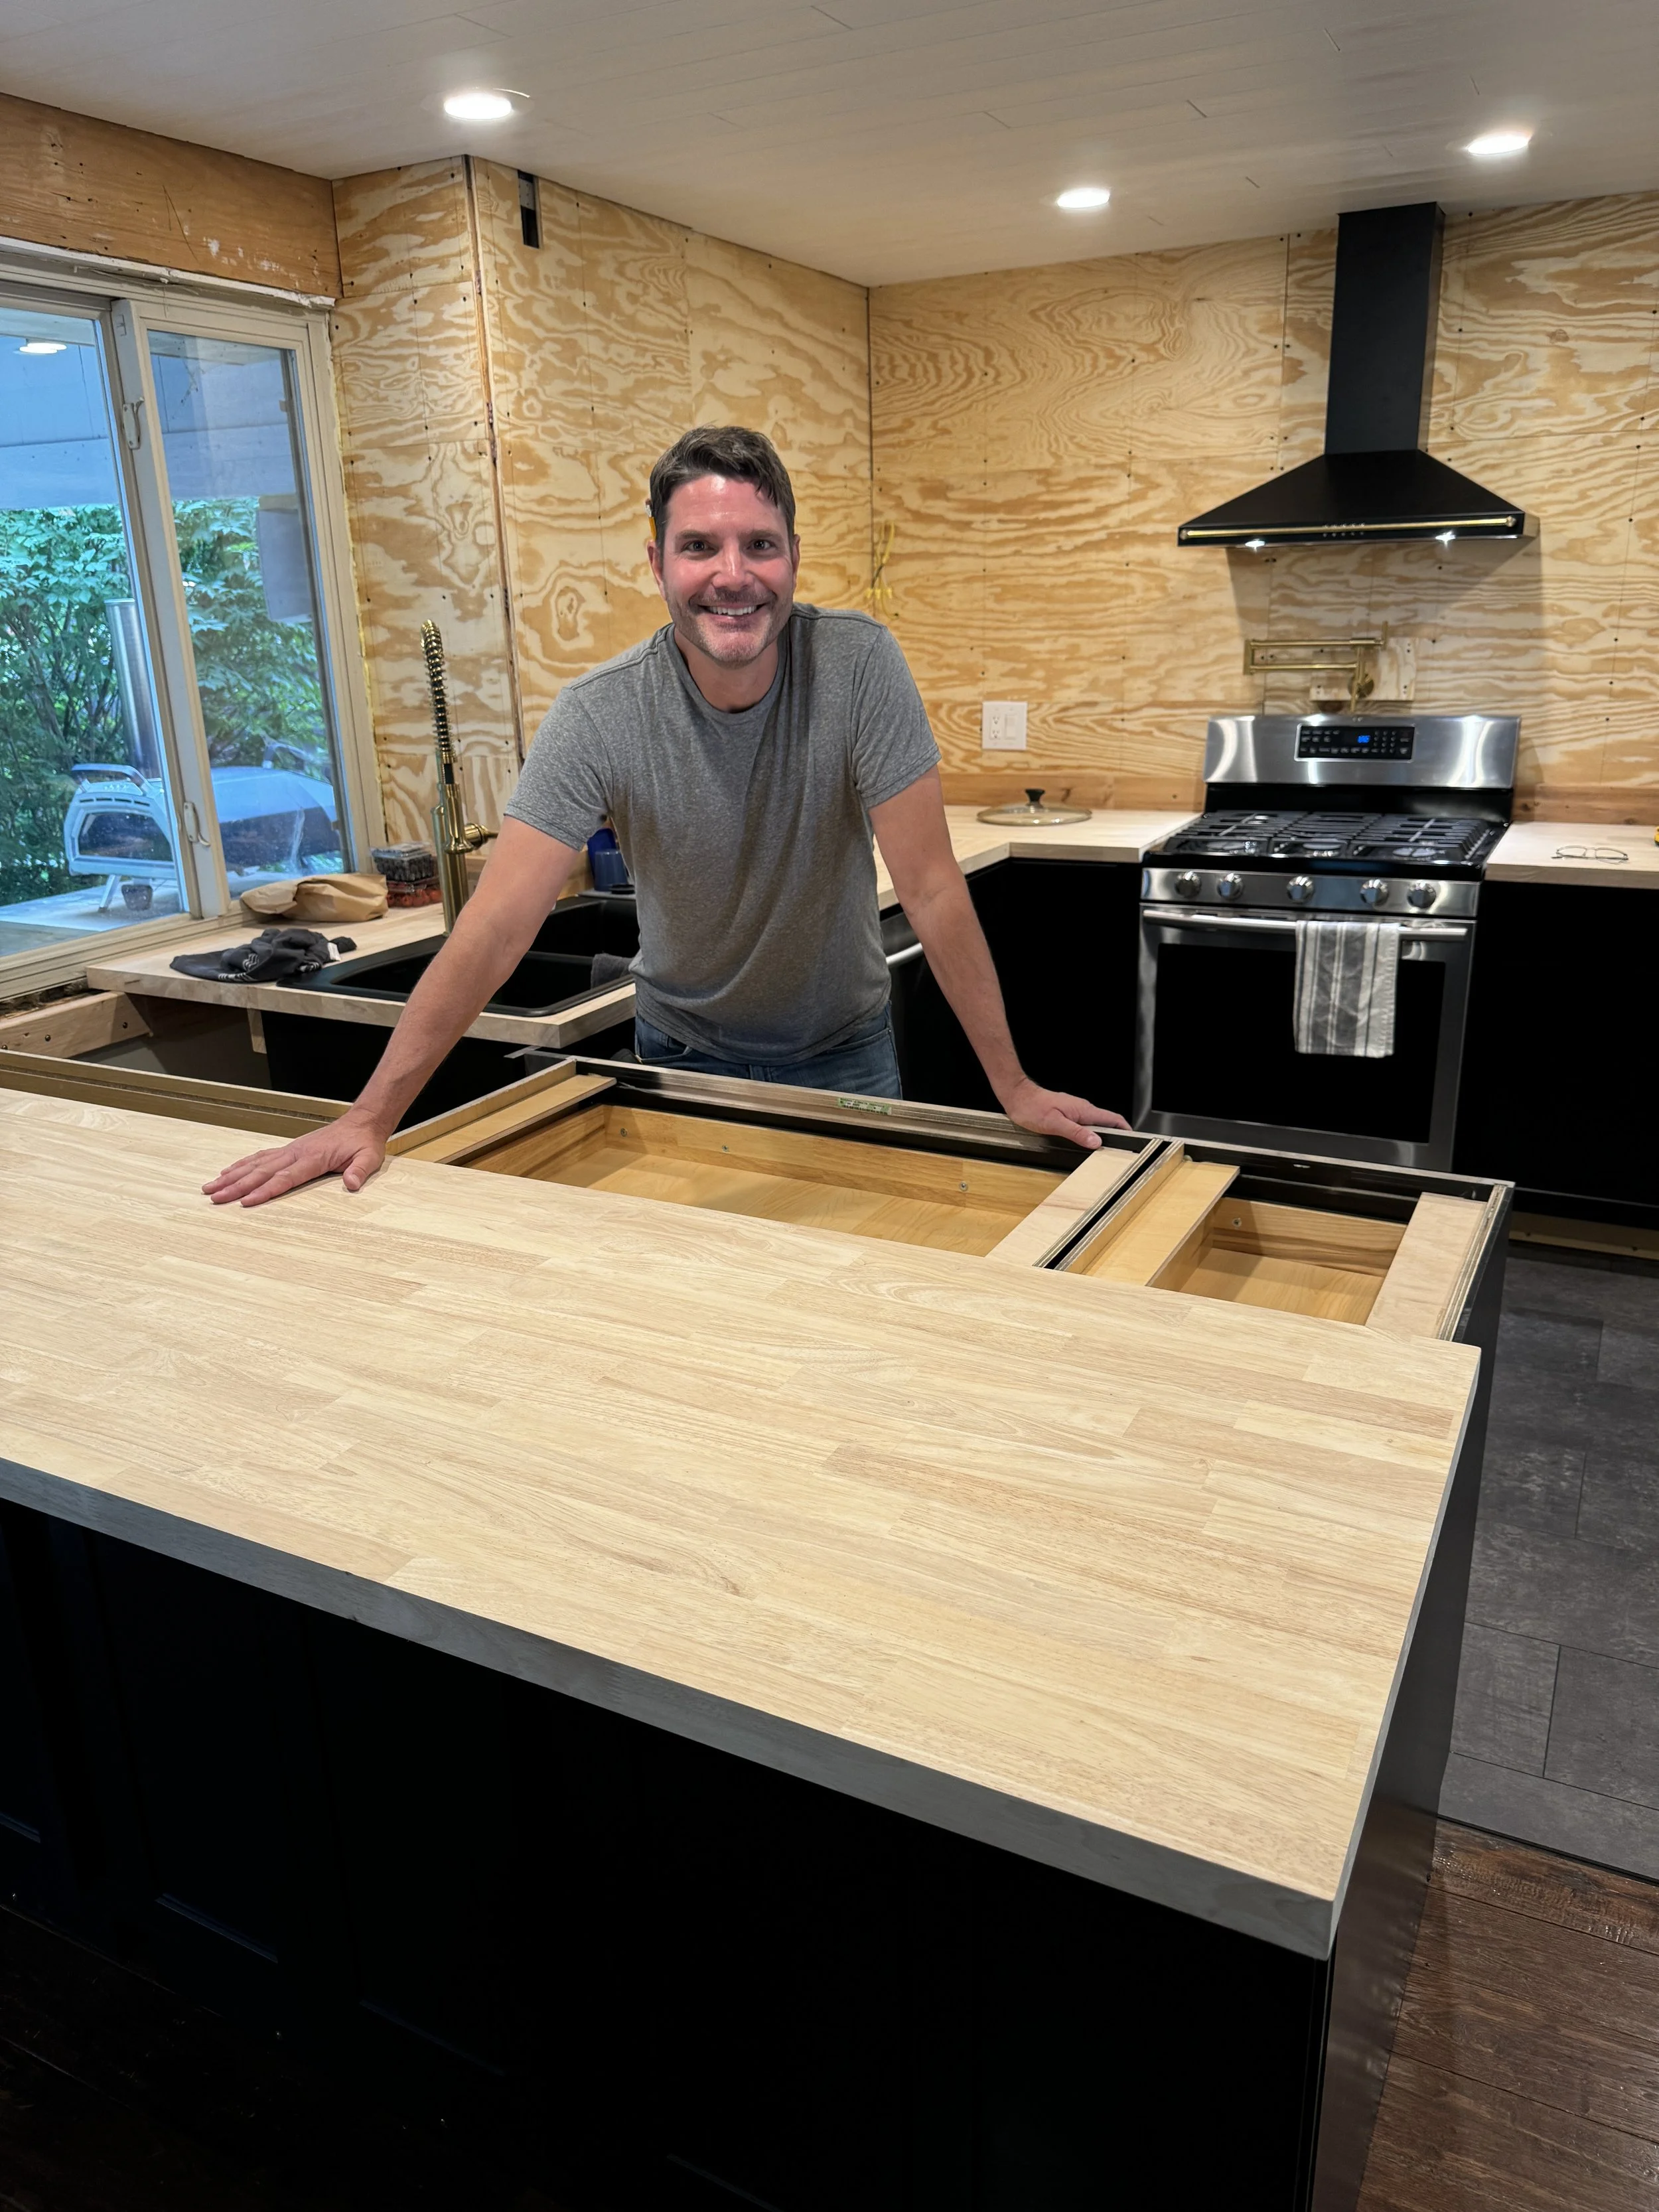
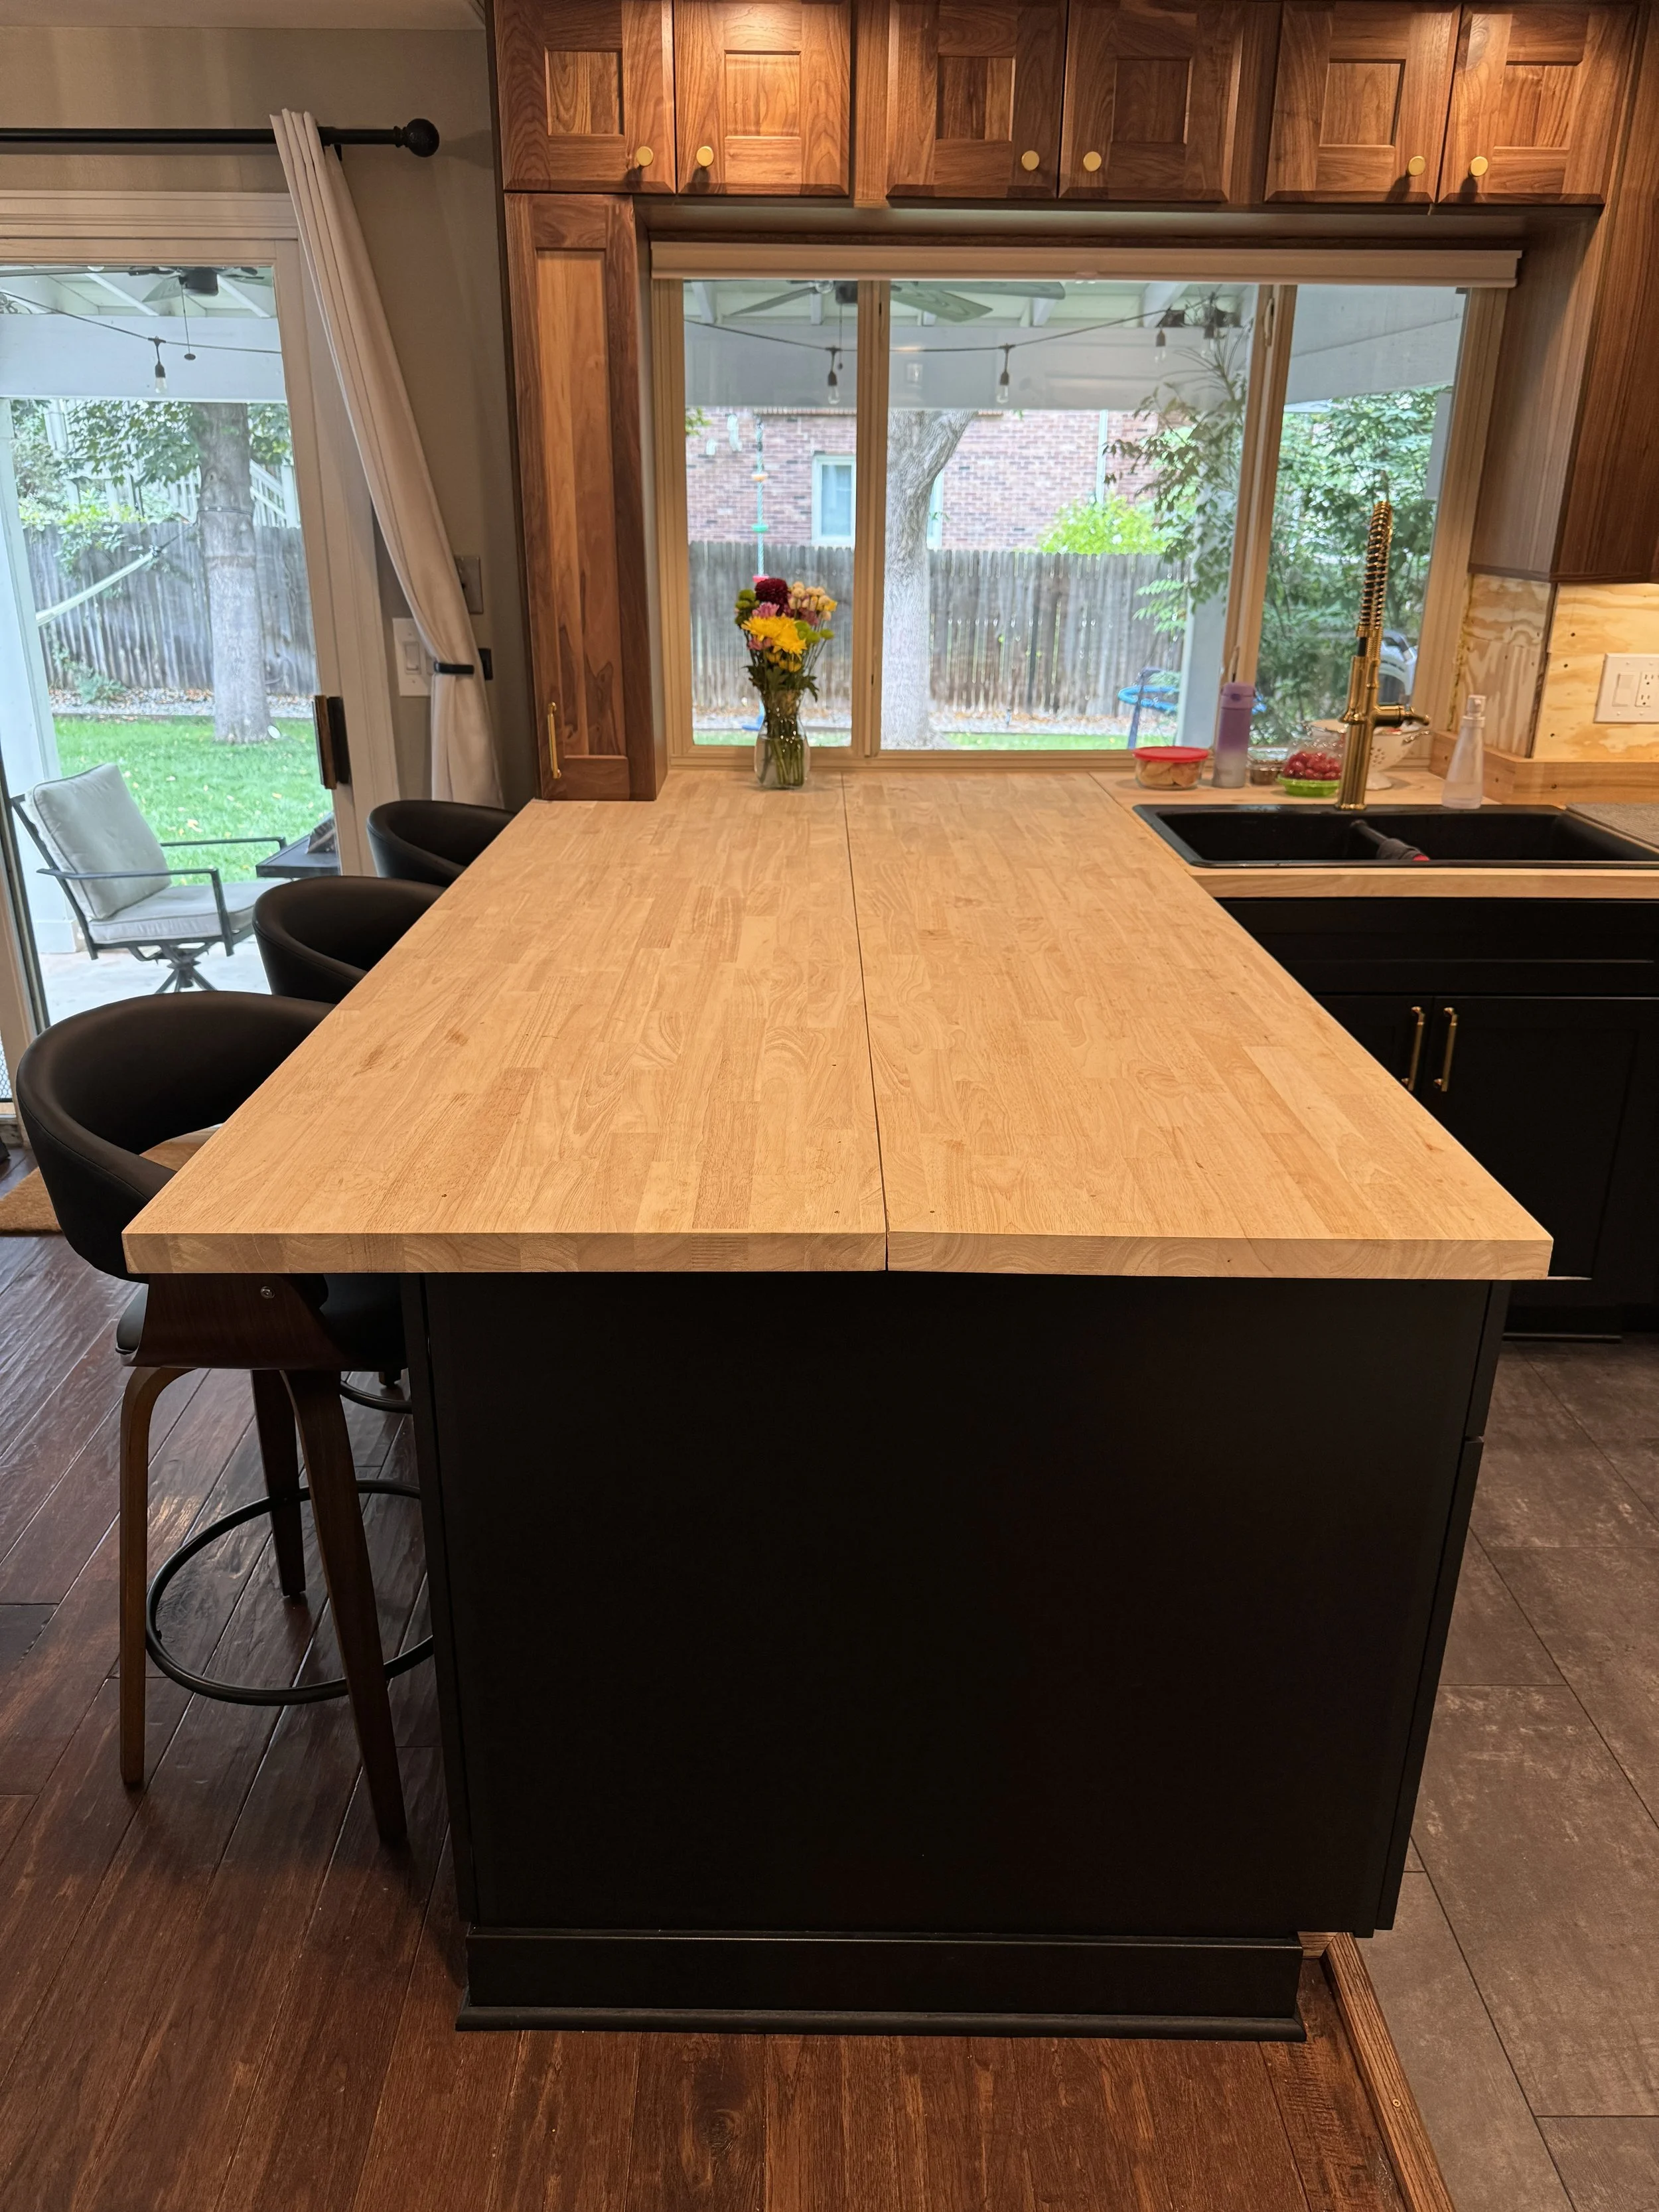
Adding the temporary countertops--butcher block was on sale at Lowe's, and it worked out that it would only be about $50 more to have these countertops rather than plywood for 6 weeks. It was money well spent. :)

Temporarily re-installing the dishwasher... although the new one is on its way!
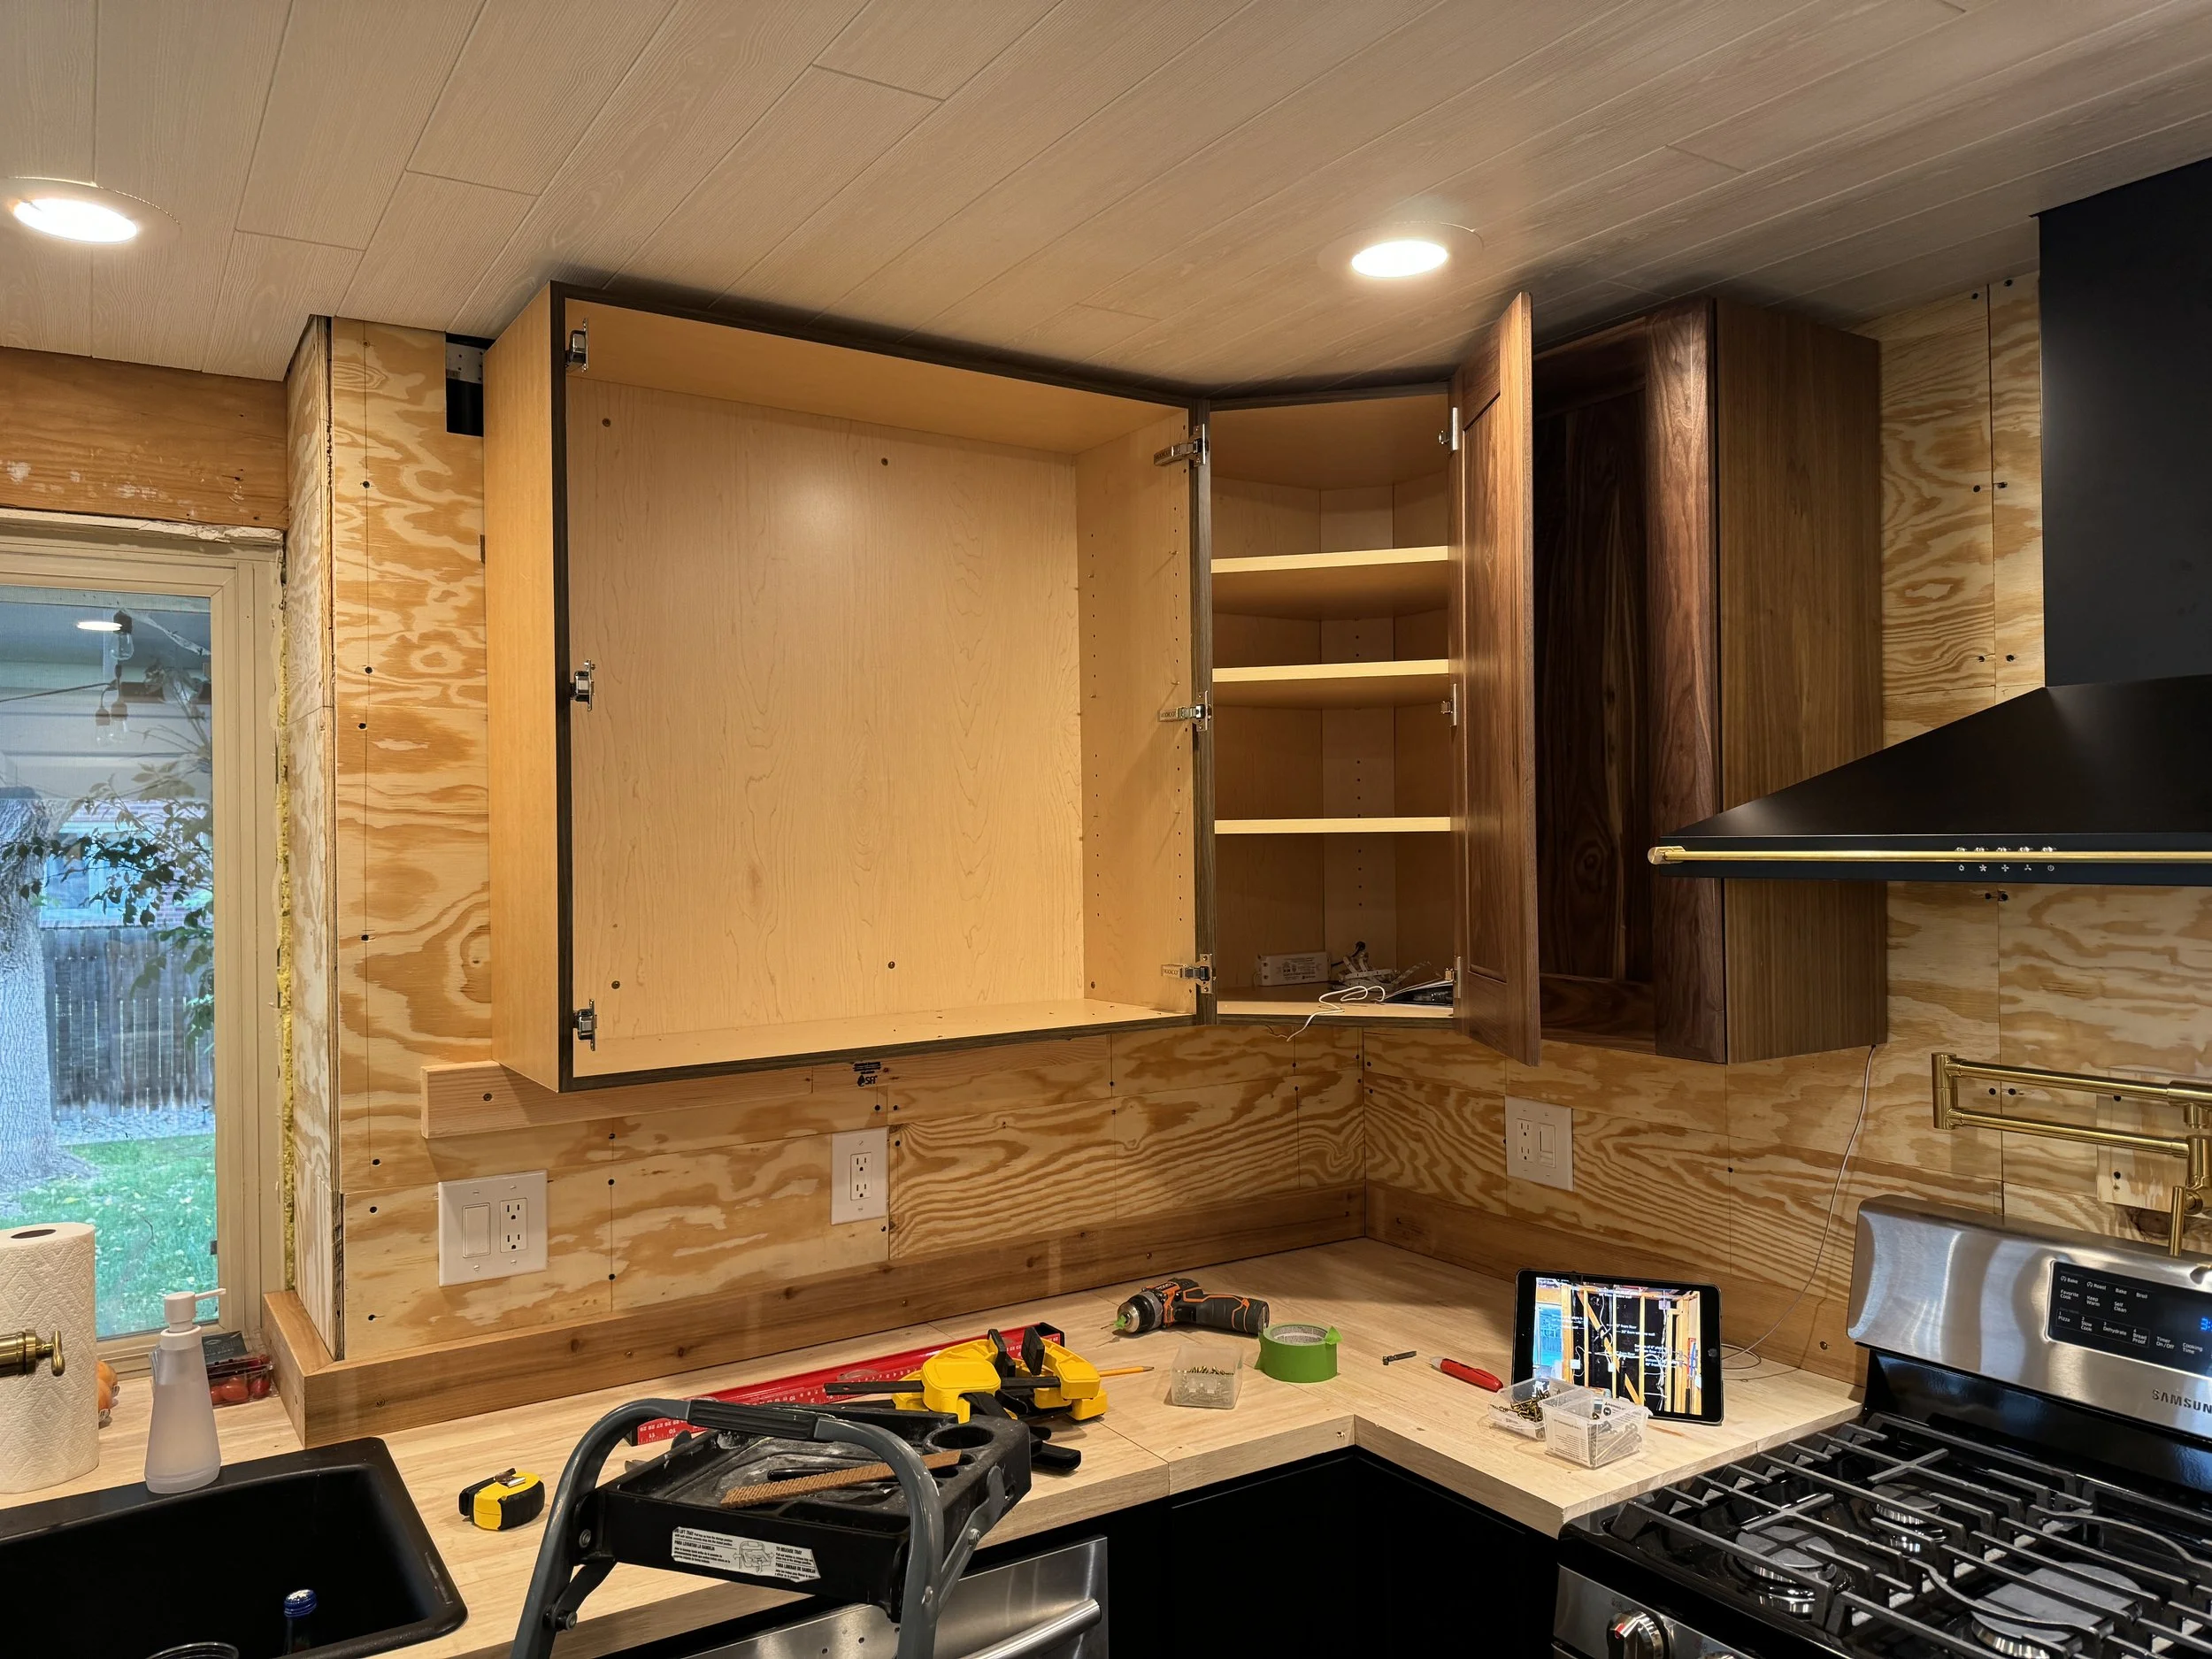
Installed the ledger board to start getting the wall cabinets up... here we go!
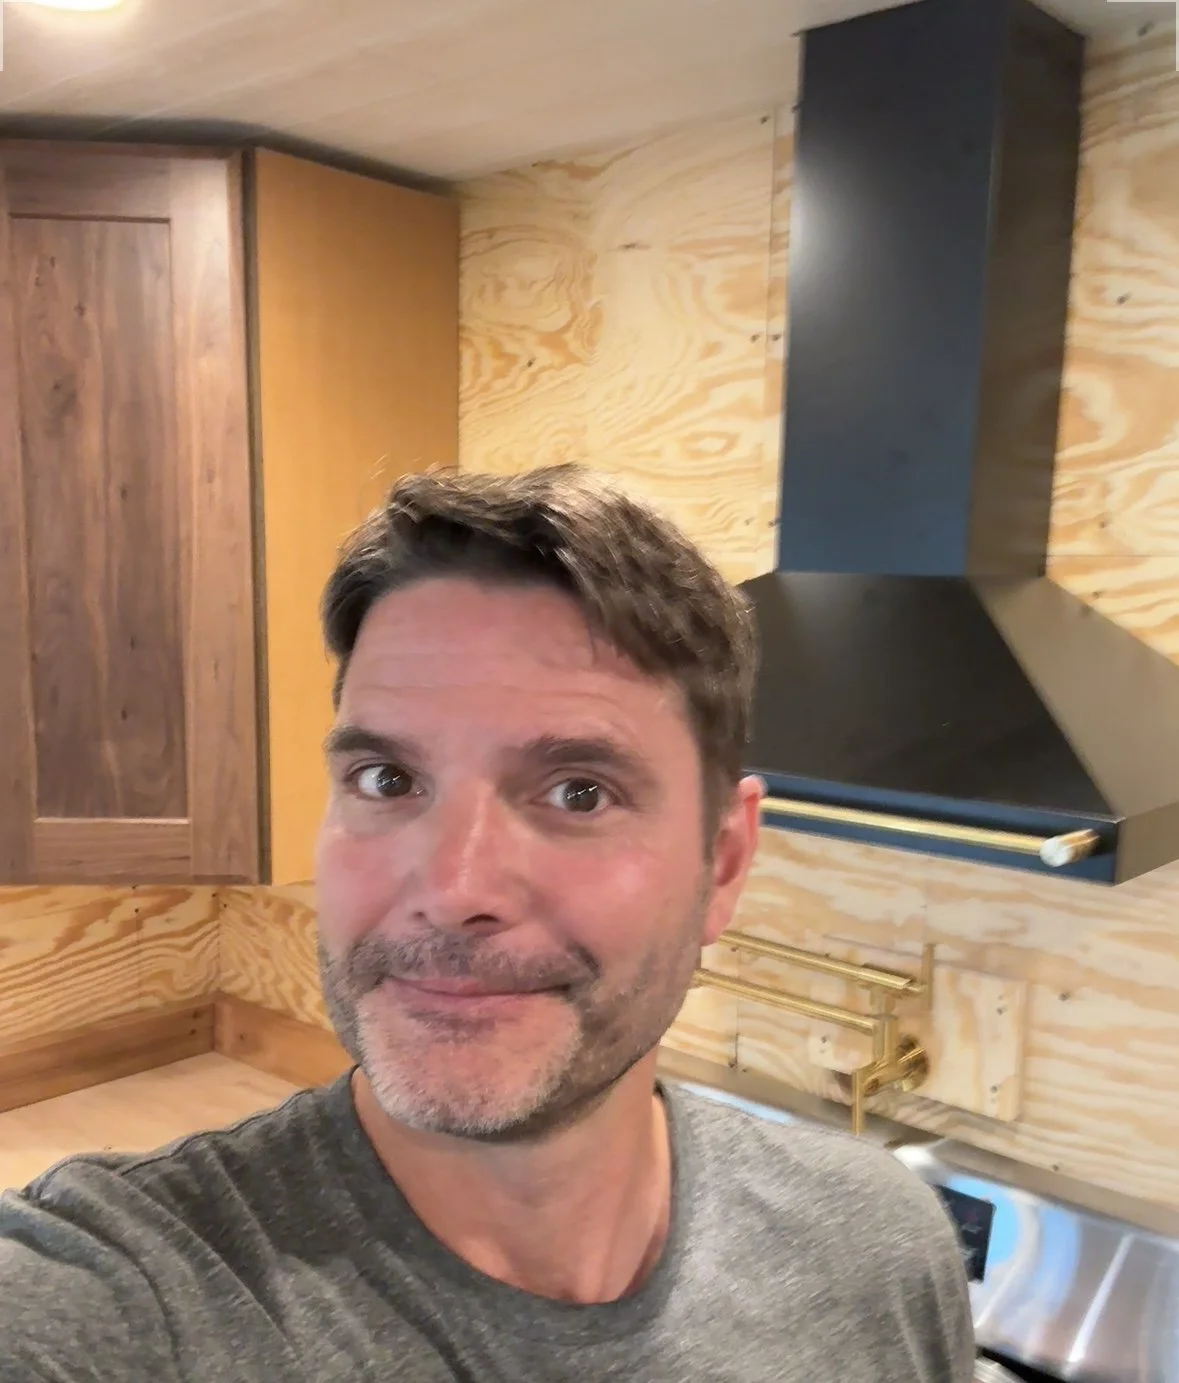
Corner wall cabinet is in--selfie with it and the range hood! lol
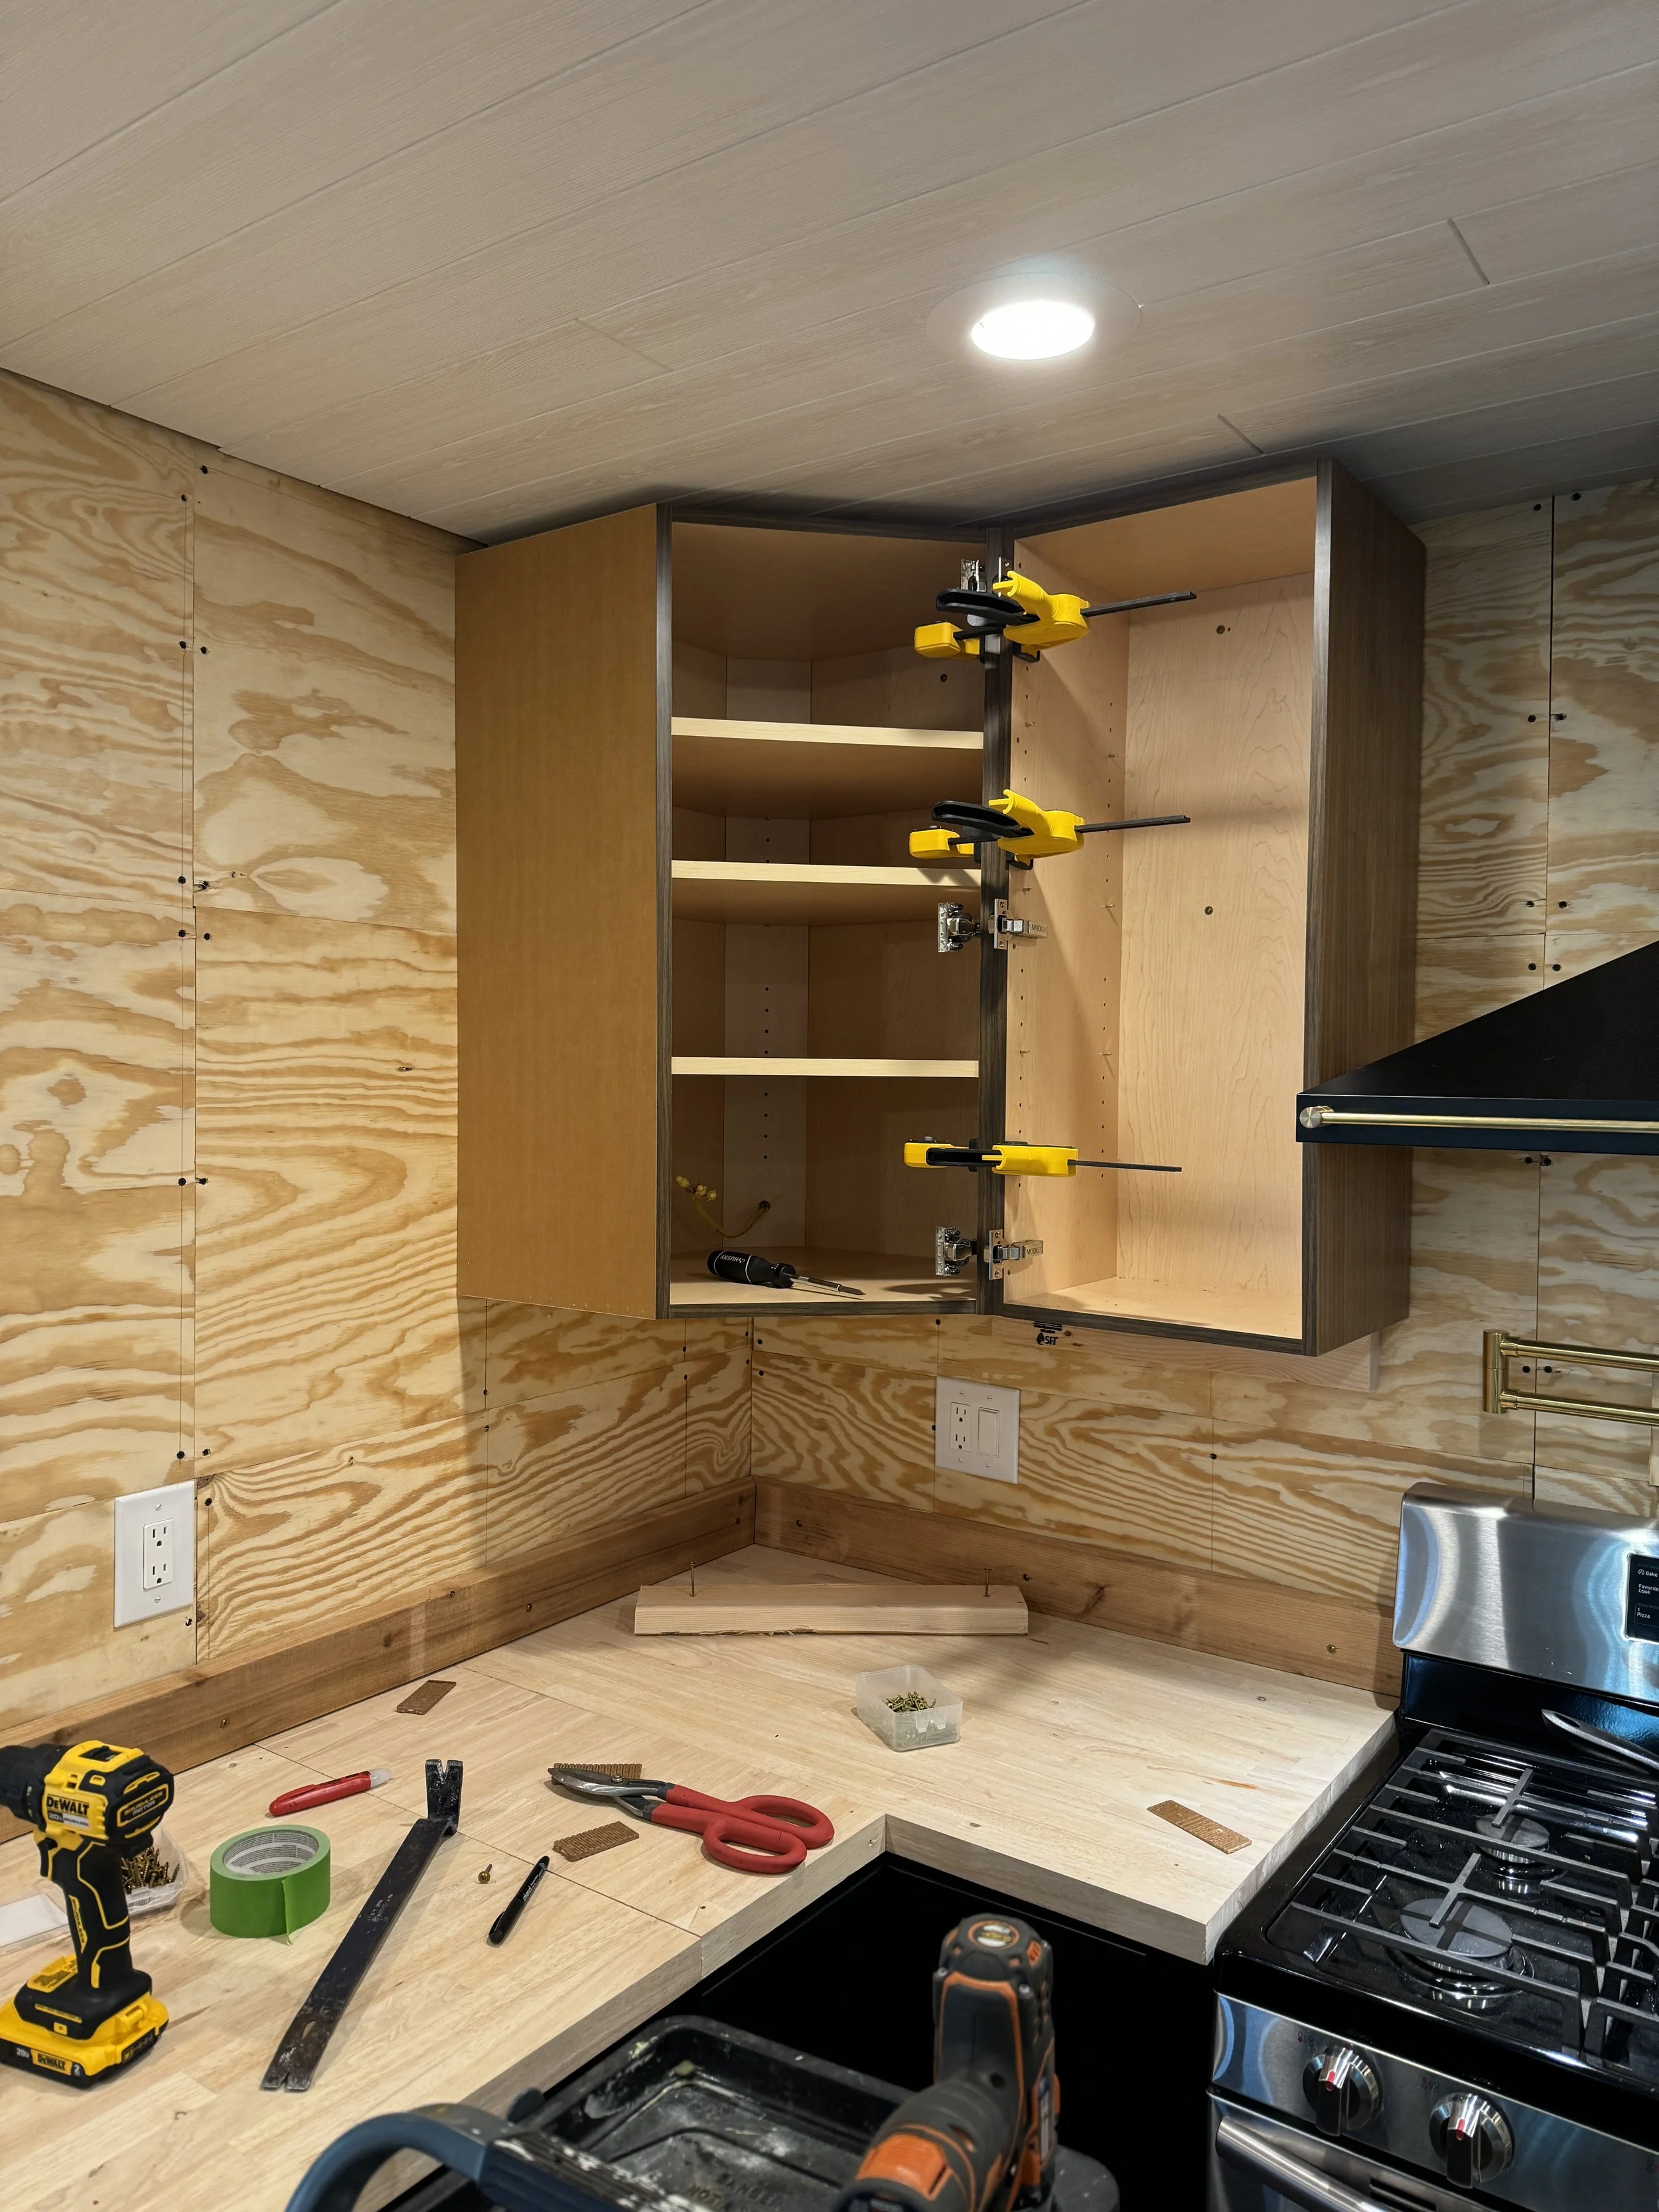
Clamp 'em up tight, and screw 'em together. Solid.
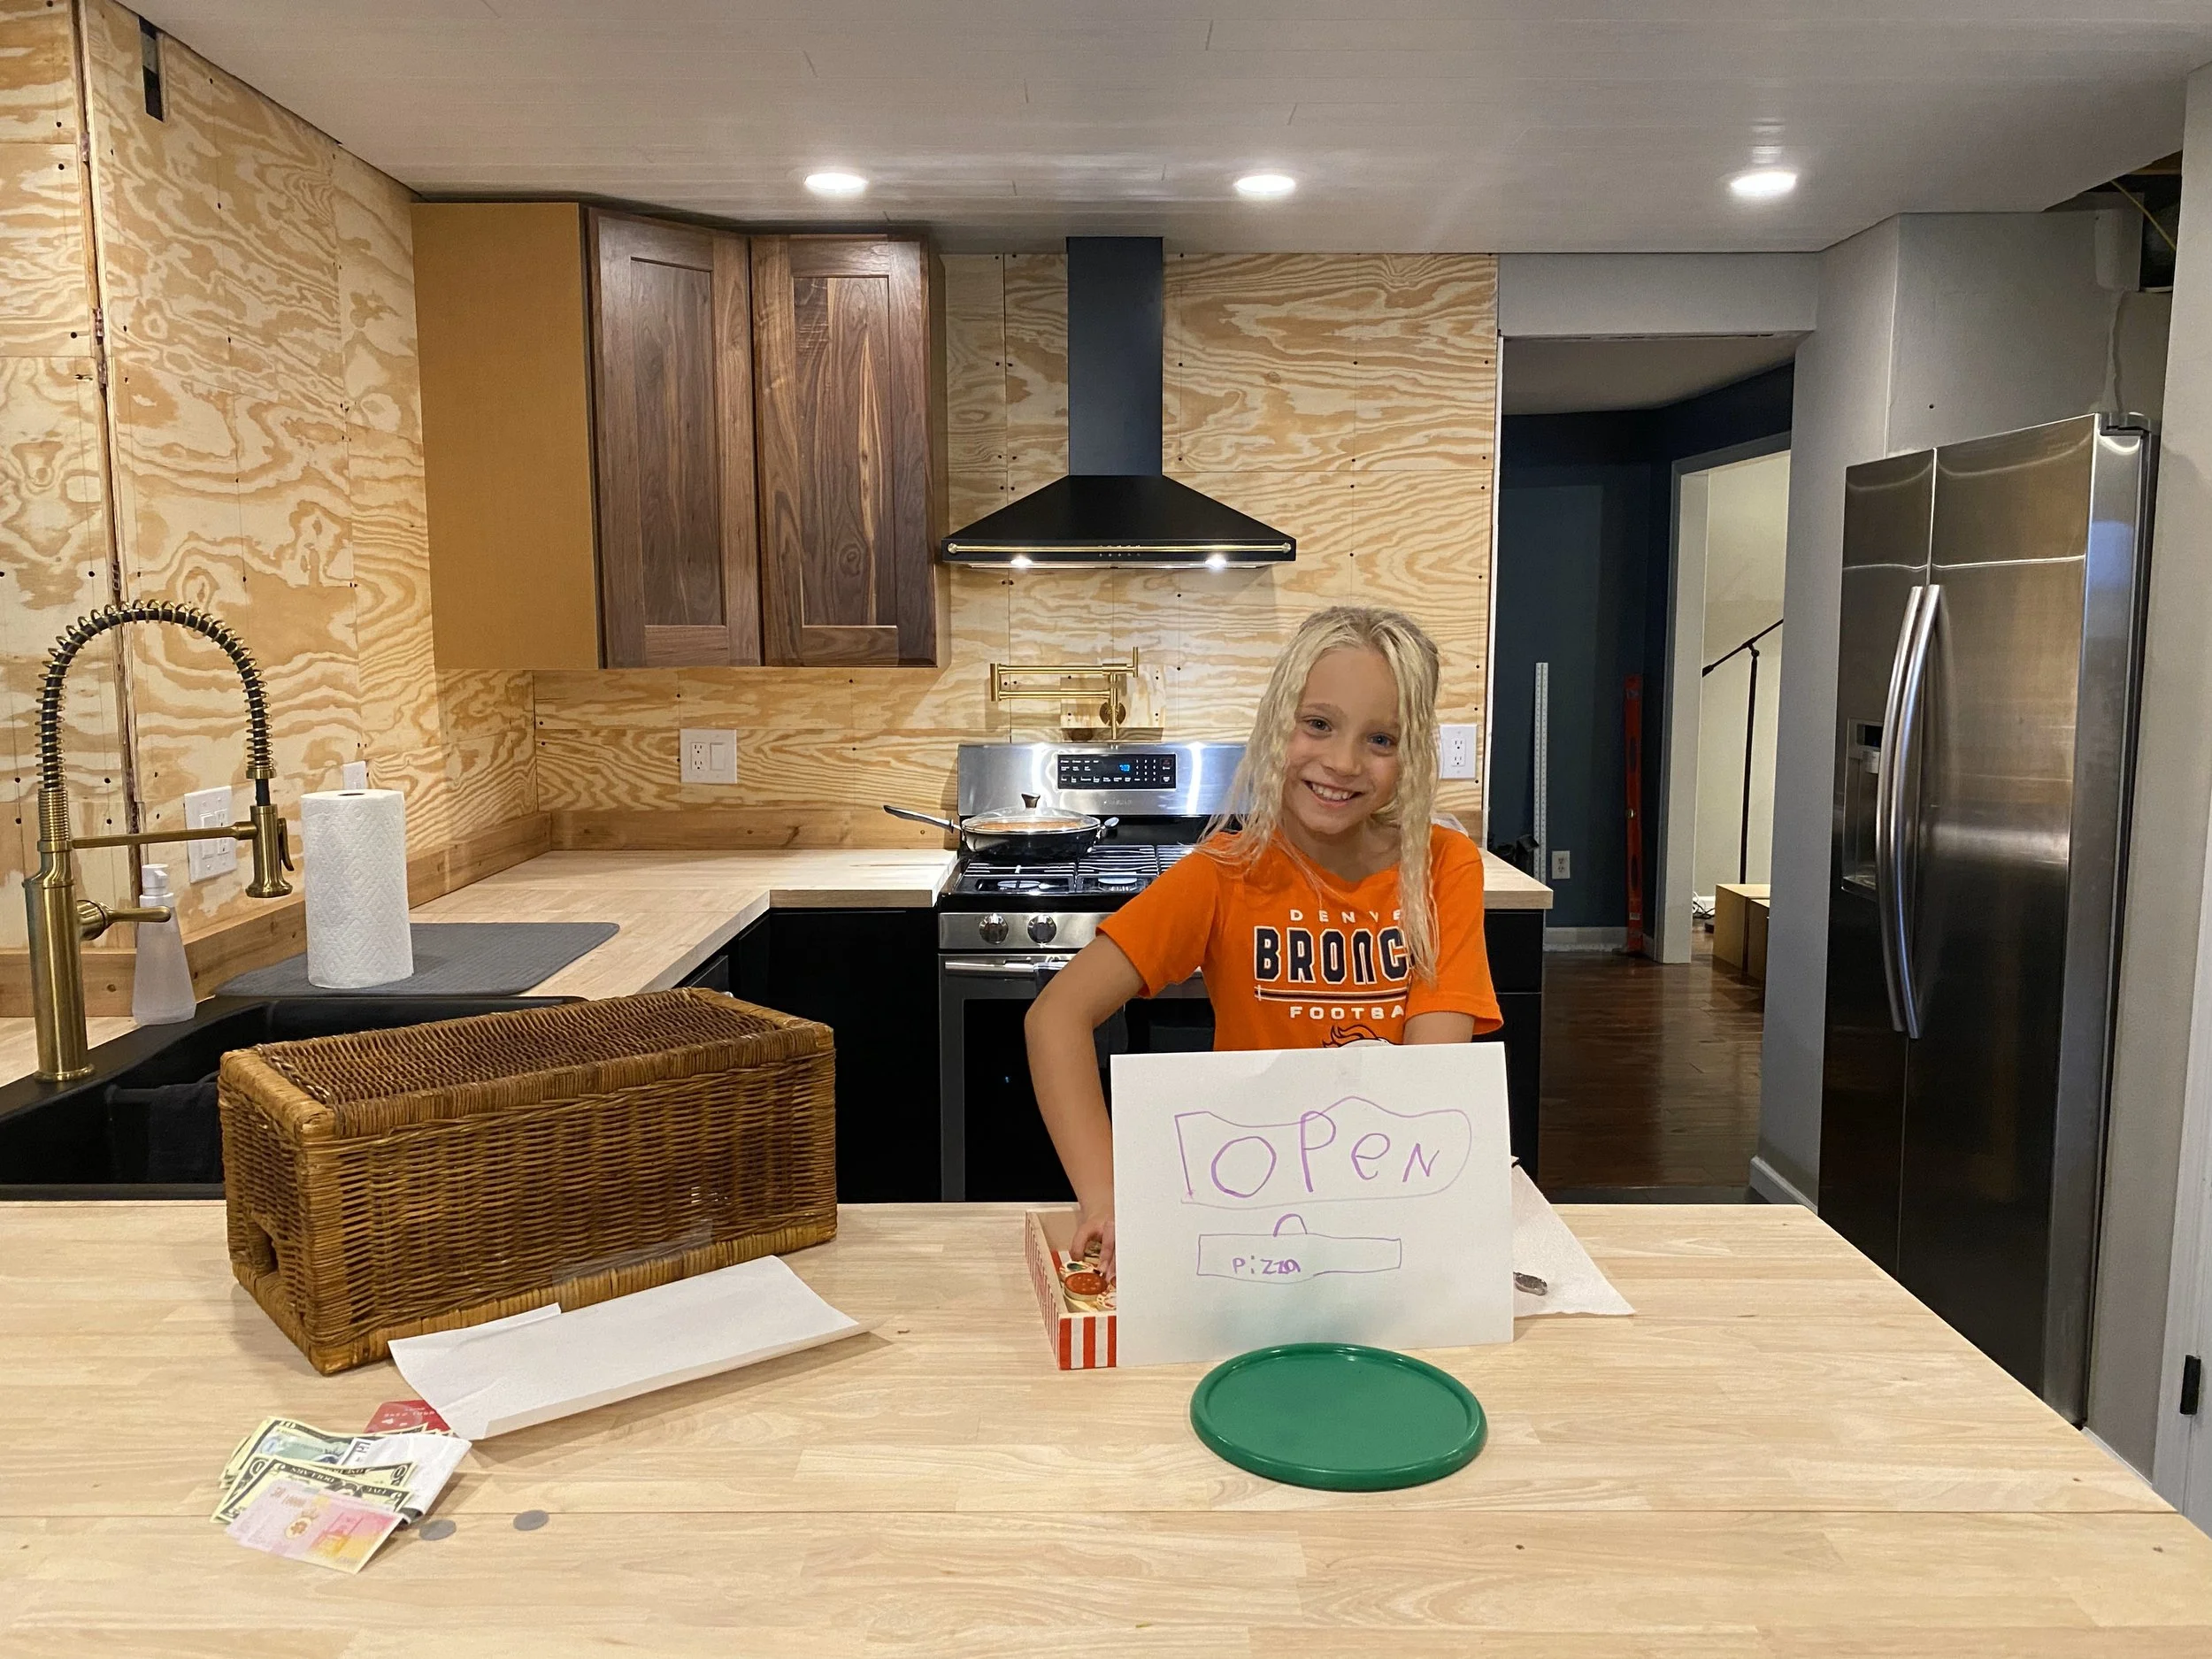
Taking a break, after a long and productive day, to play pizza shop with Lily. :)
Moving along...
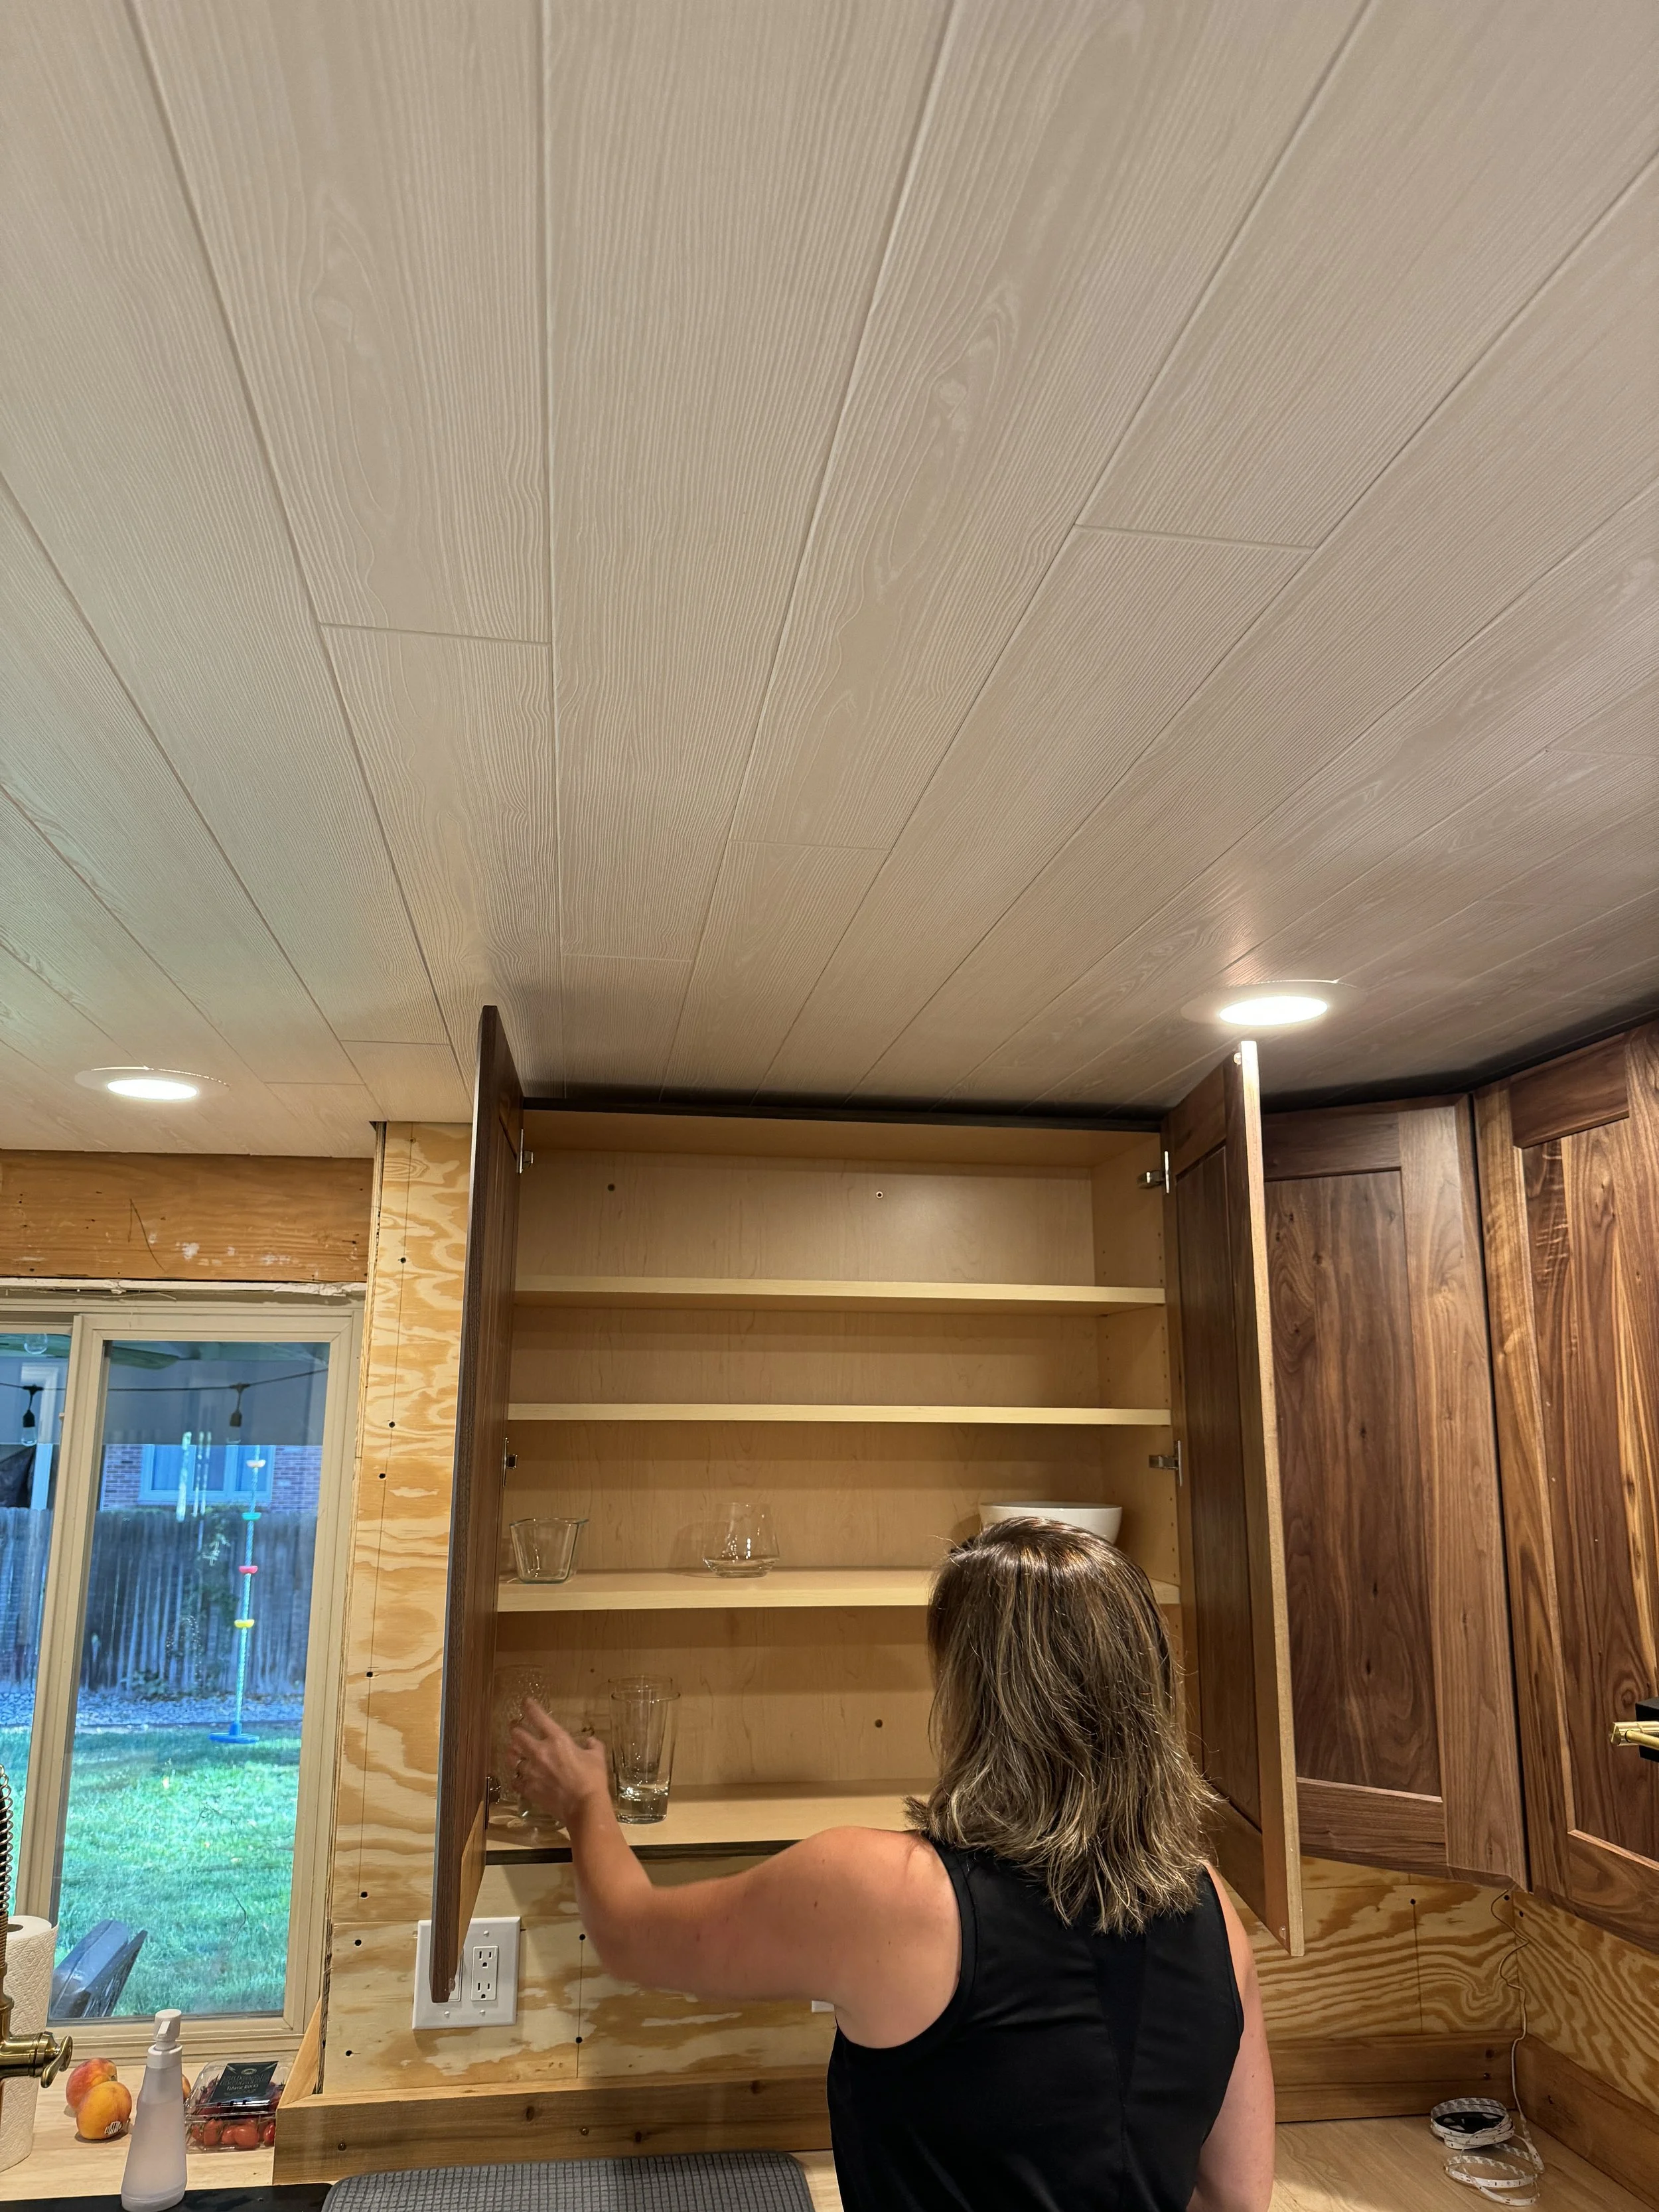
Doors are on, time to start getting things put back away... FINALLY! :)
I installed the undercabinet lighting once these wall cabinets were up--connected to a dimmer switch on the wall. Love it!

Installing the high cabinets to frame the window. This was easy, since I was screwing them directly to the window header--so no stud finder needed! (And I can't use one of those anyway, it goes haywire when I hold it... DAD JOKE! LOL)
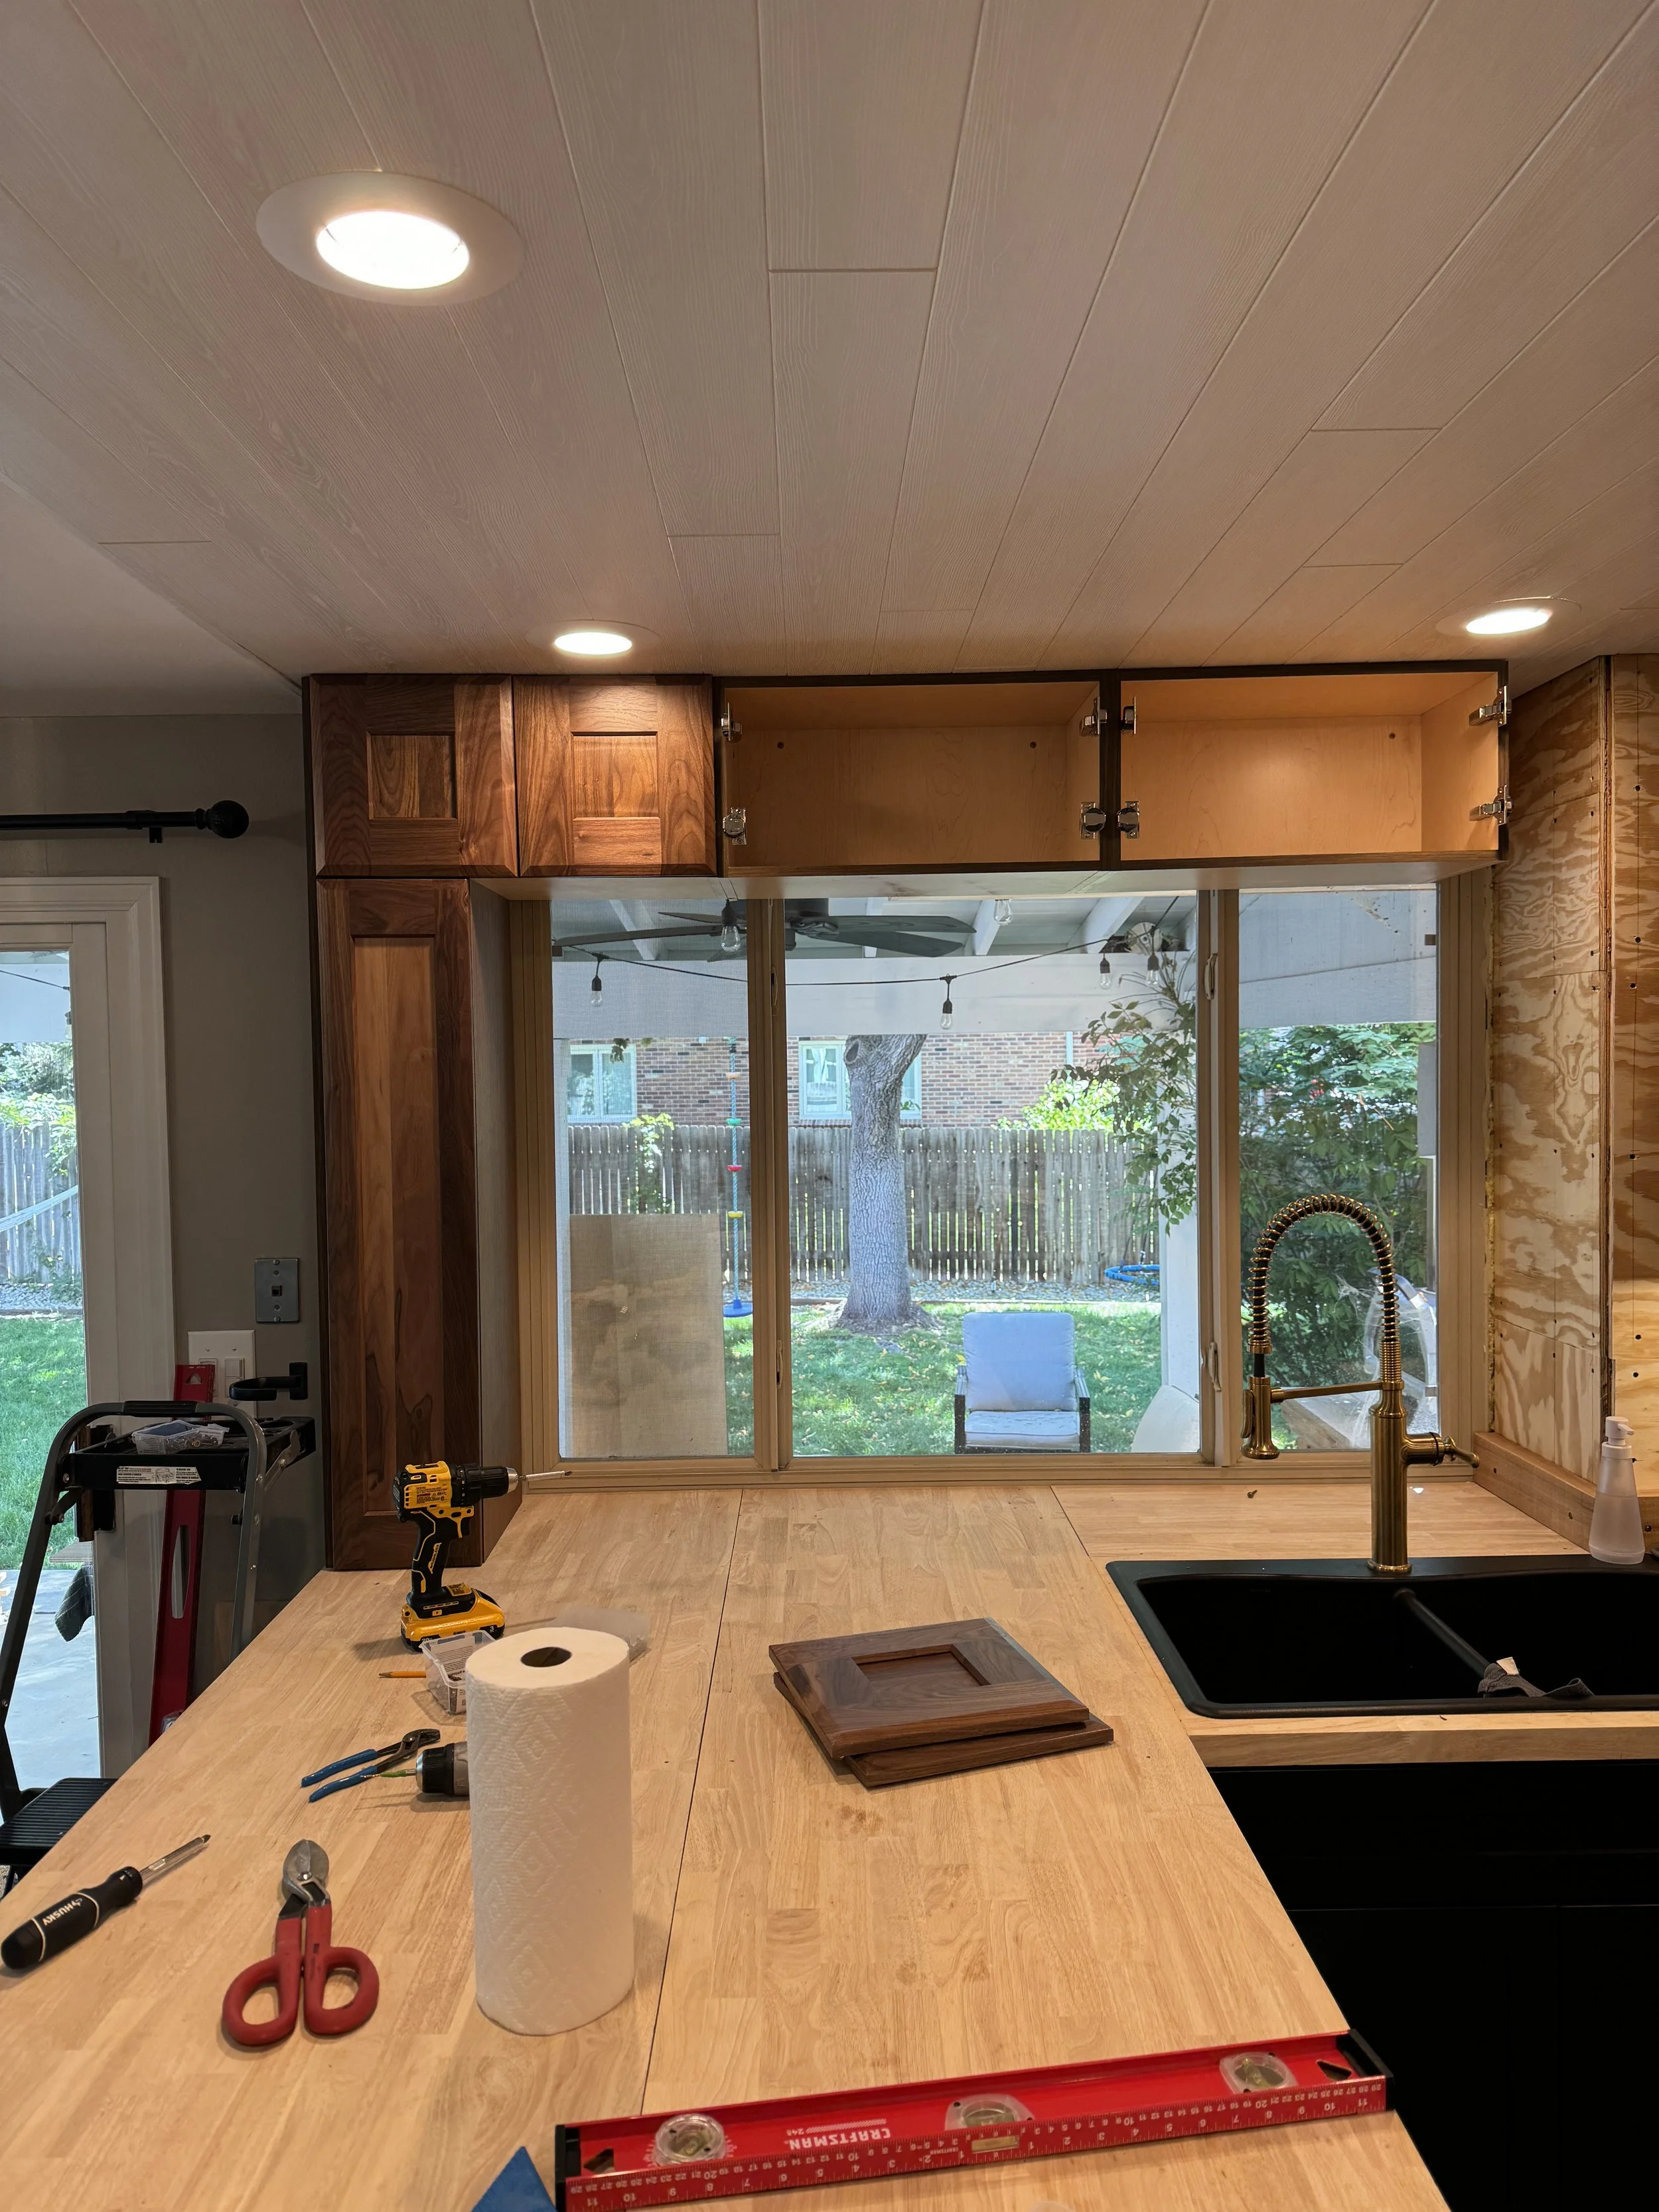
Moving along...
Finished, but... after this, I decided to put spacers between each cabinet, so that the whole row ended at the wall. So, I had to take these down and re-do them. I forgot to take photos of that, though. Oh well.
It's coming together... ready for the new appliances!
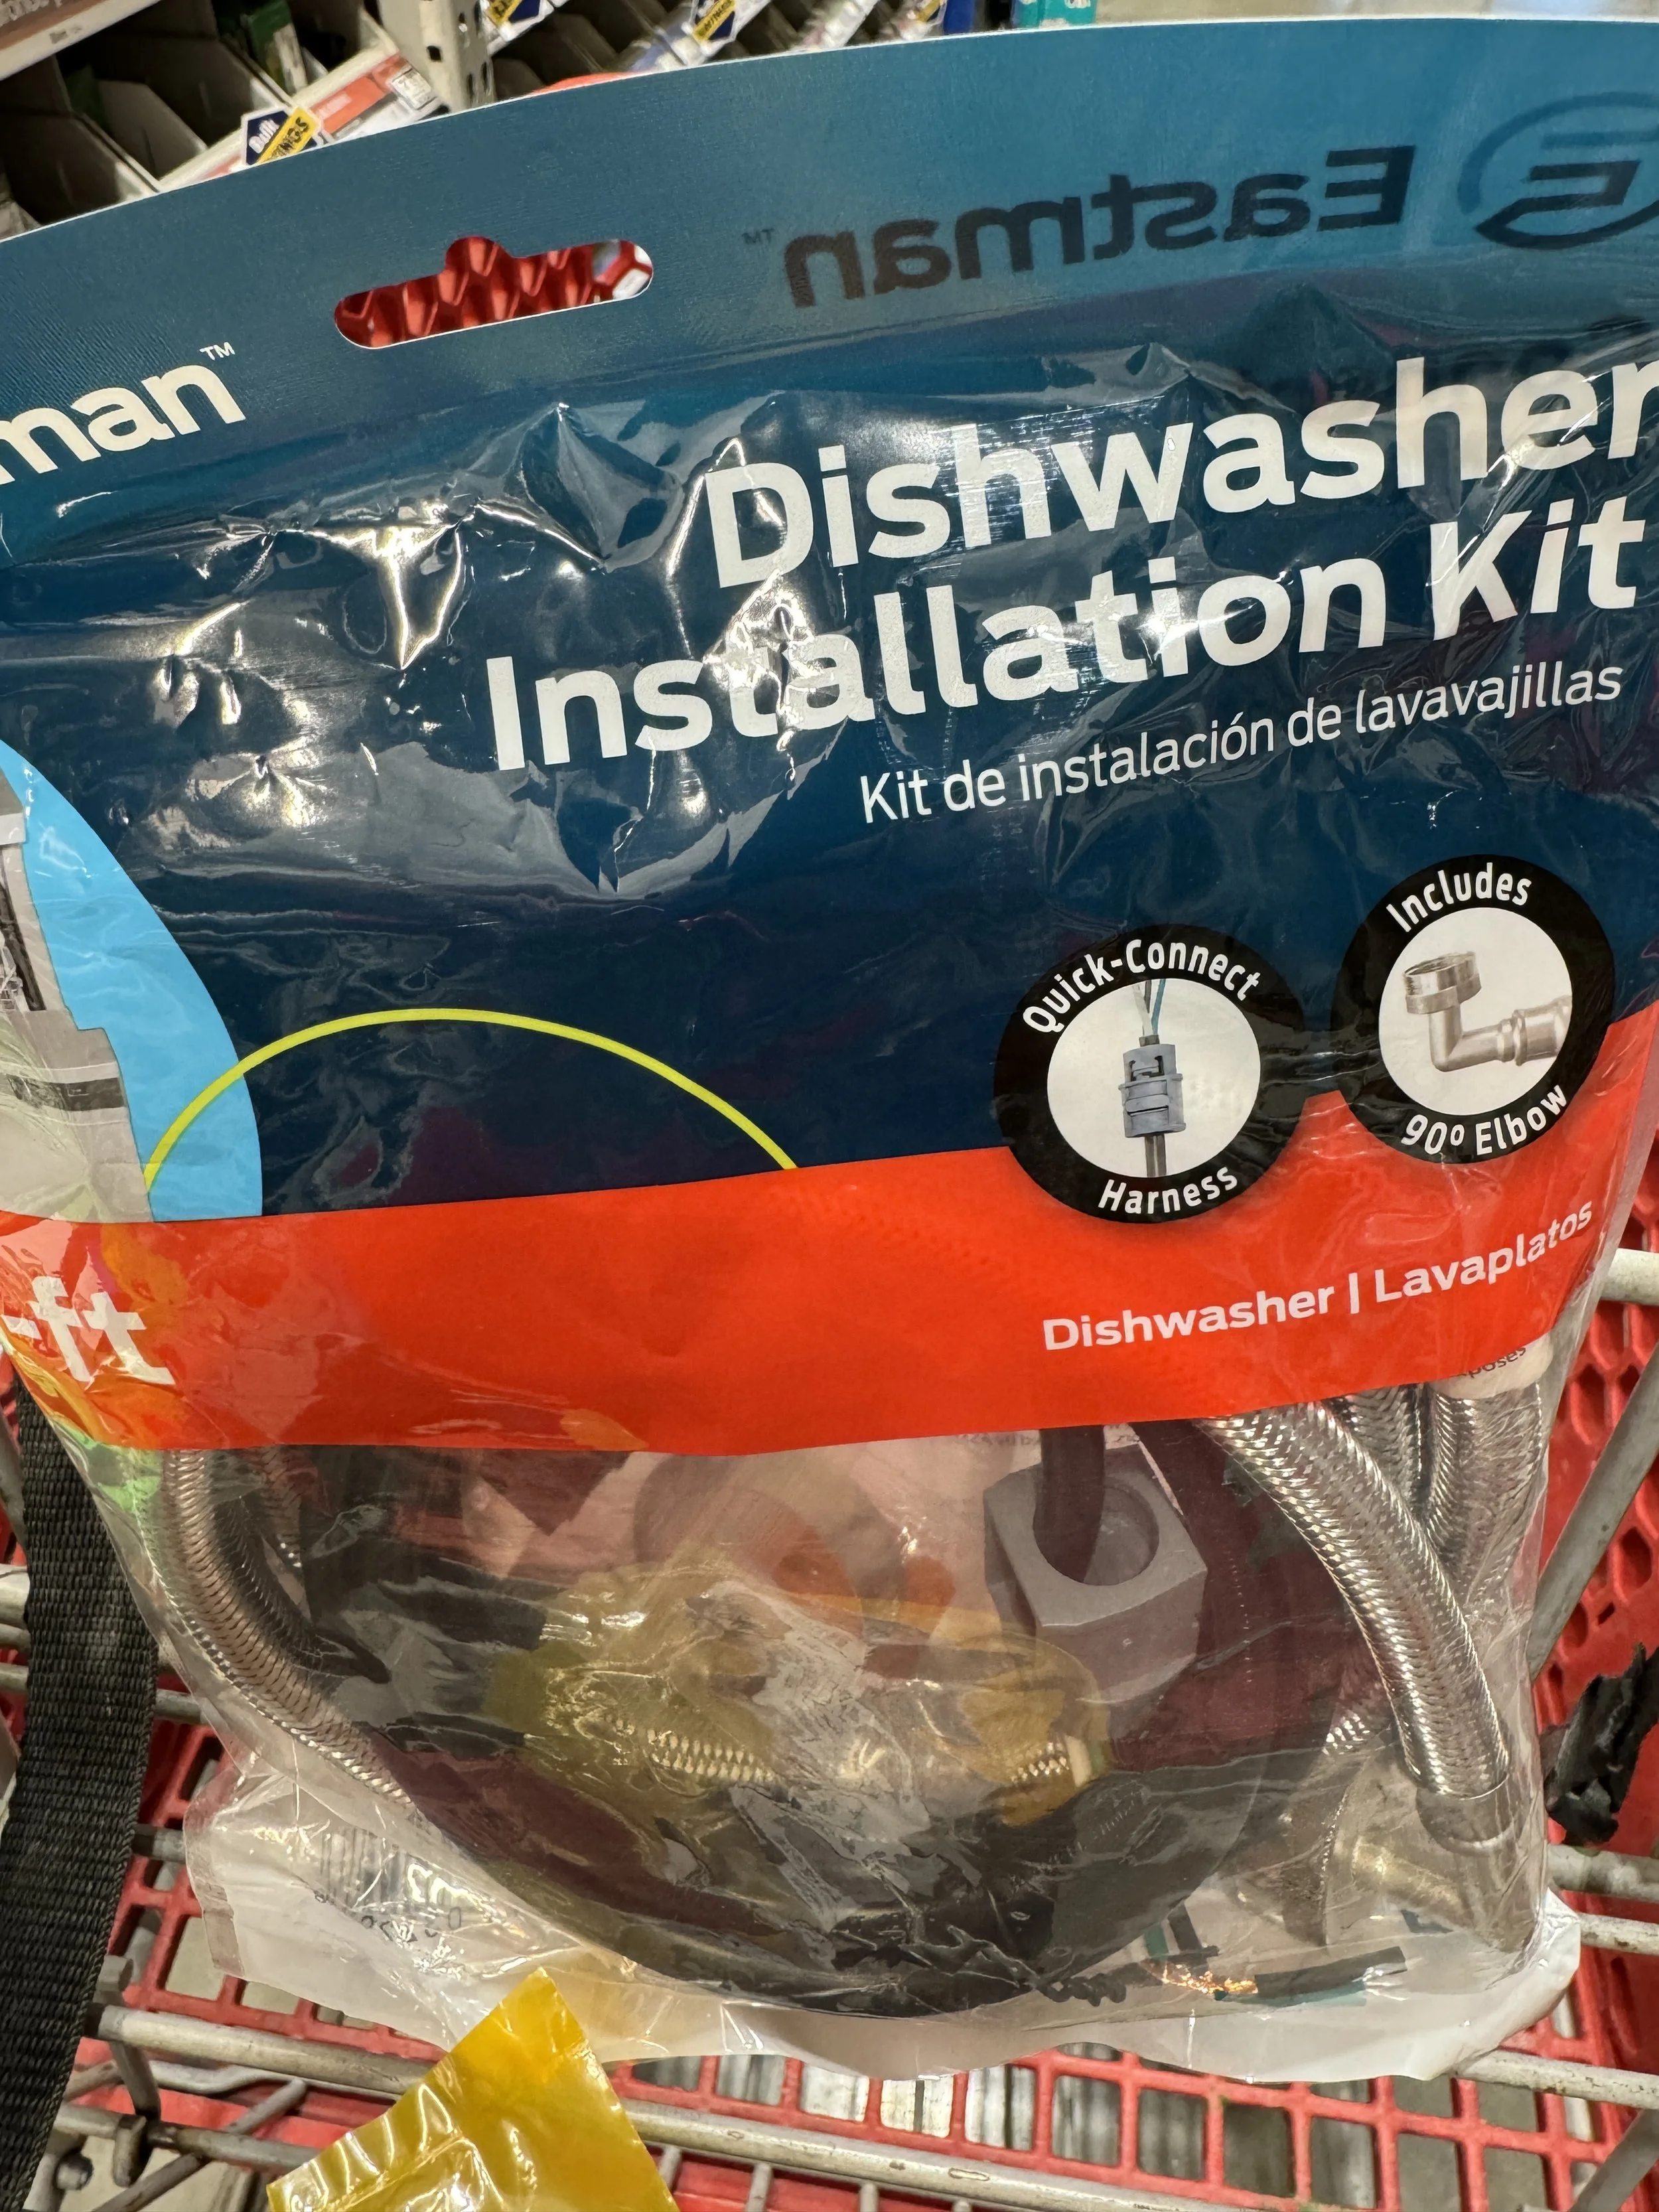
I've lost count of how many times I've installed dishwashers... I think this is around the 3,238th time.
It's looking good, though! :)

Fully installed, and working perfectly.
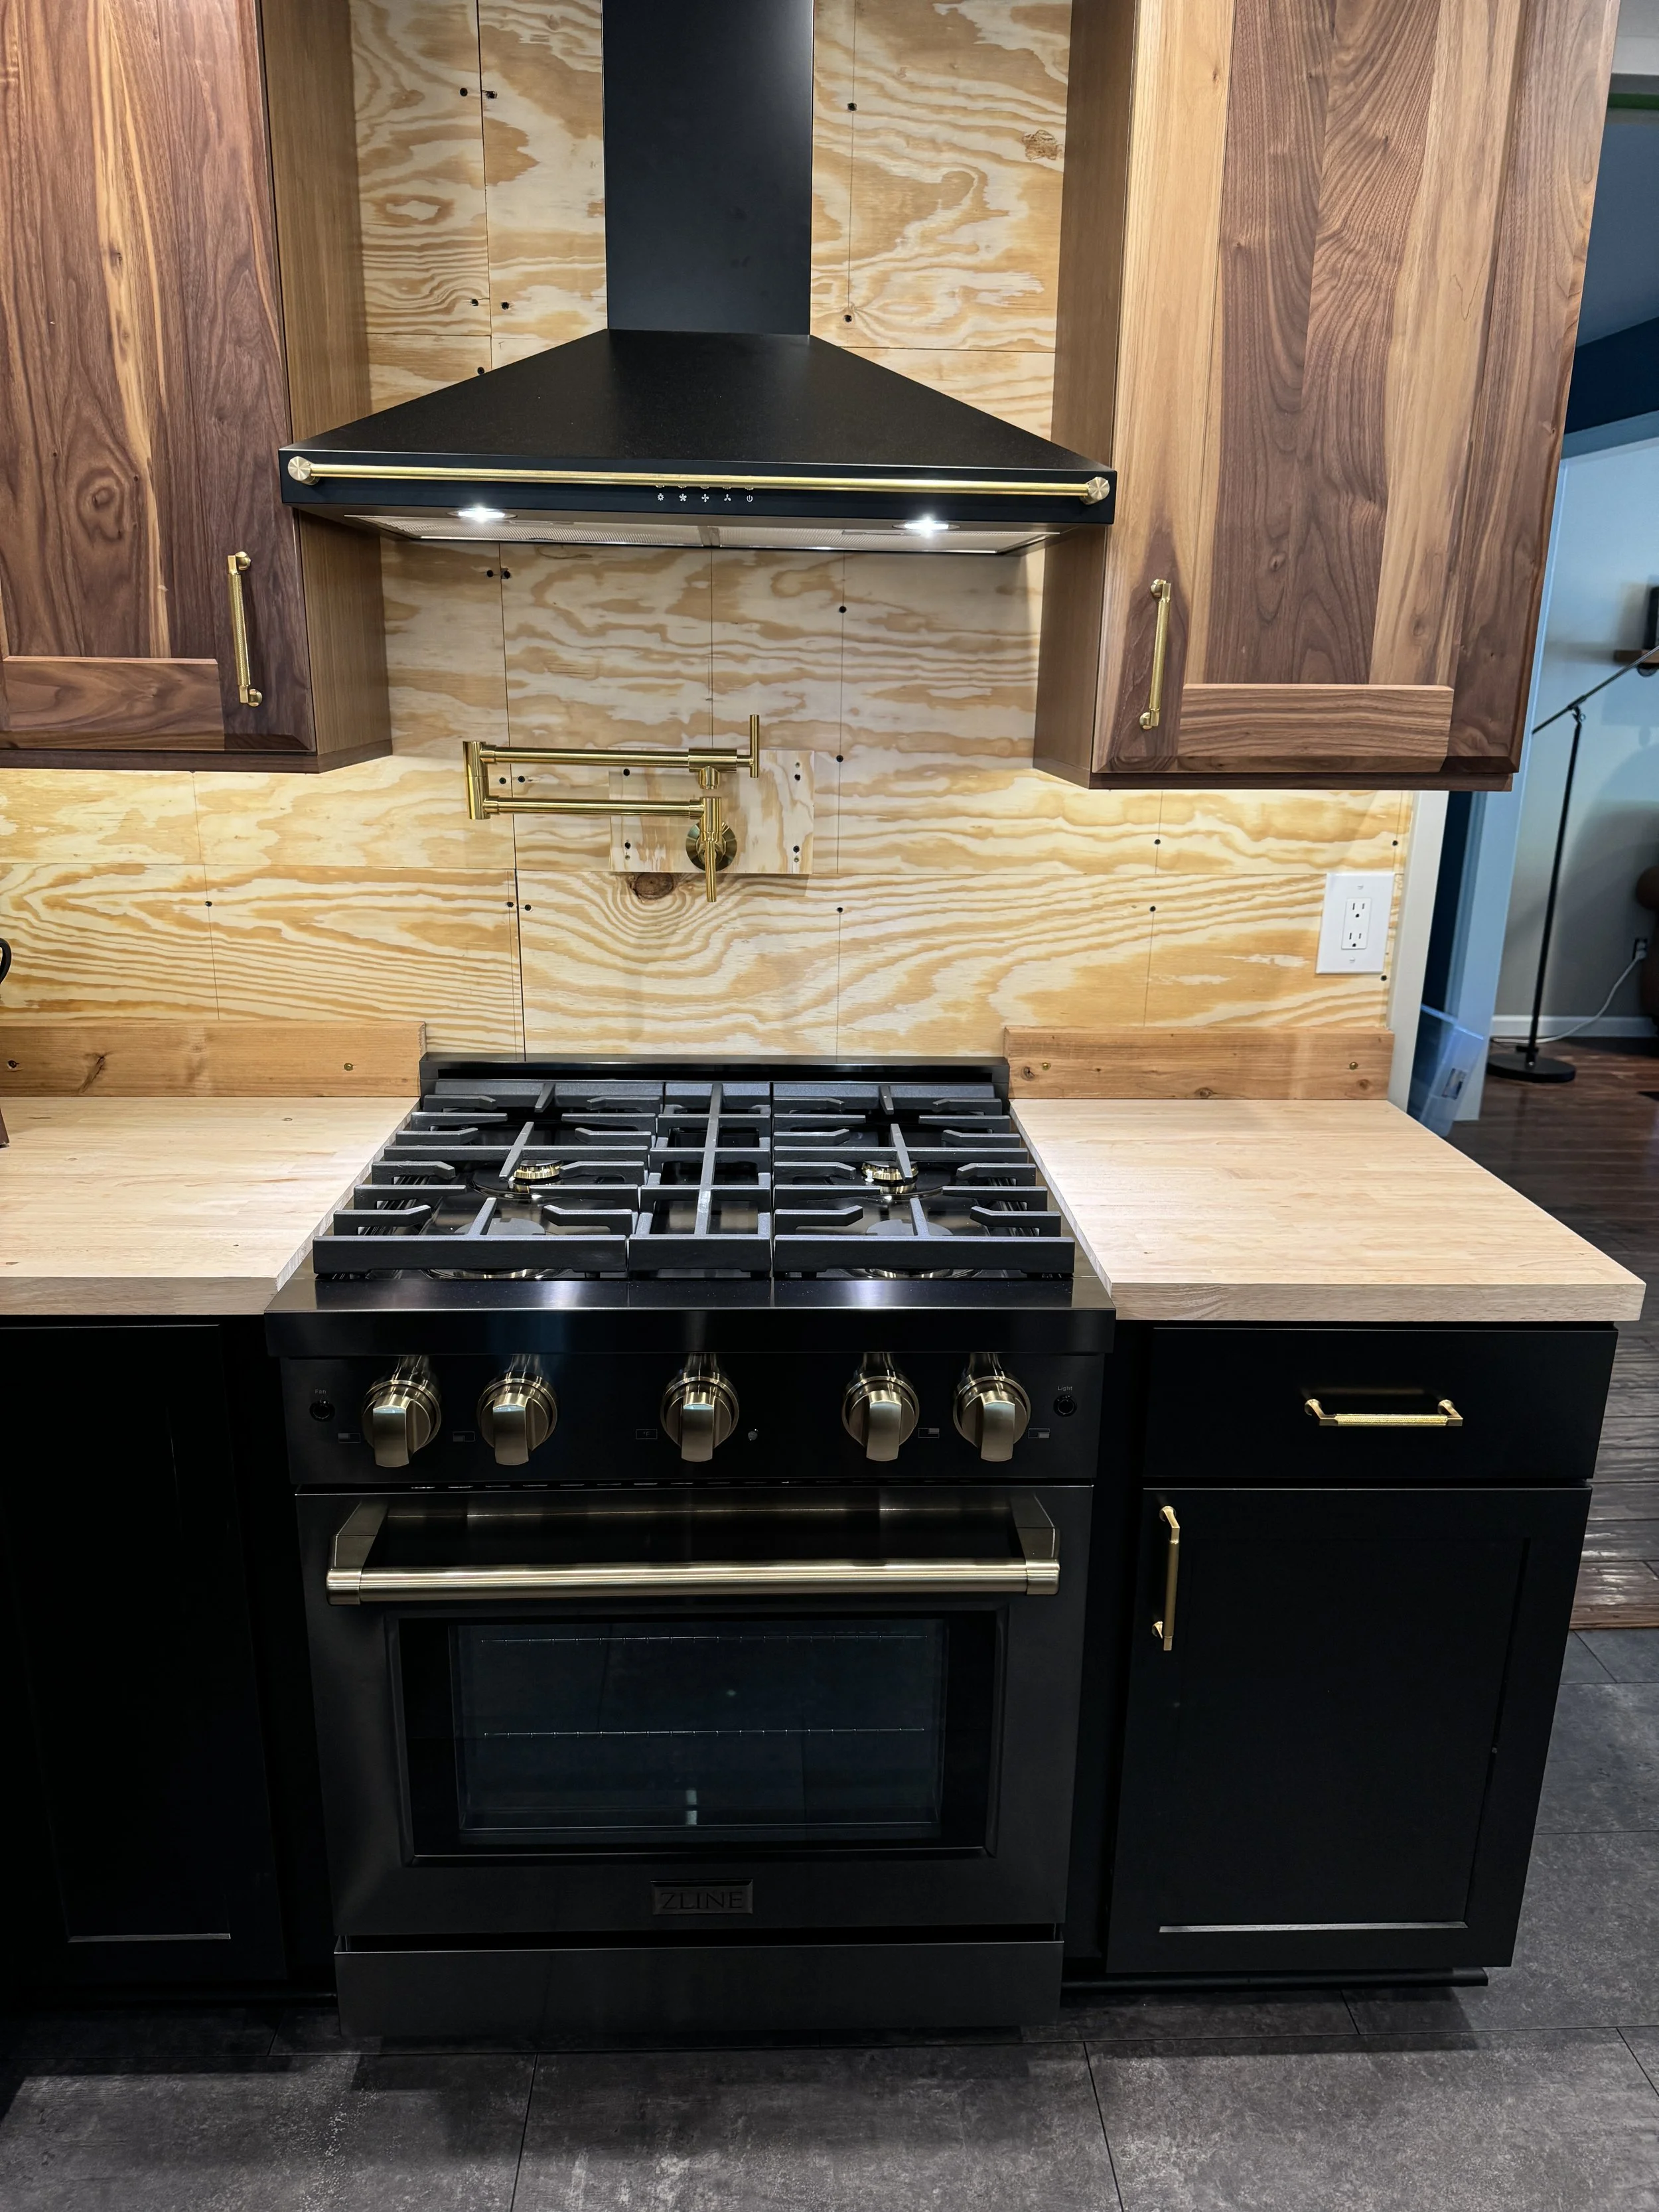
The new range is top-notch... it's a very nice upgrade, which I'm cool with since I saved just *a tiny bit* of cost on labor lol
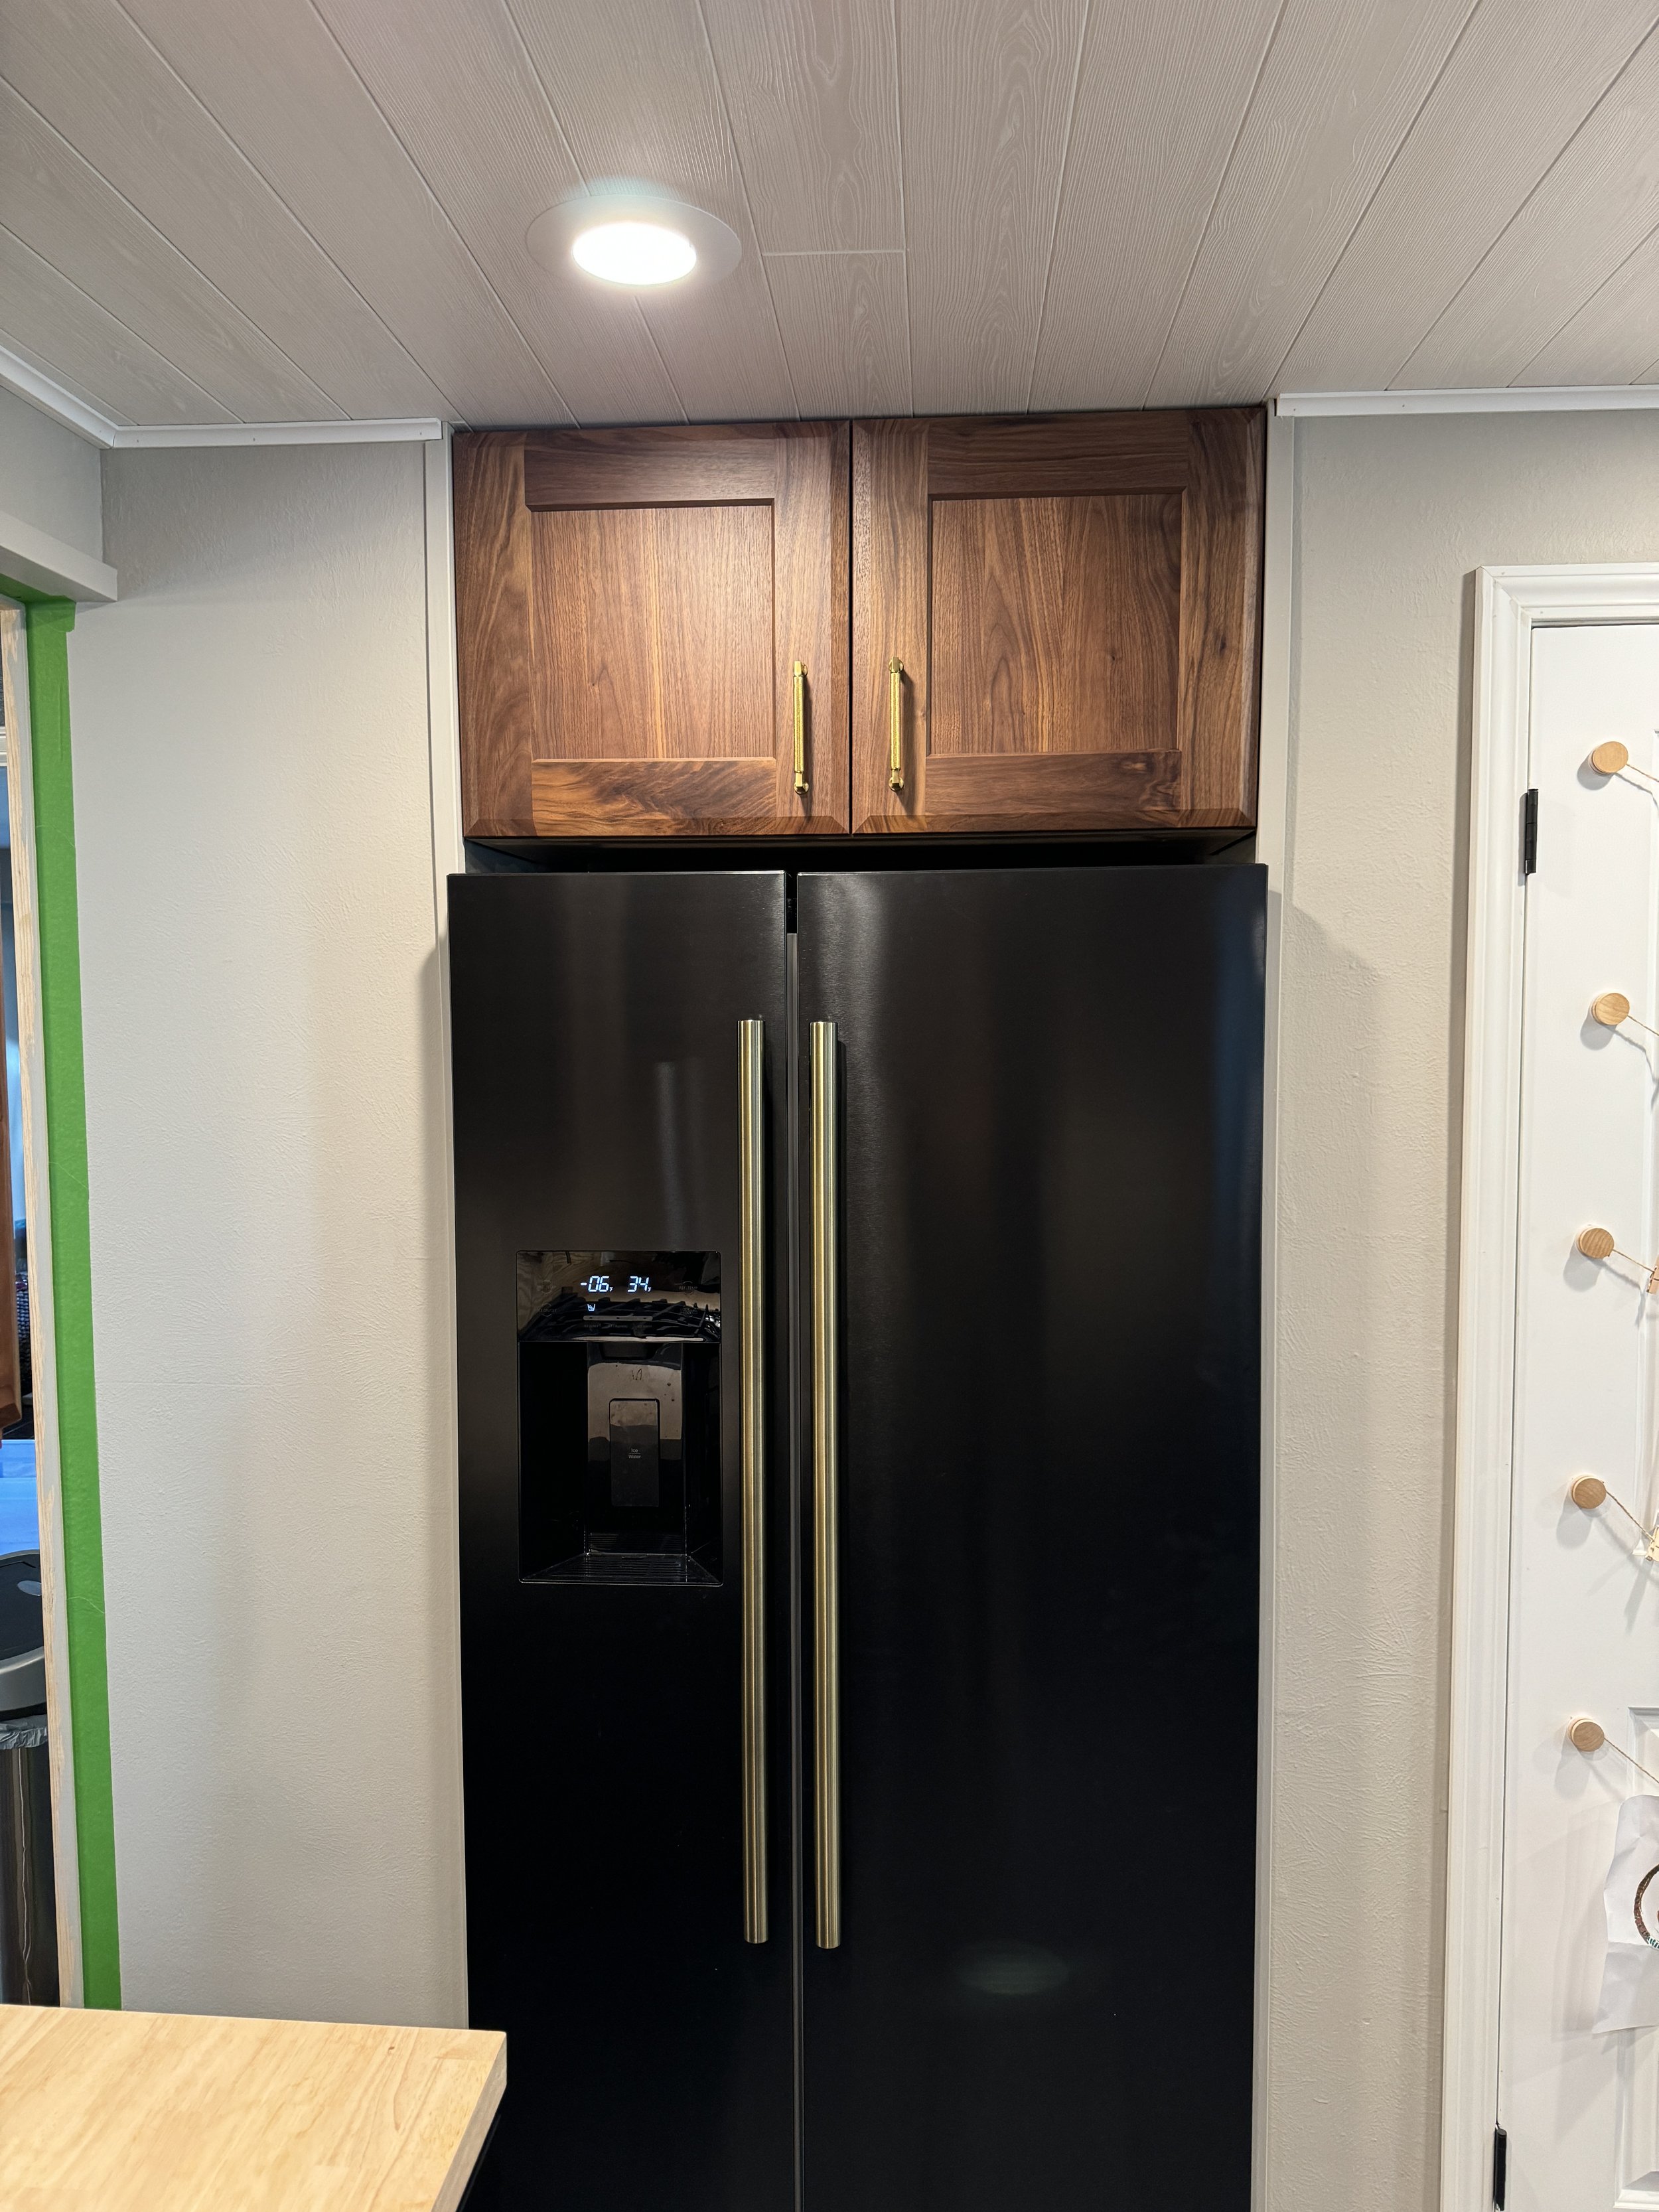
New black stainless steel side-by-side fridge (painter's tape to the right shows that I'm still doing some touching up.)
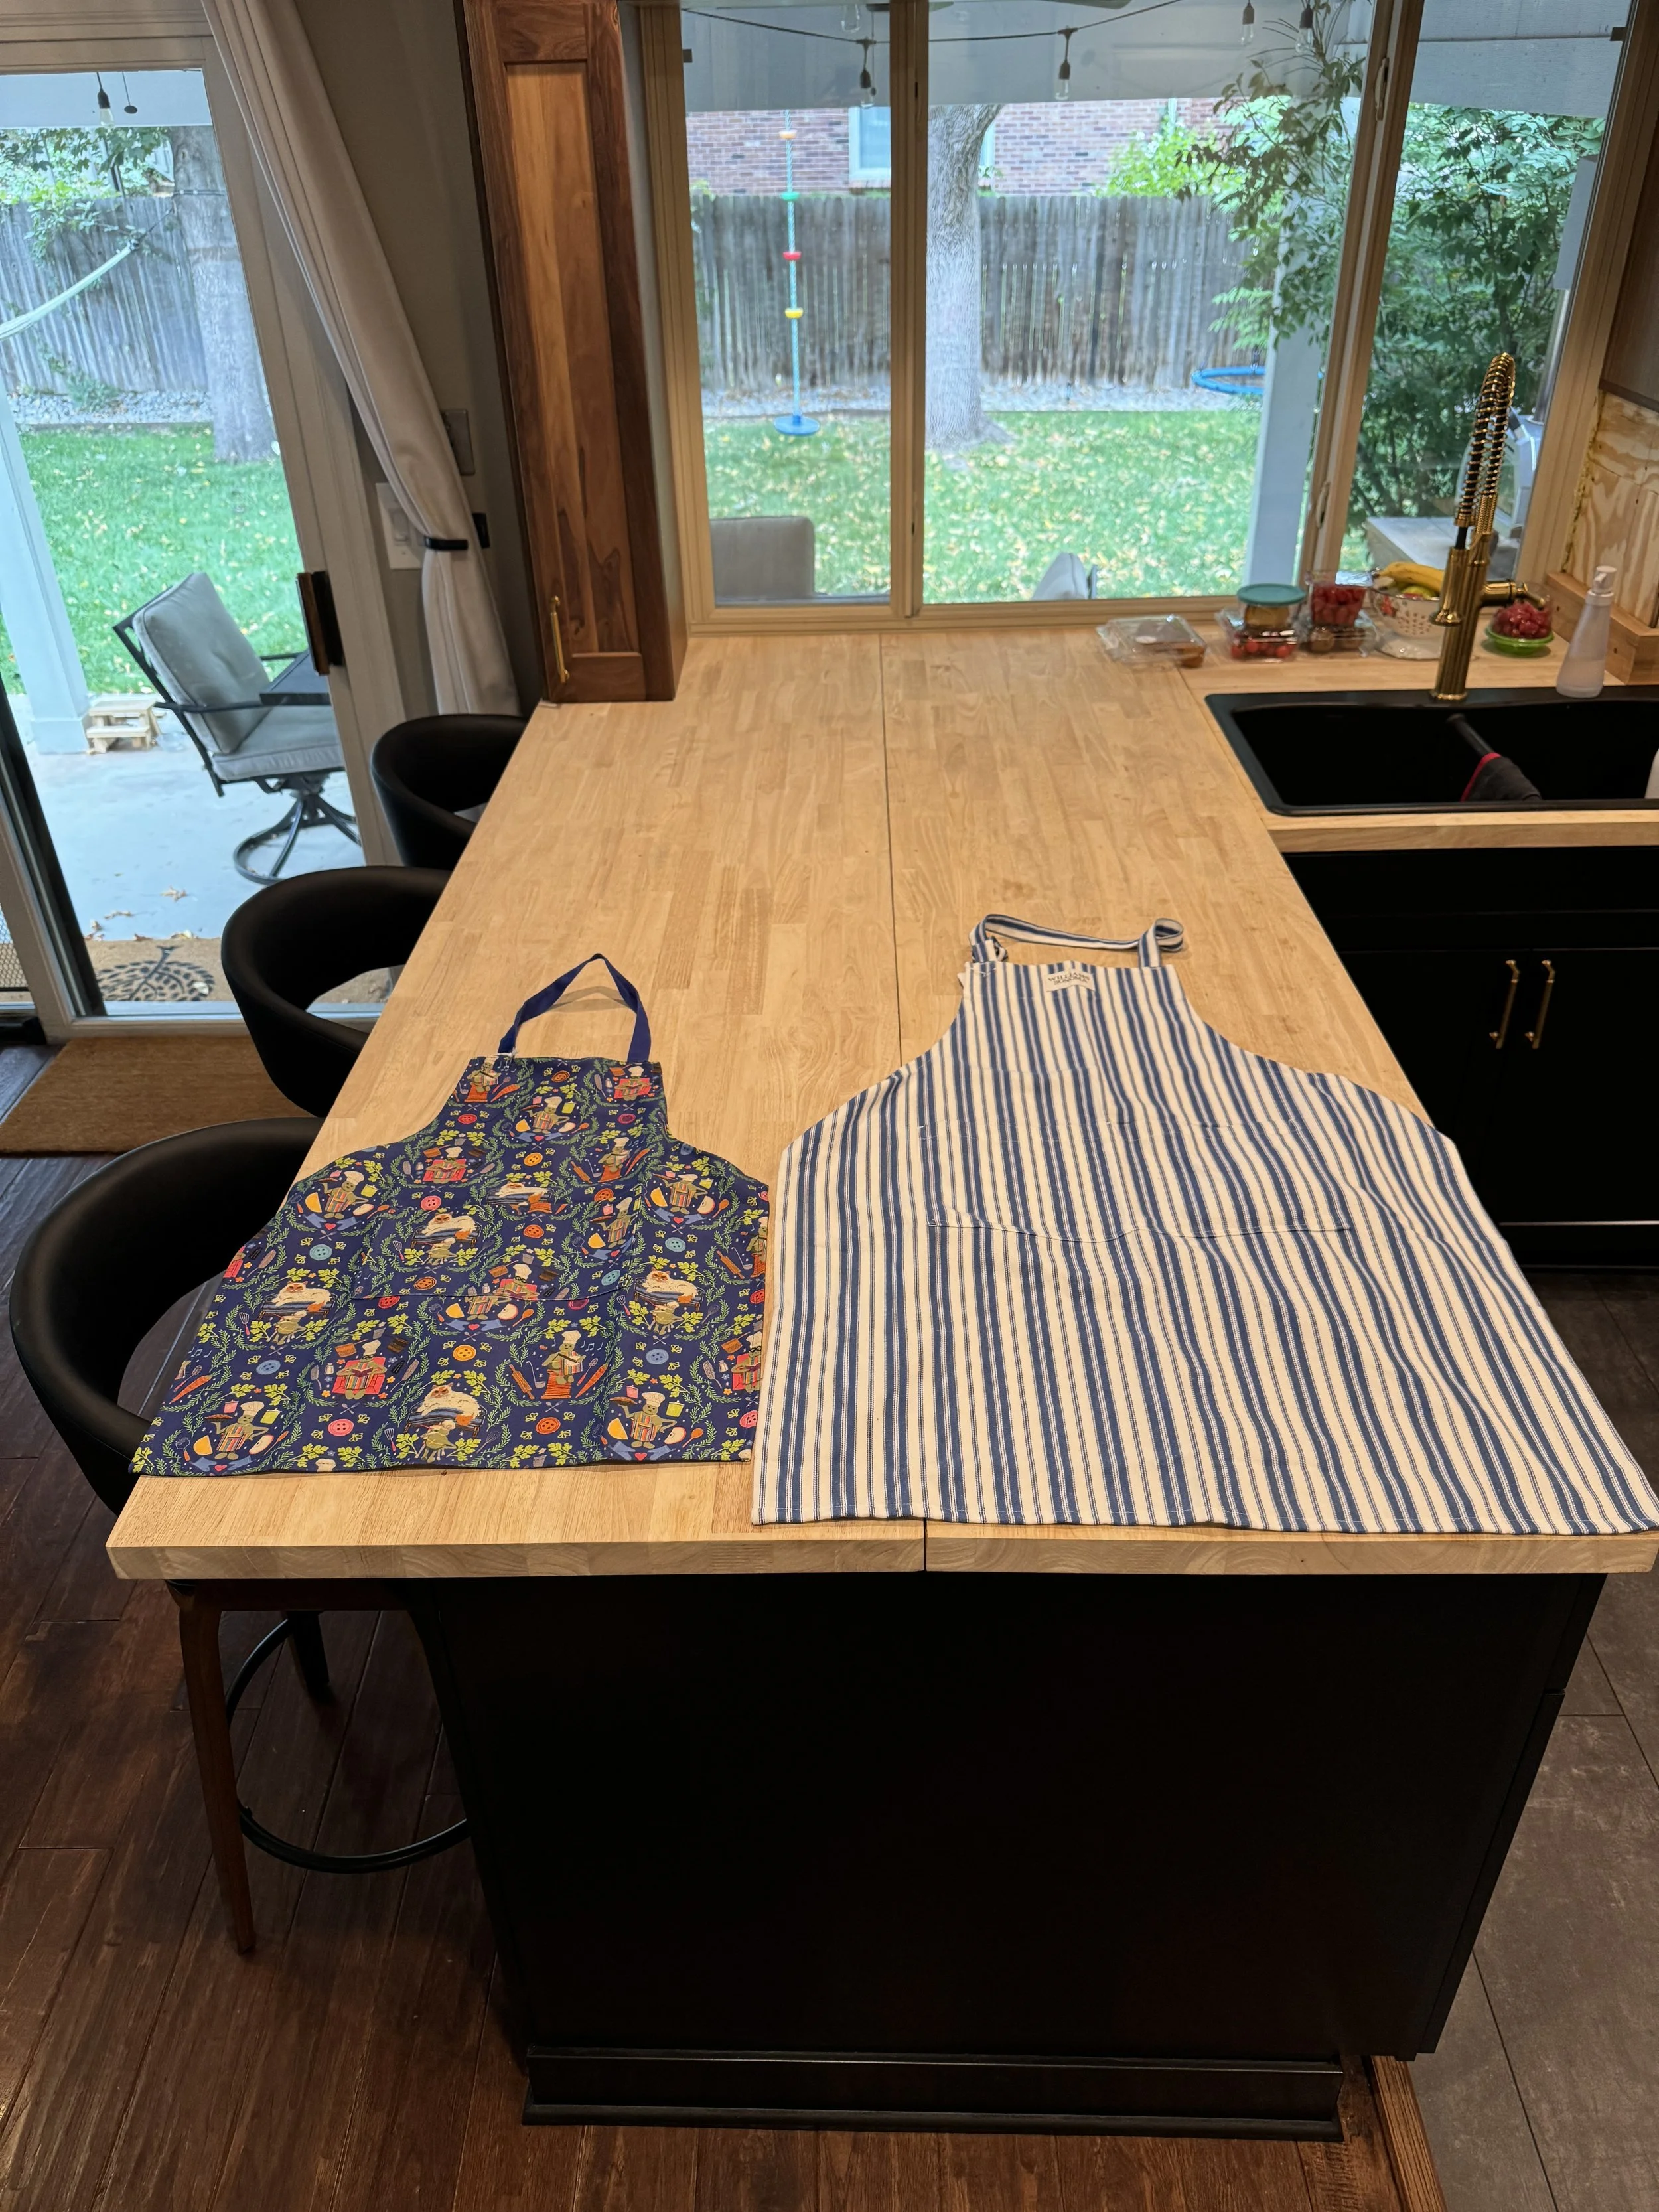
I bought Lily and myself a couple of aprons, so that we could cook our first meal together using the new range (Jamie was out of town for work).
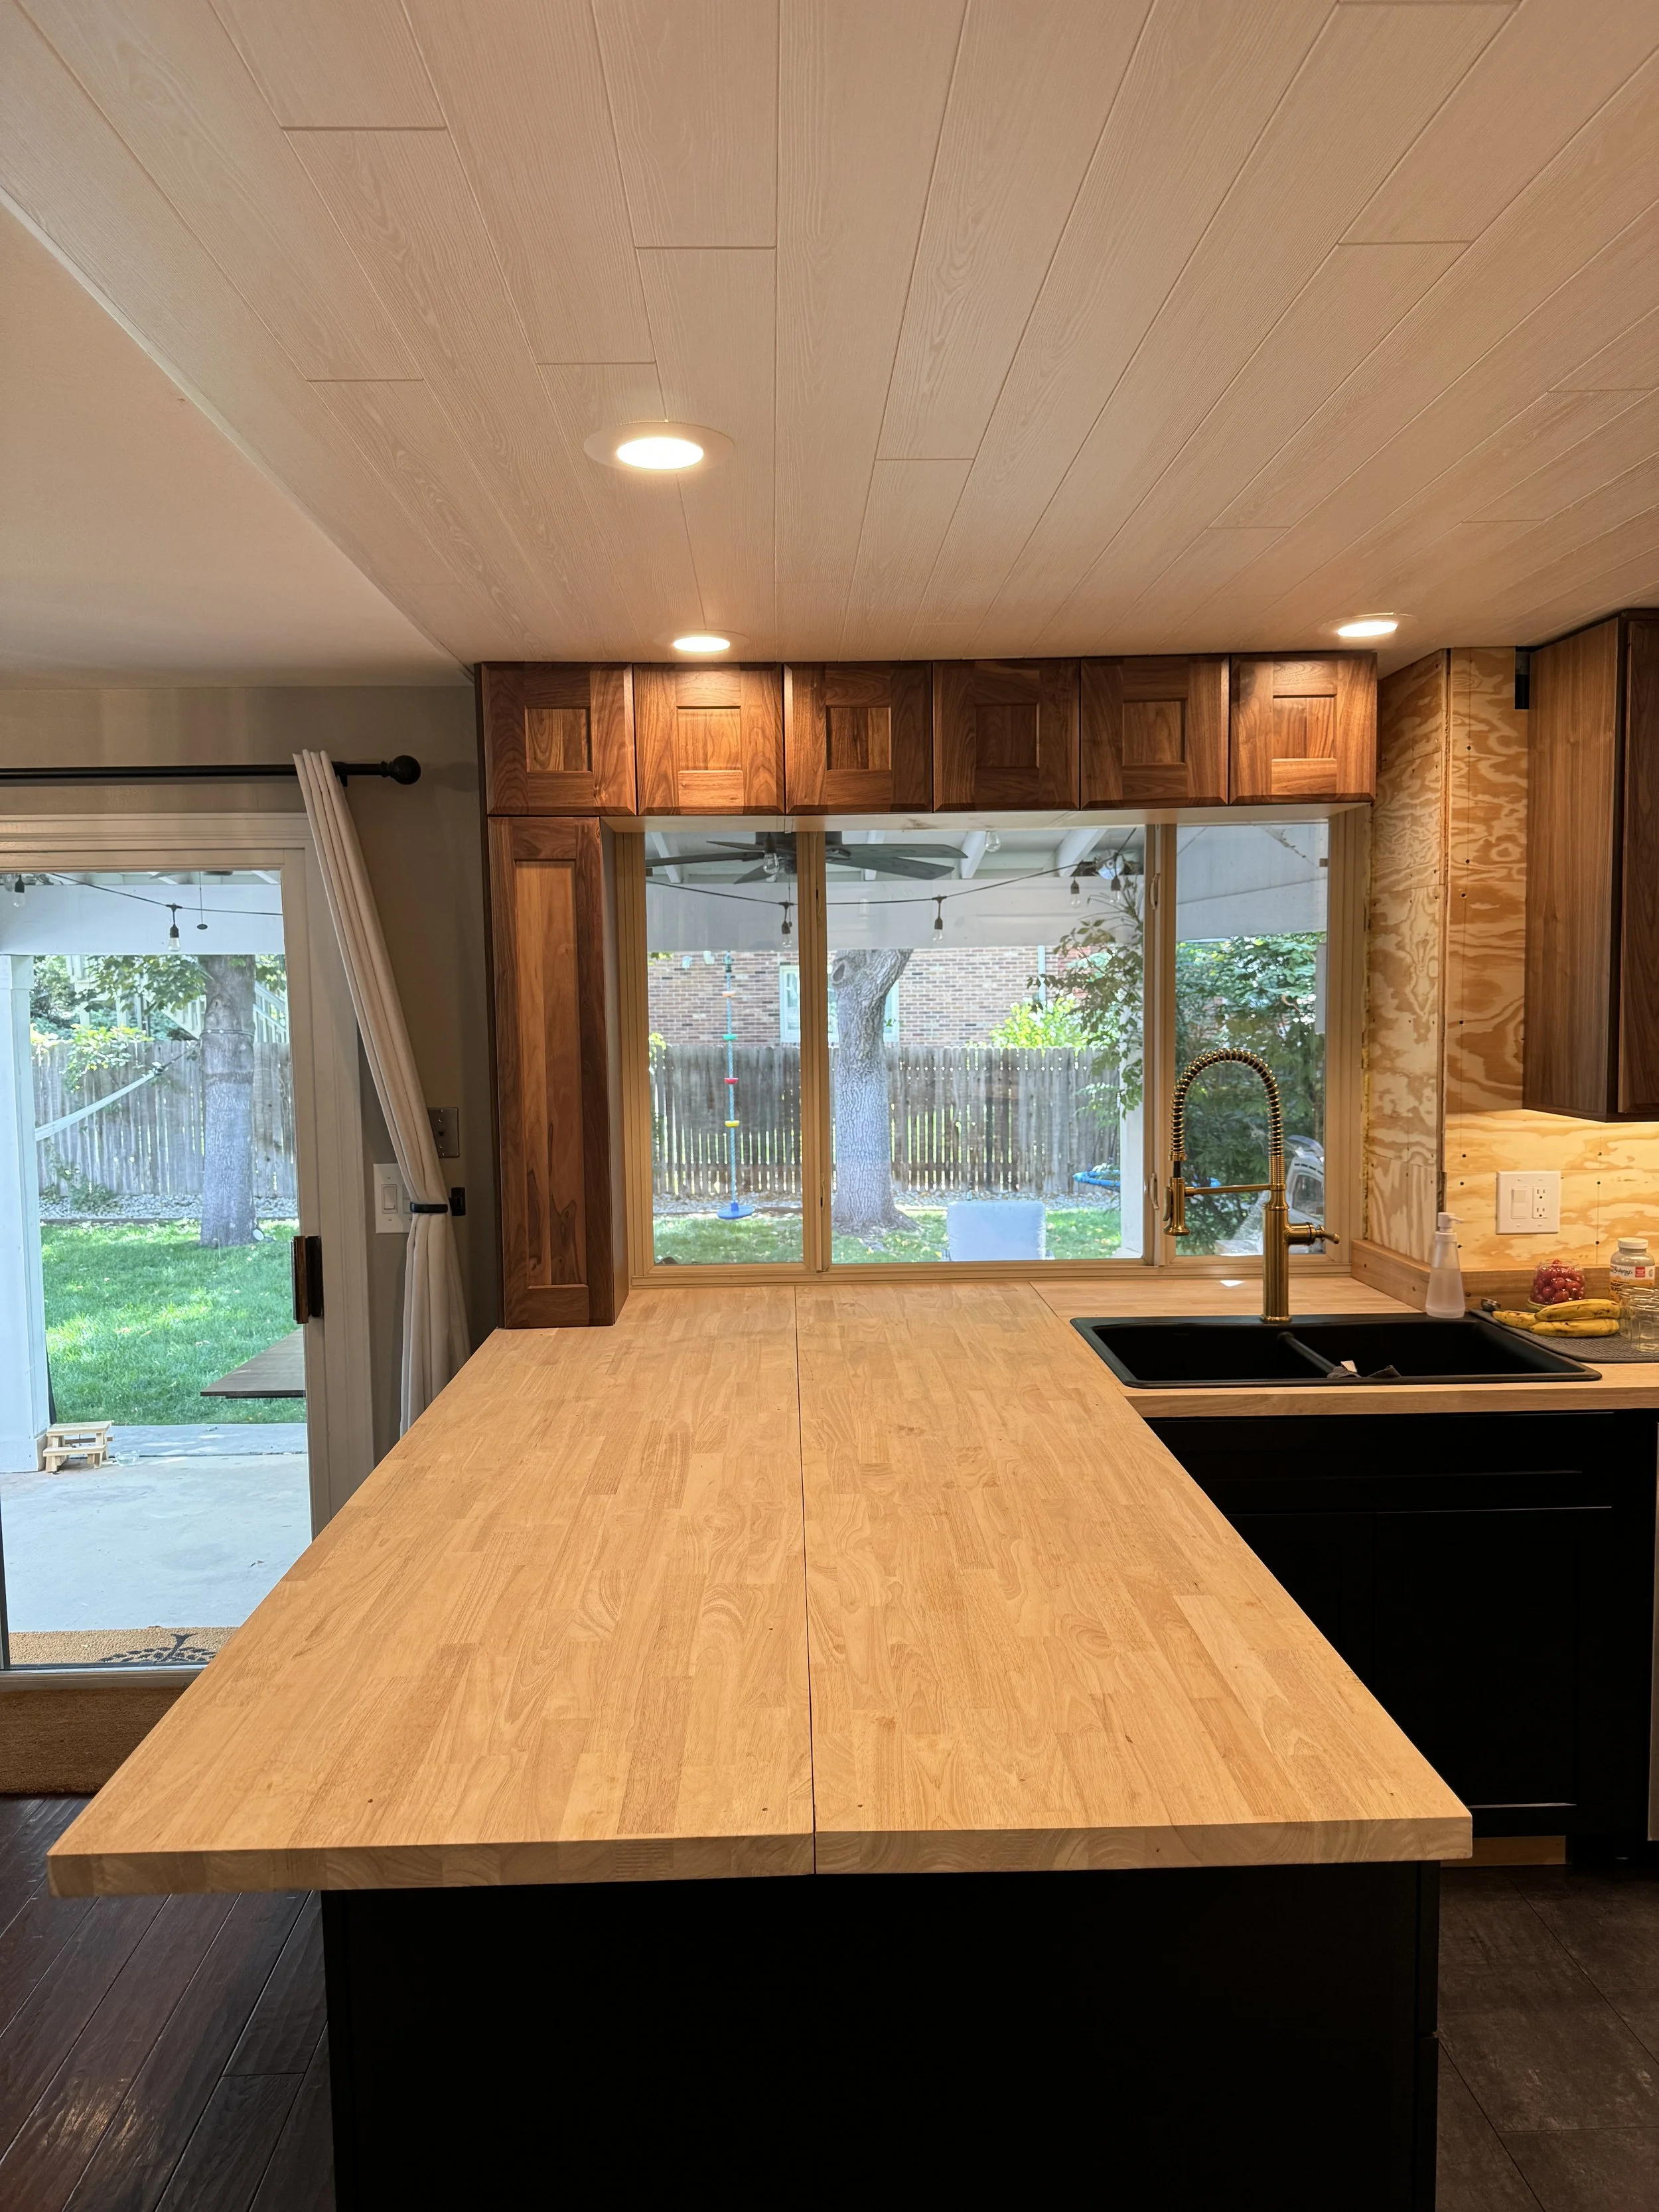
Getting there... now we just had to wait for the countertops to be fabricated and installed!

And here we are--countertop day! I had to remove the range and range hood so they could get them installed, and also measure the walls for the backsplash fabrication.
Done! Now another two week wait while they fabricate the solid-surface backsplash. This part of the project--the countertop and backsplash installation--took the longest, and it was really just waiting around for it to happen. Oh well, I guess there are worse things! lol
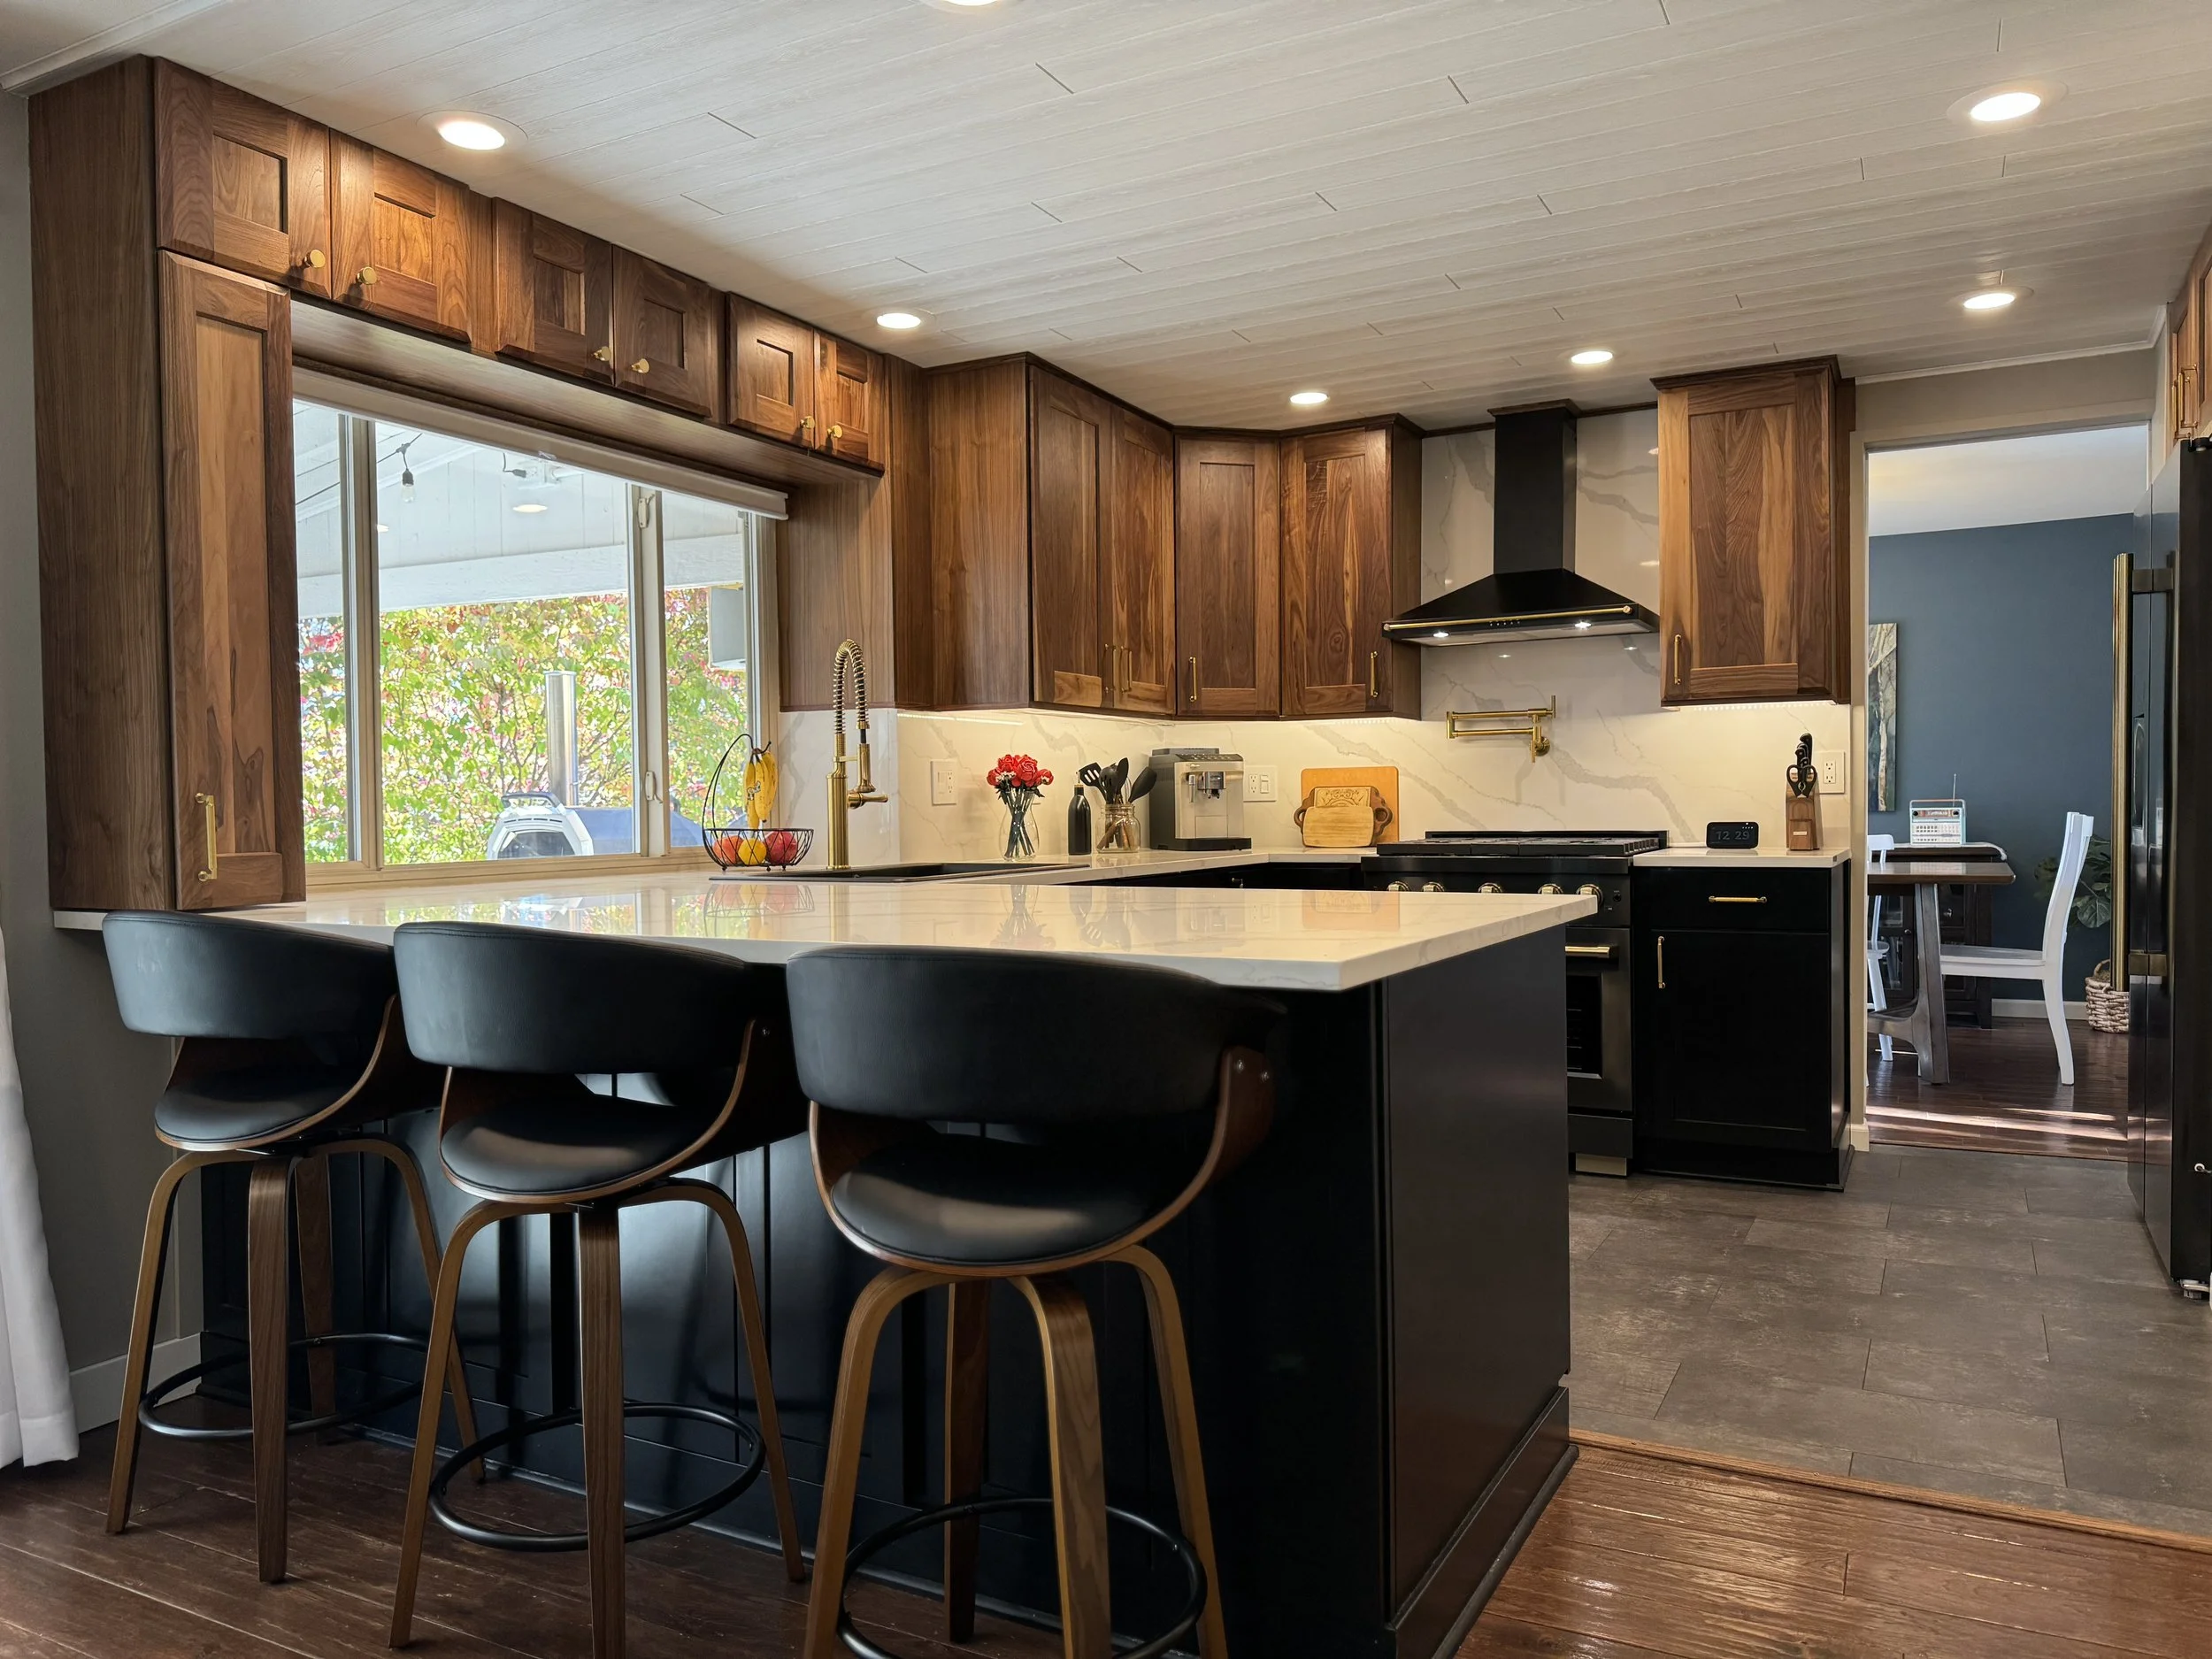
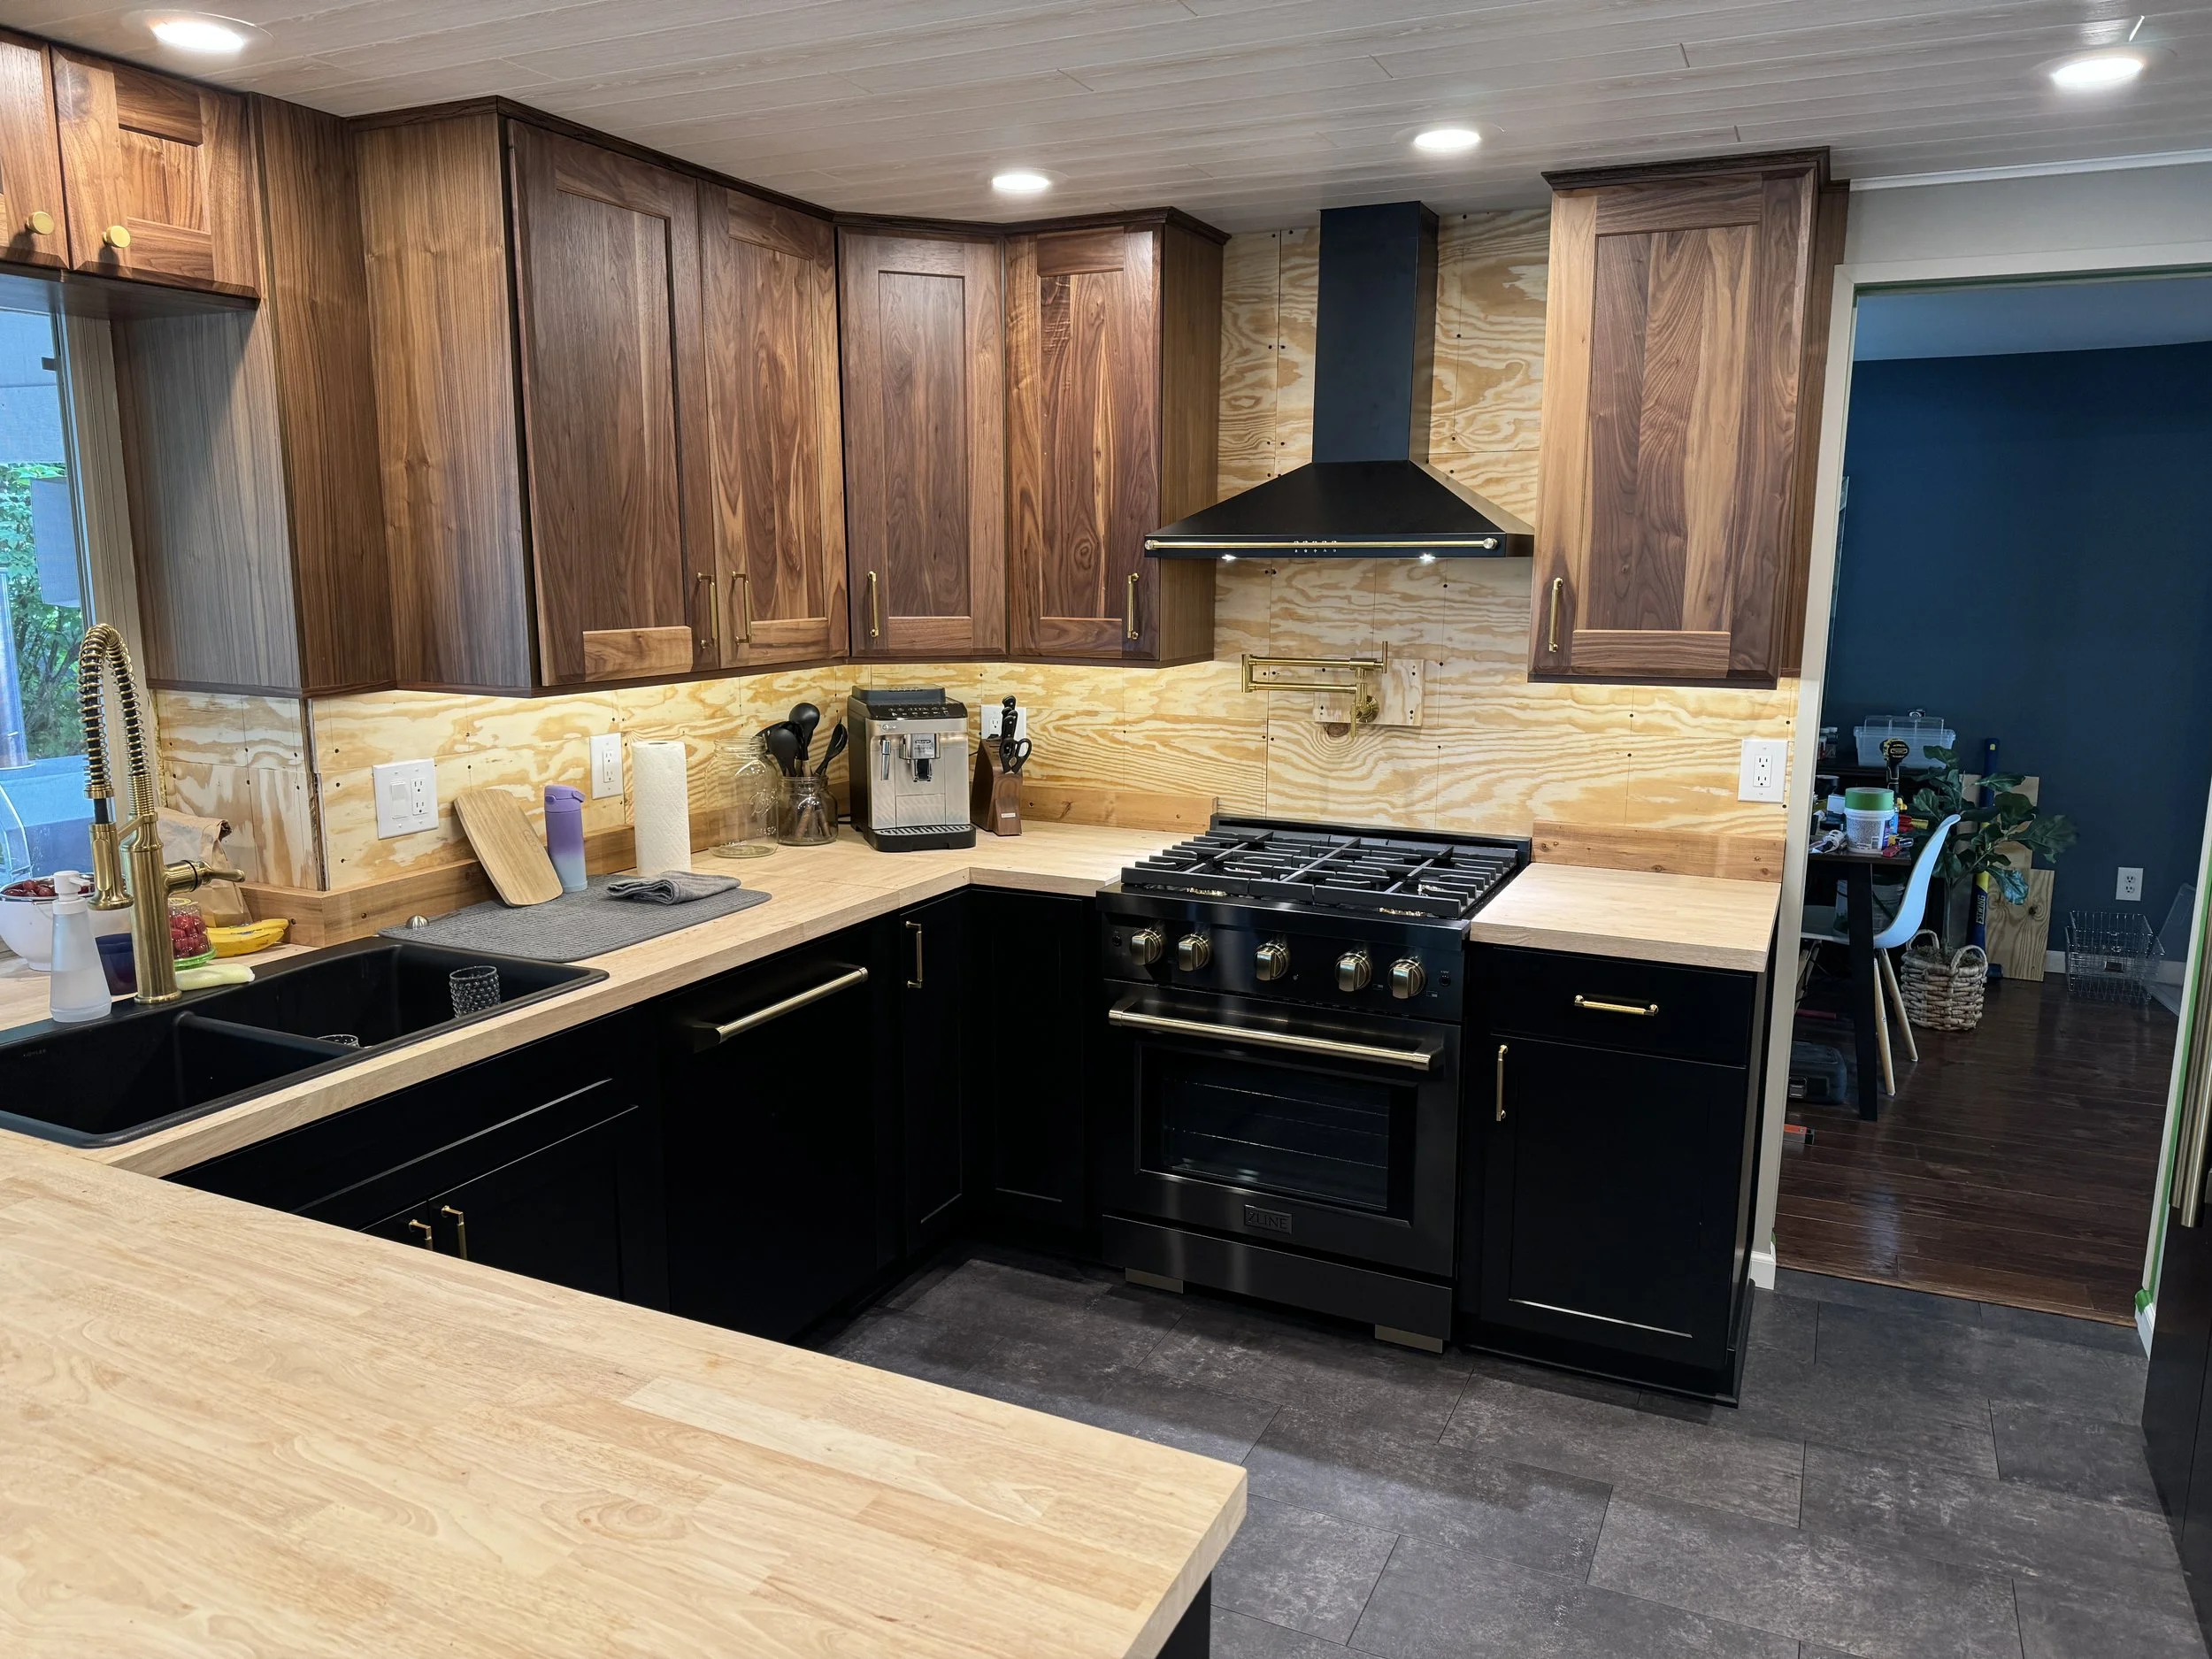
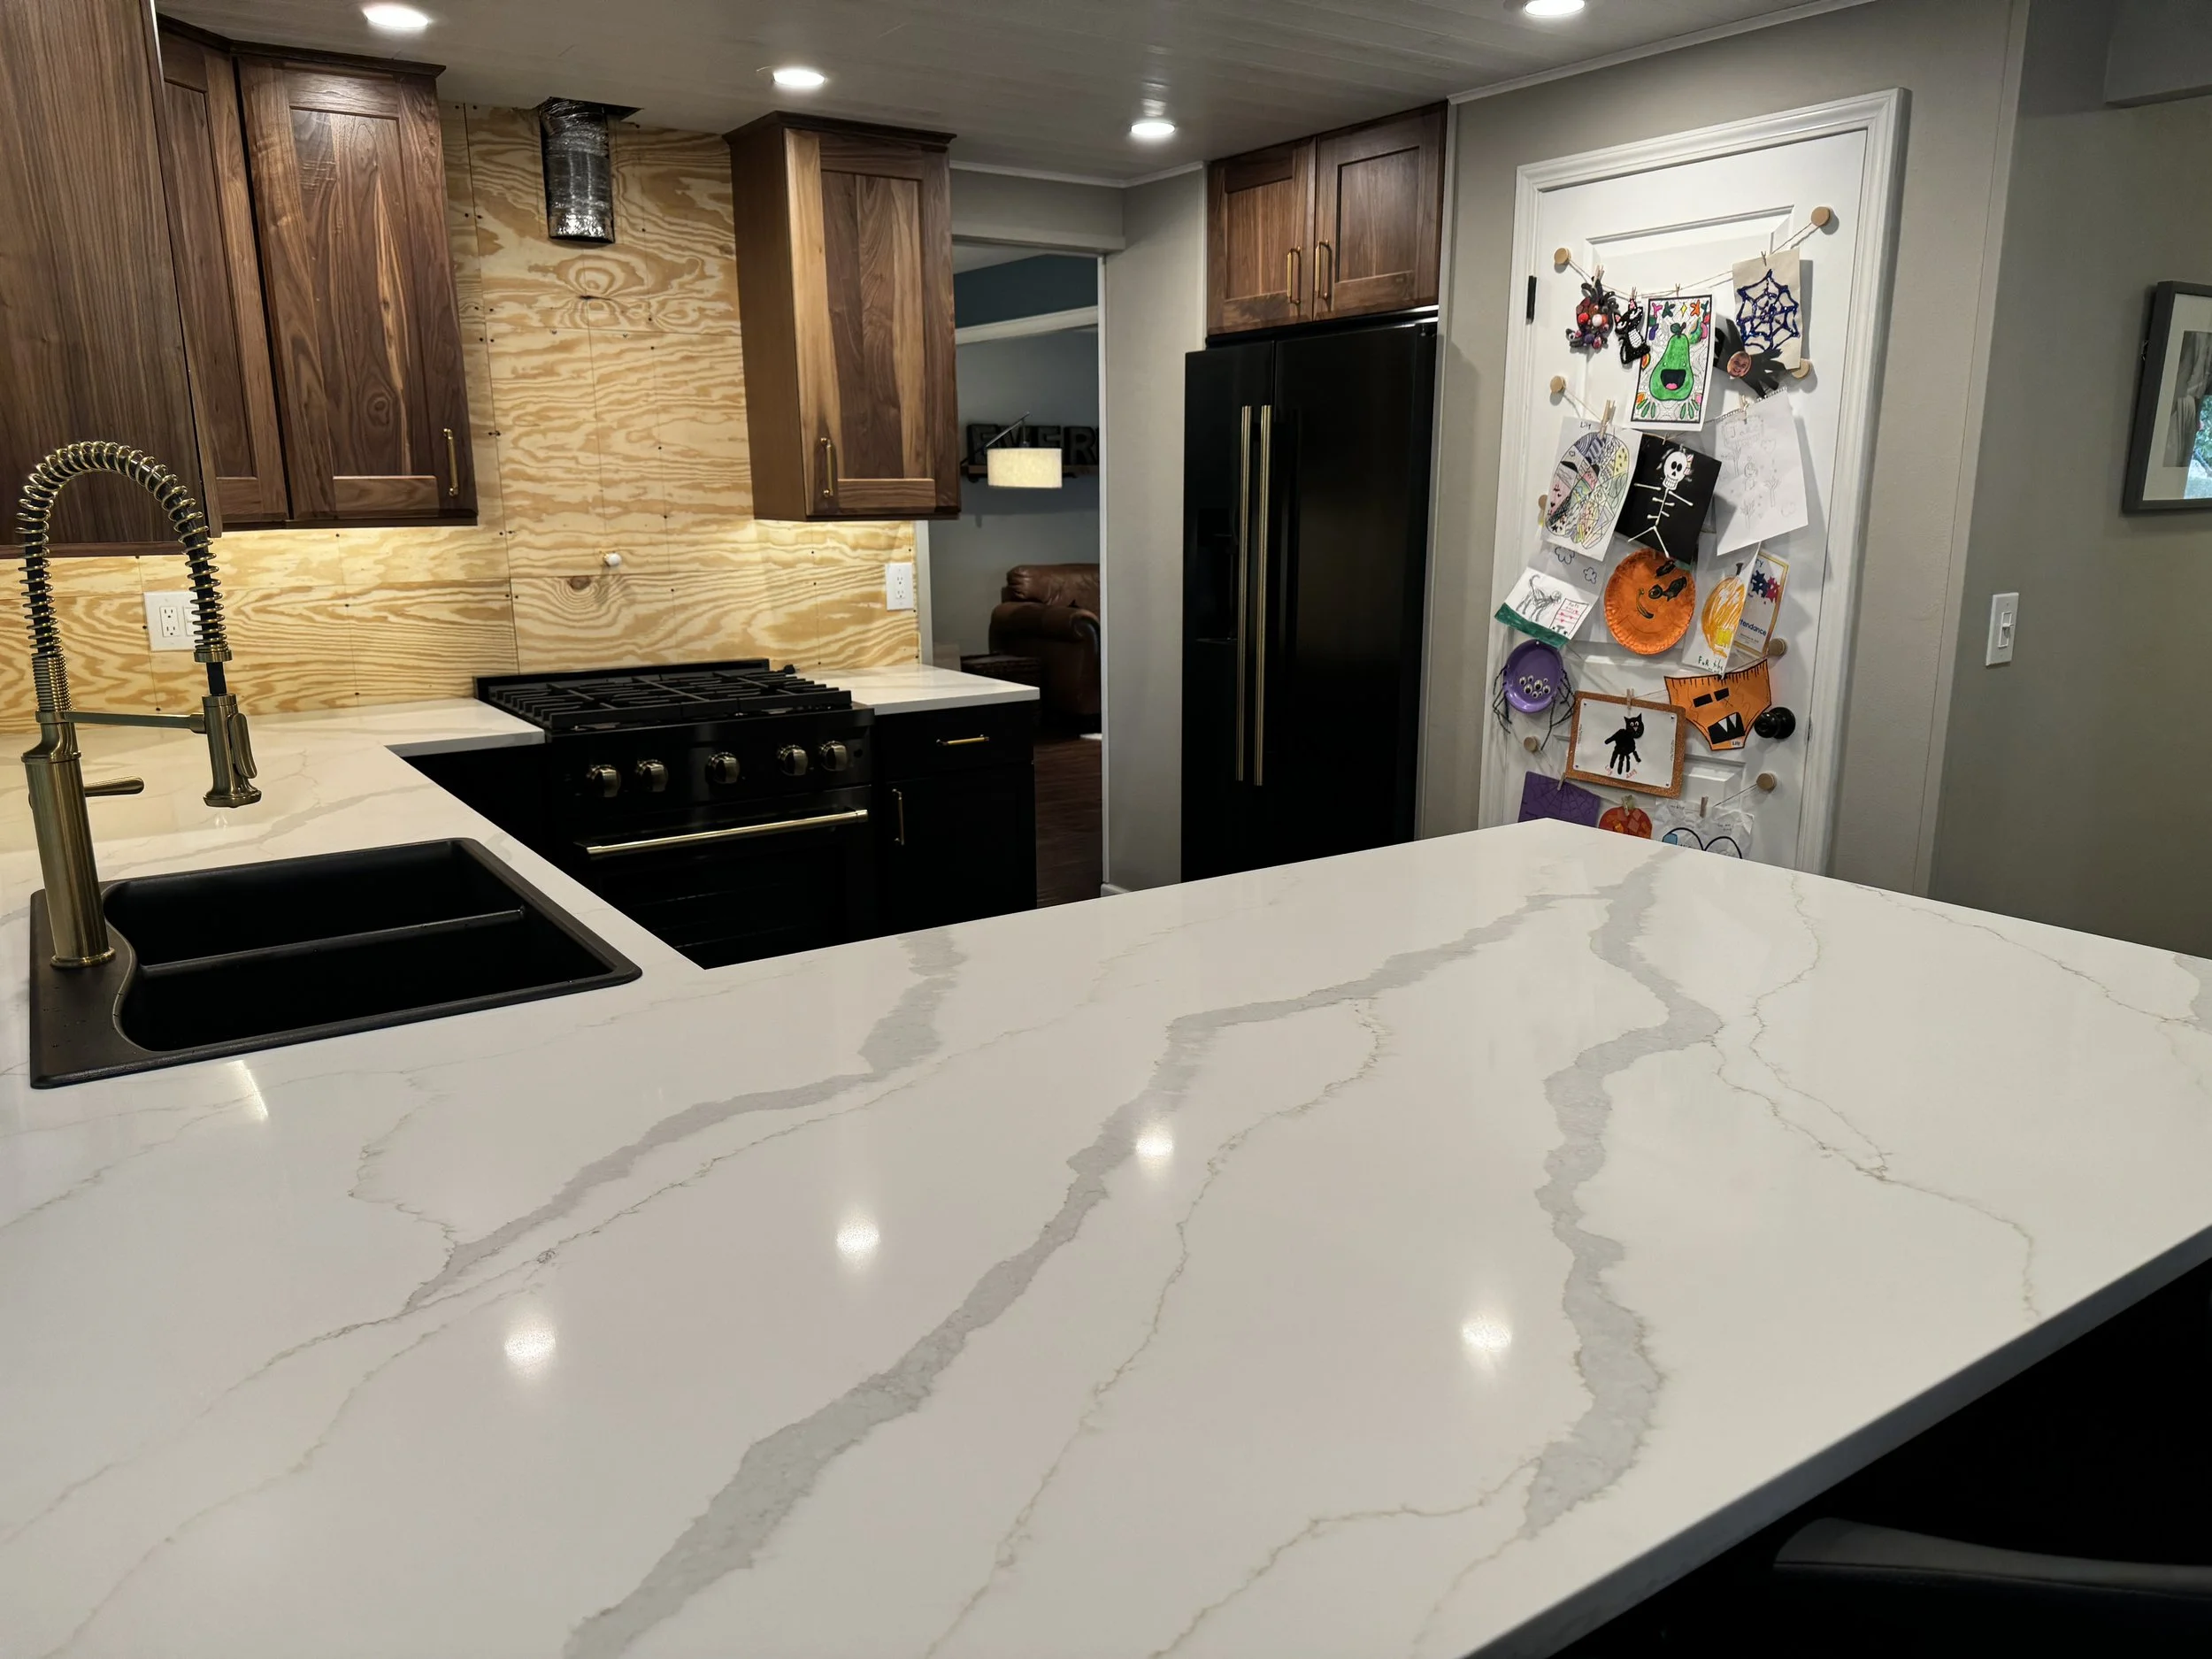
Until one day... it was done! I then finished up the trim work around the cabinets, and TA DA! New freaking kitchen. I LOVE the way it turned out. :)
Random pics...
...and more...
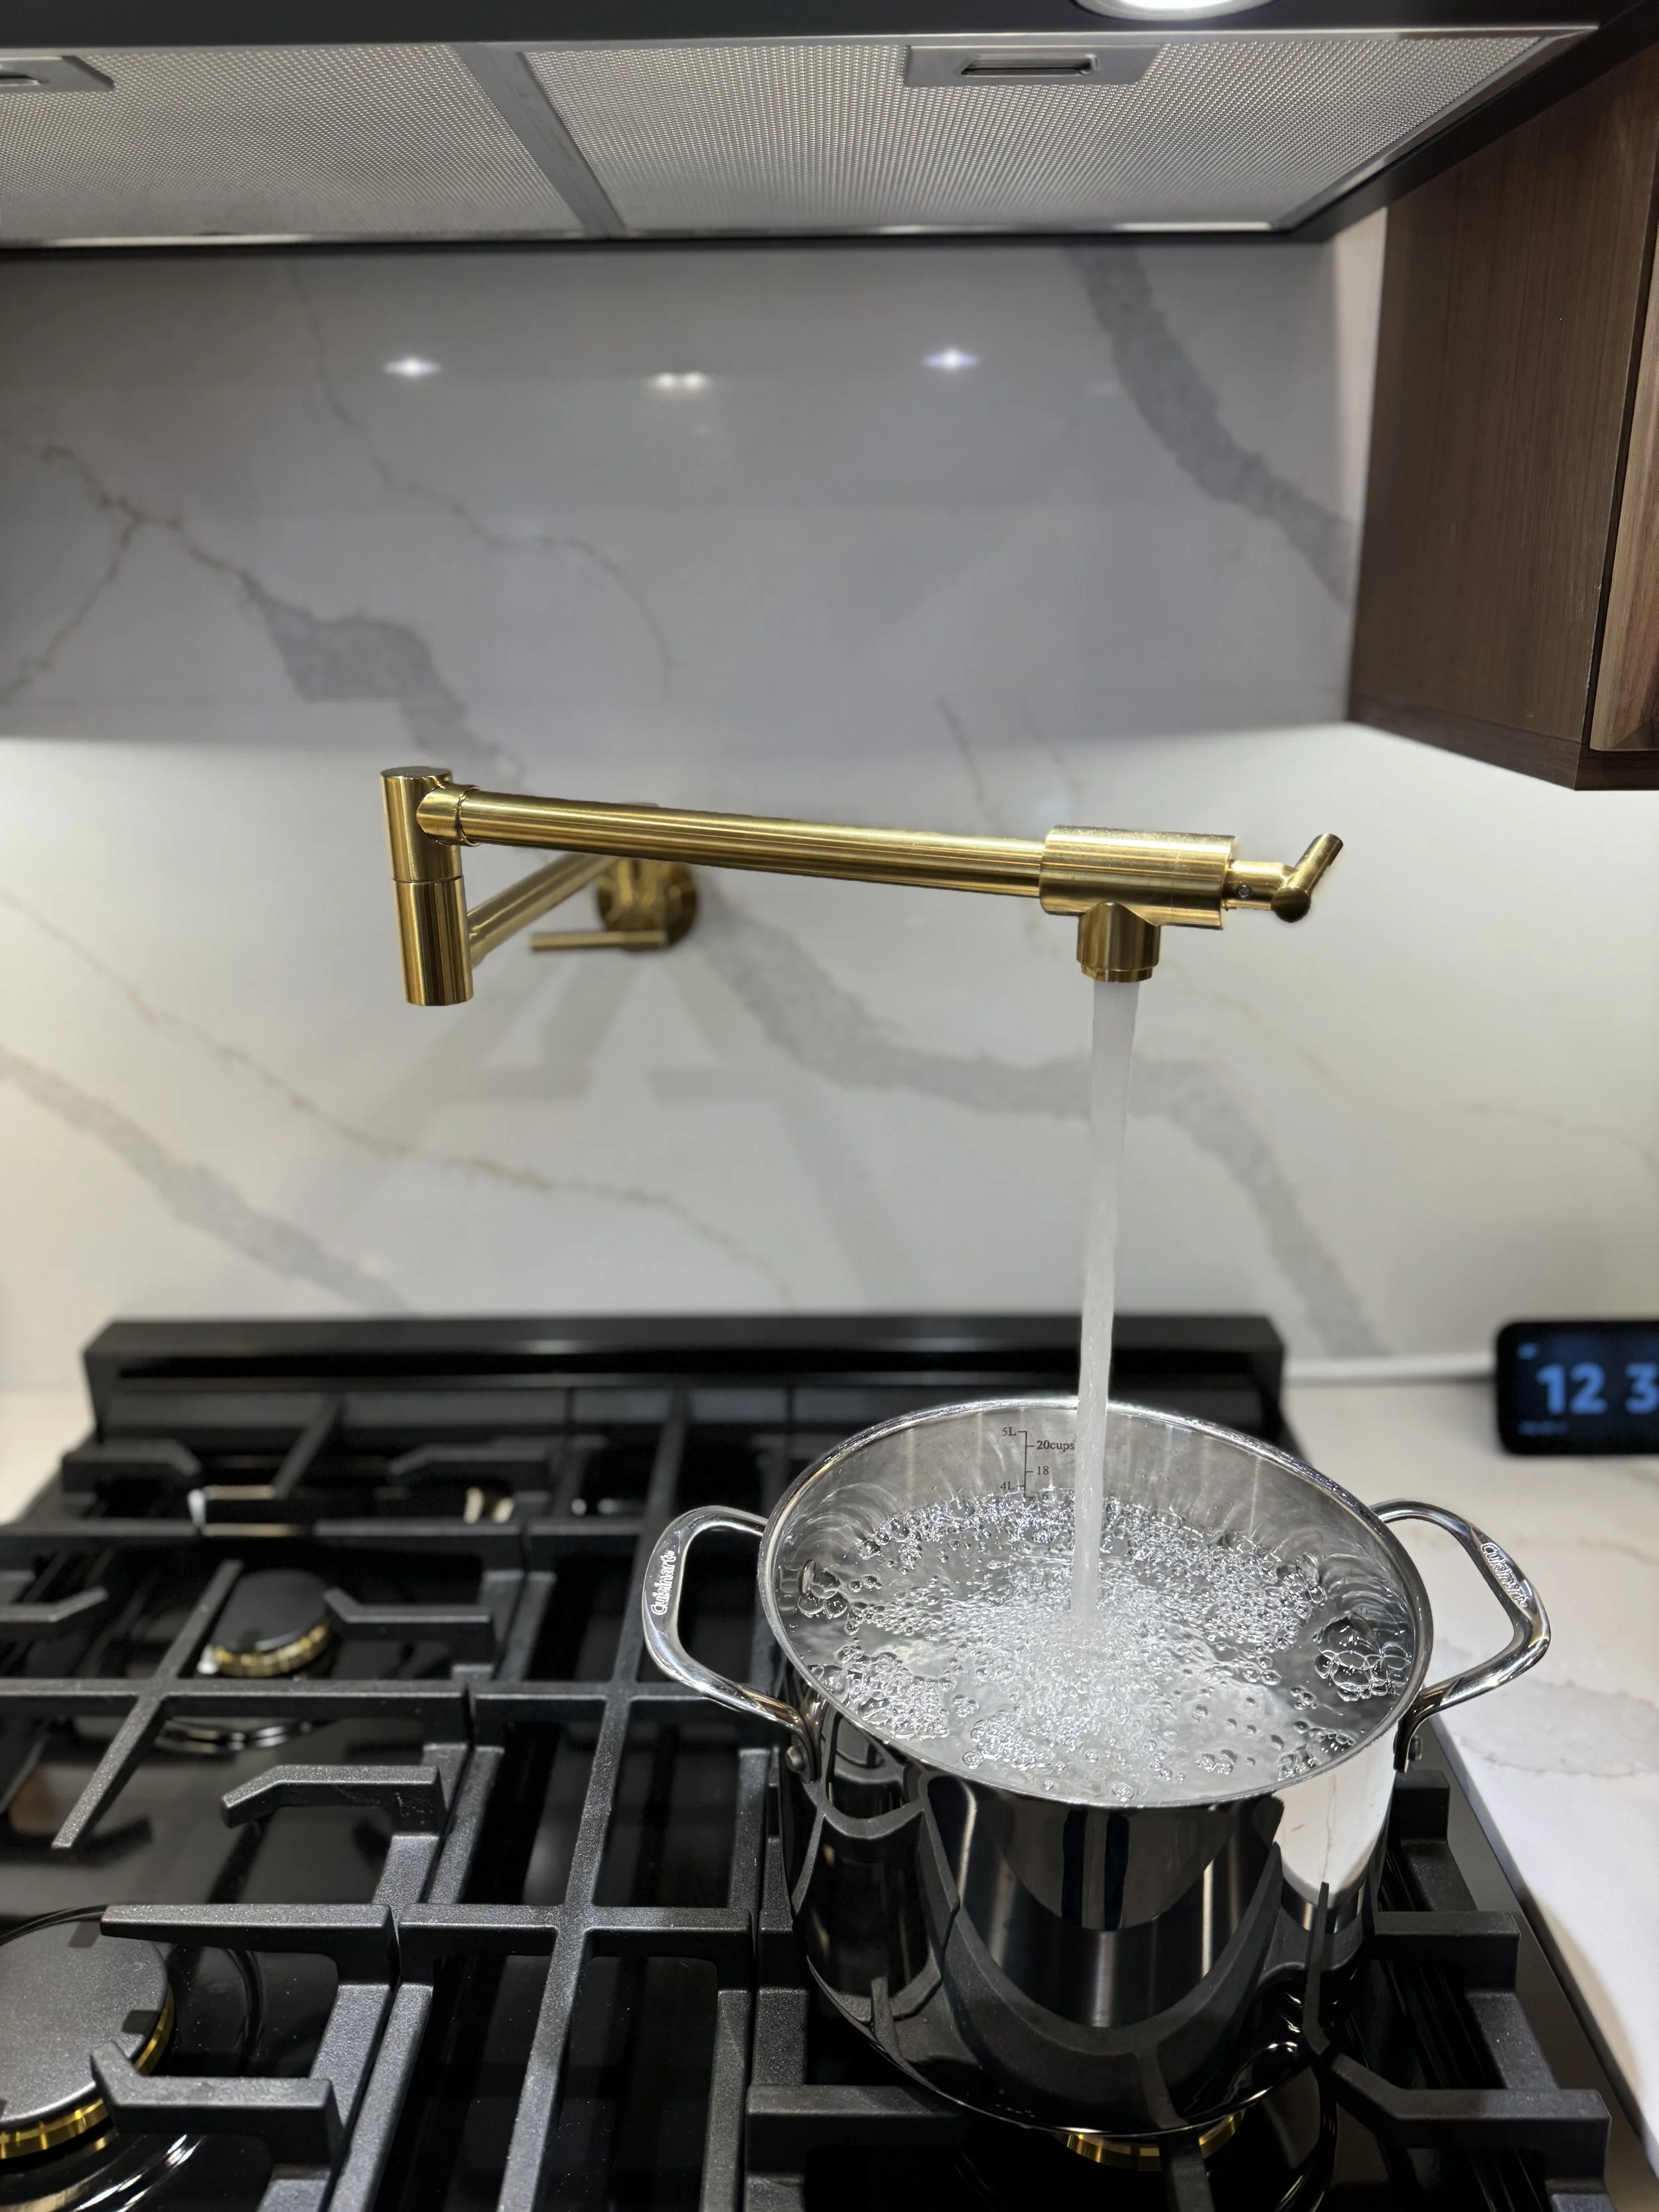
The pot filler doing its thing...

Lily's little squirrel friend (she named her "Cotton"), wondering what the heck is going on in there...
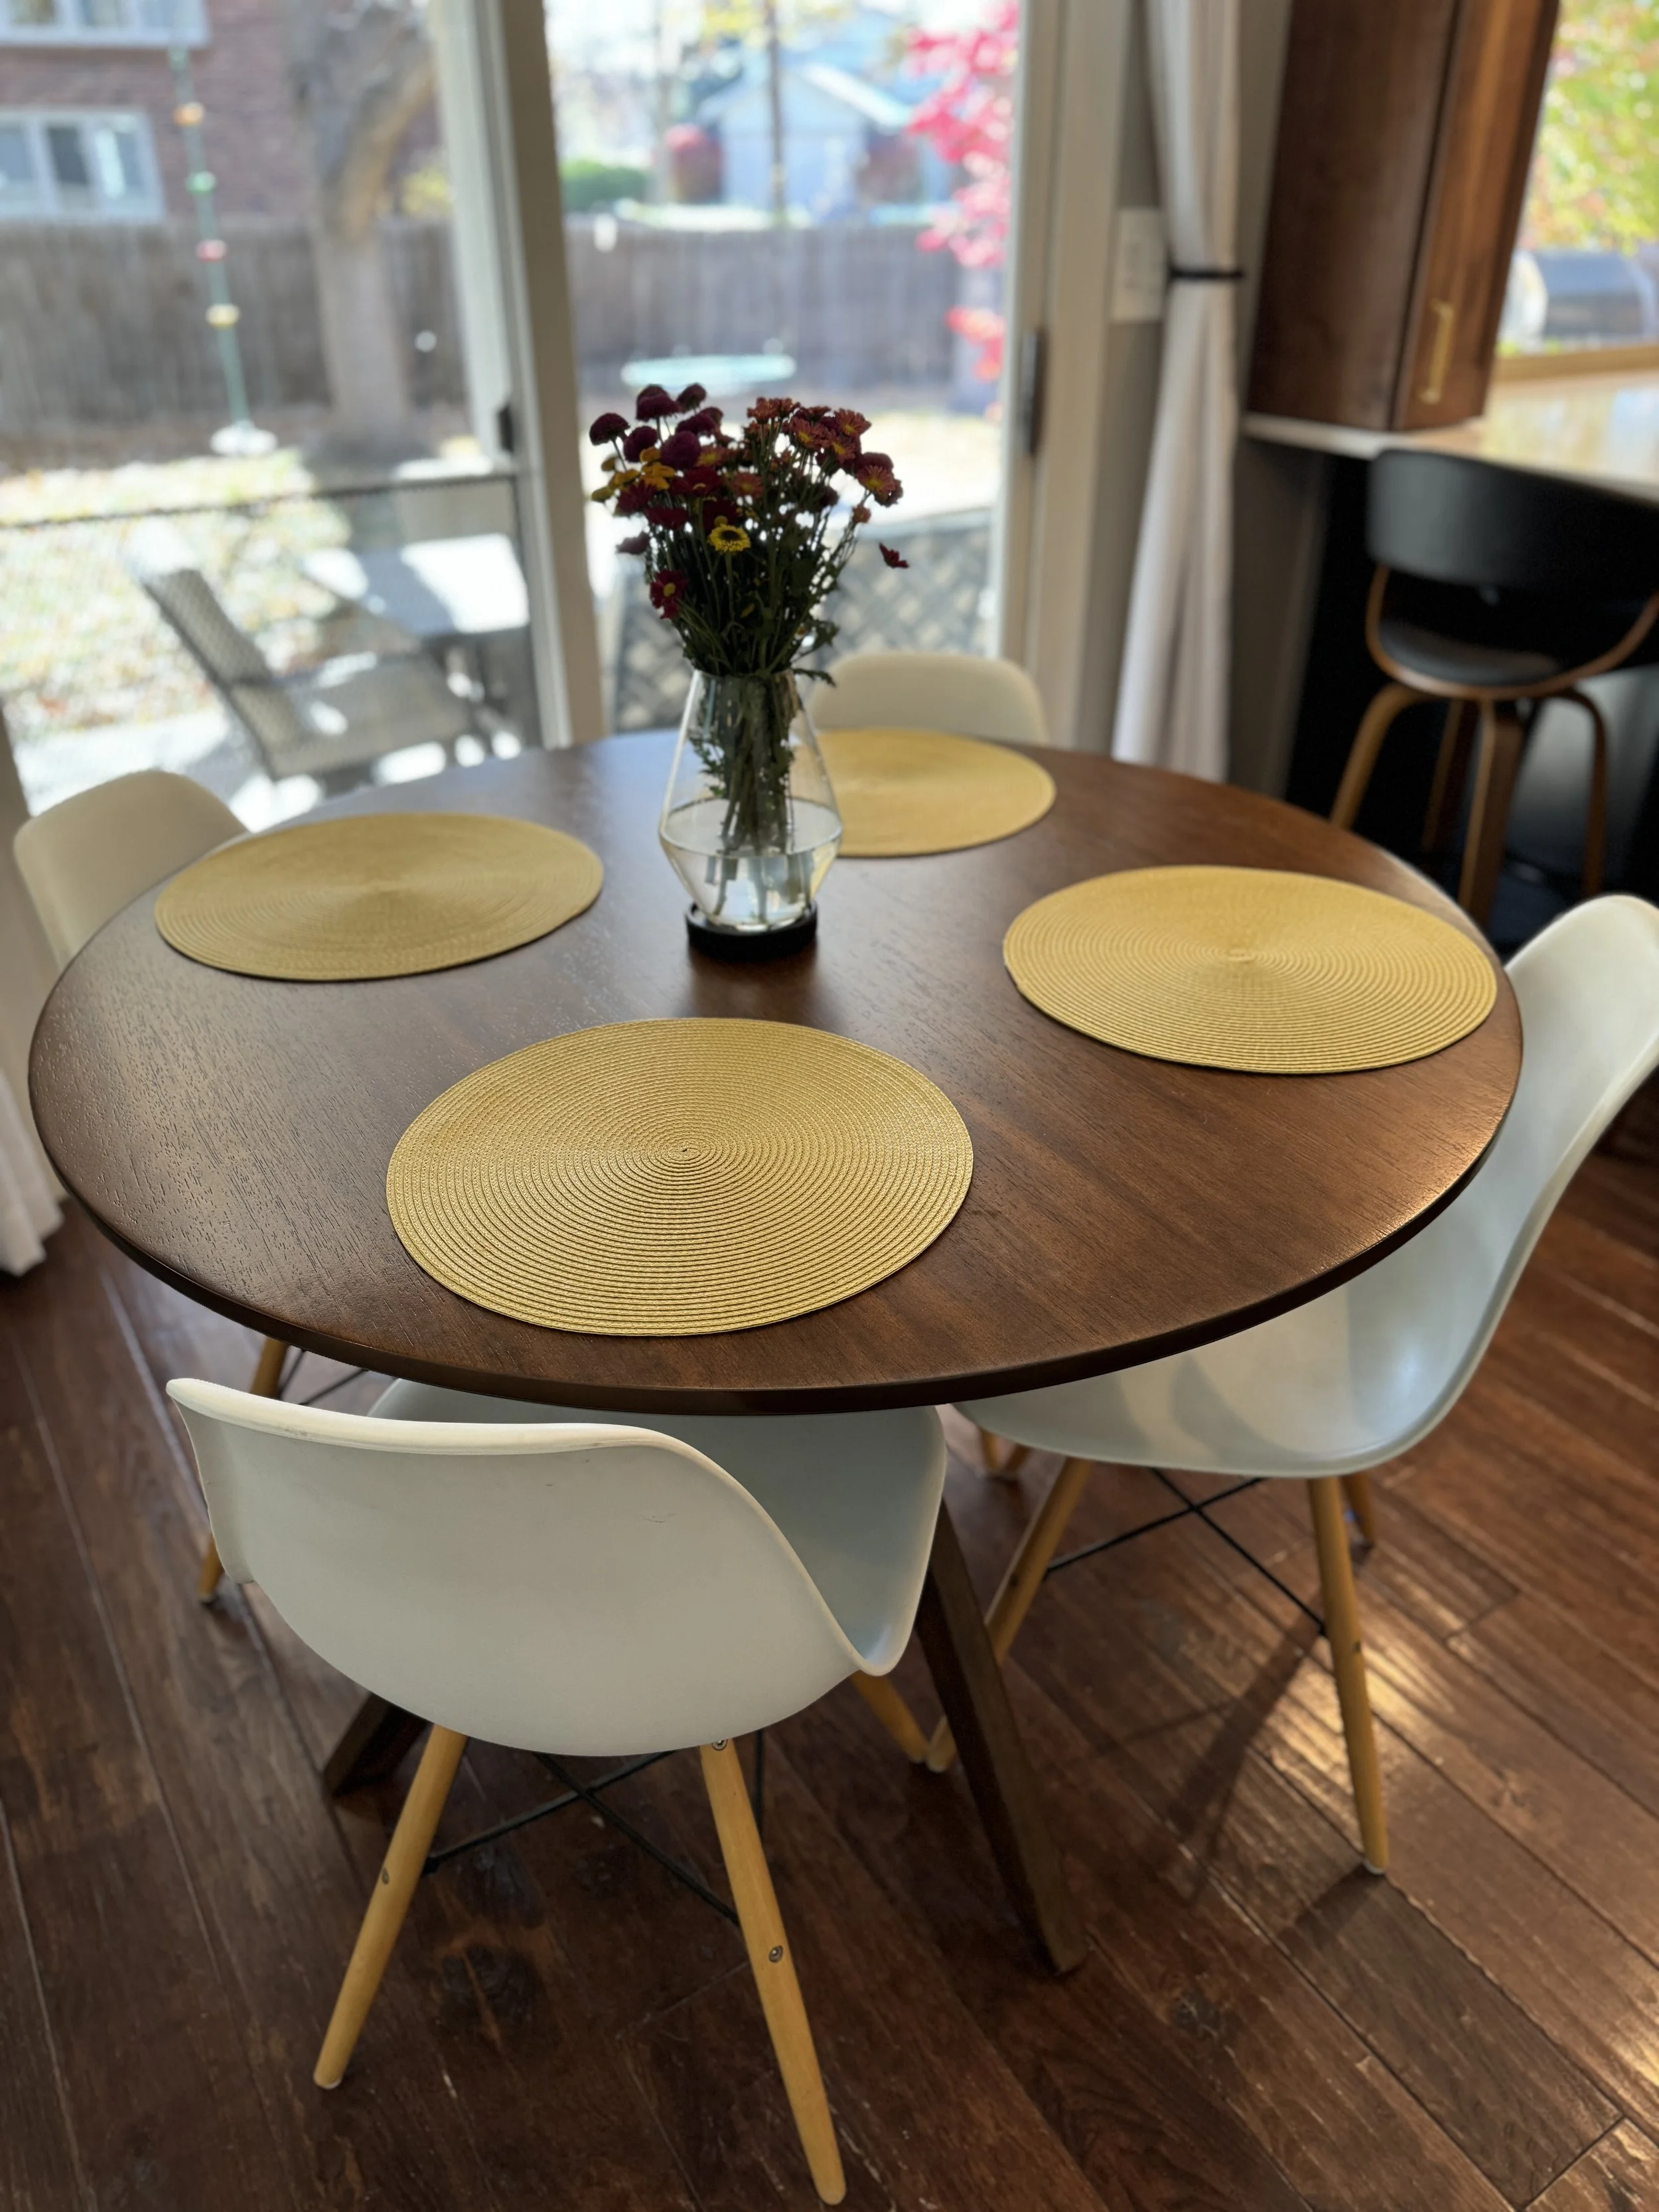
New breakfast table and chairs...
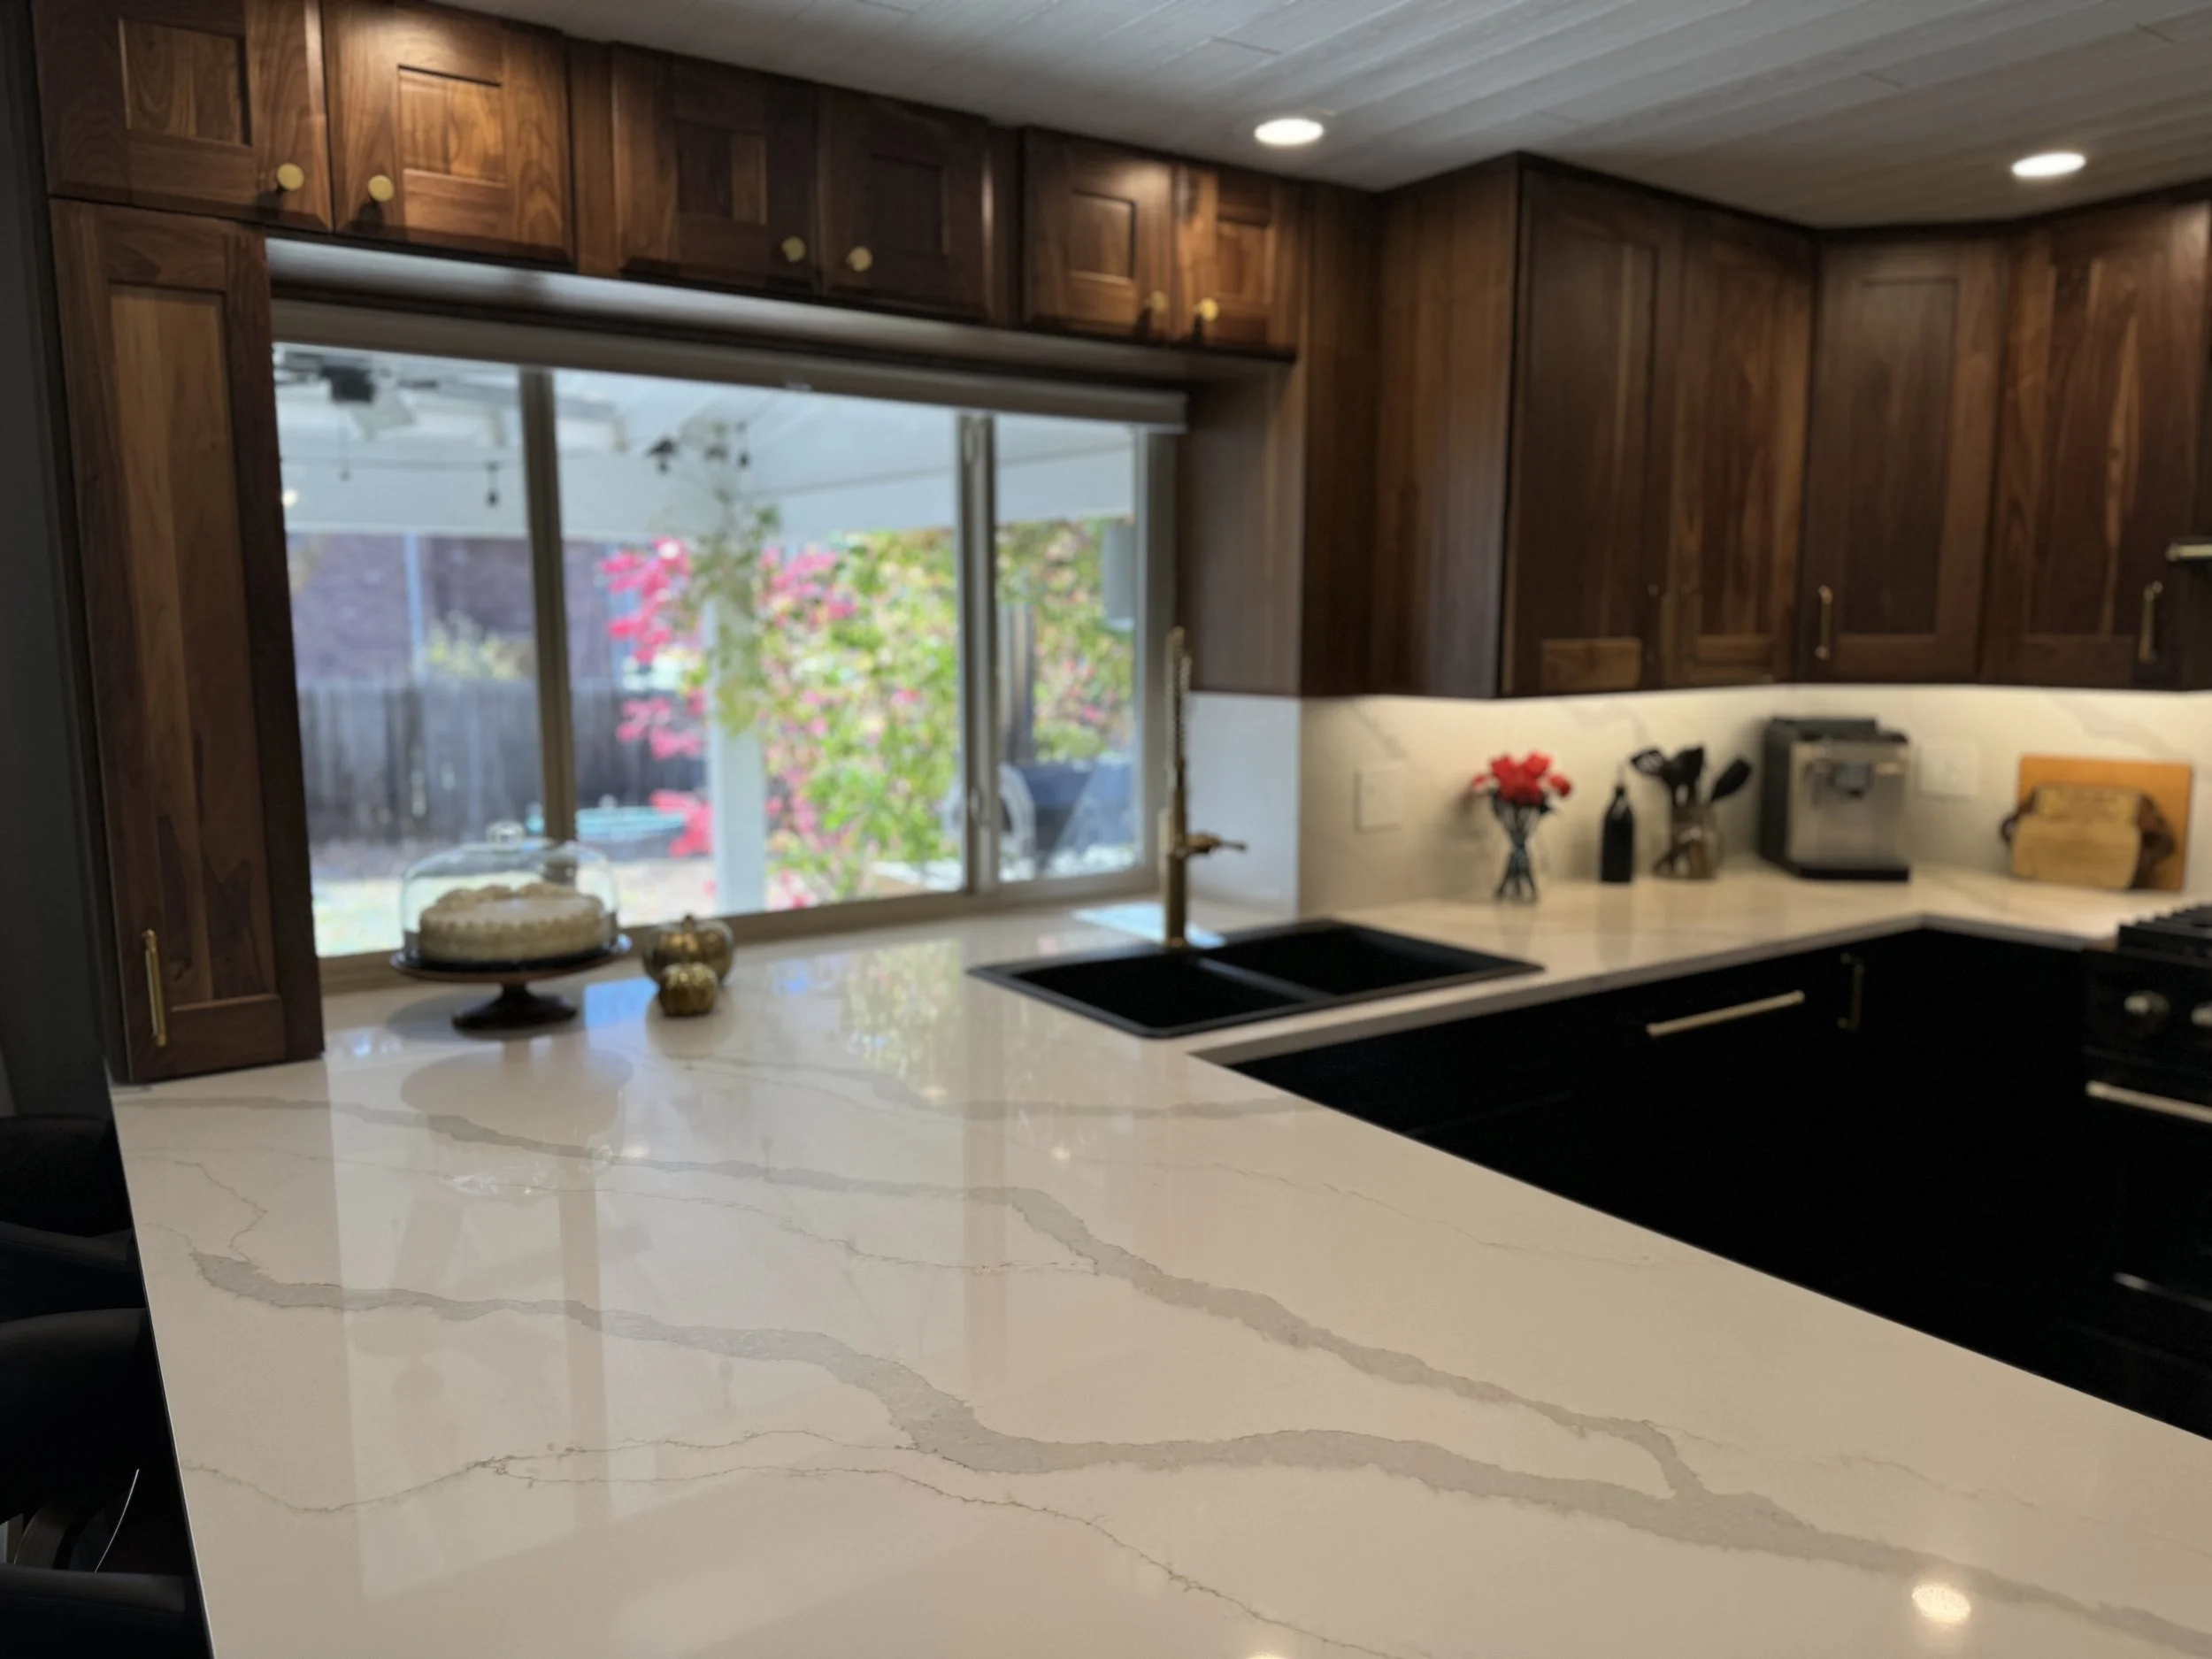
Good shot of the new peninsula--lots of room to cook!
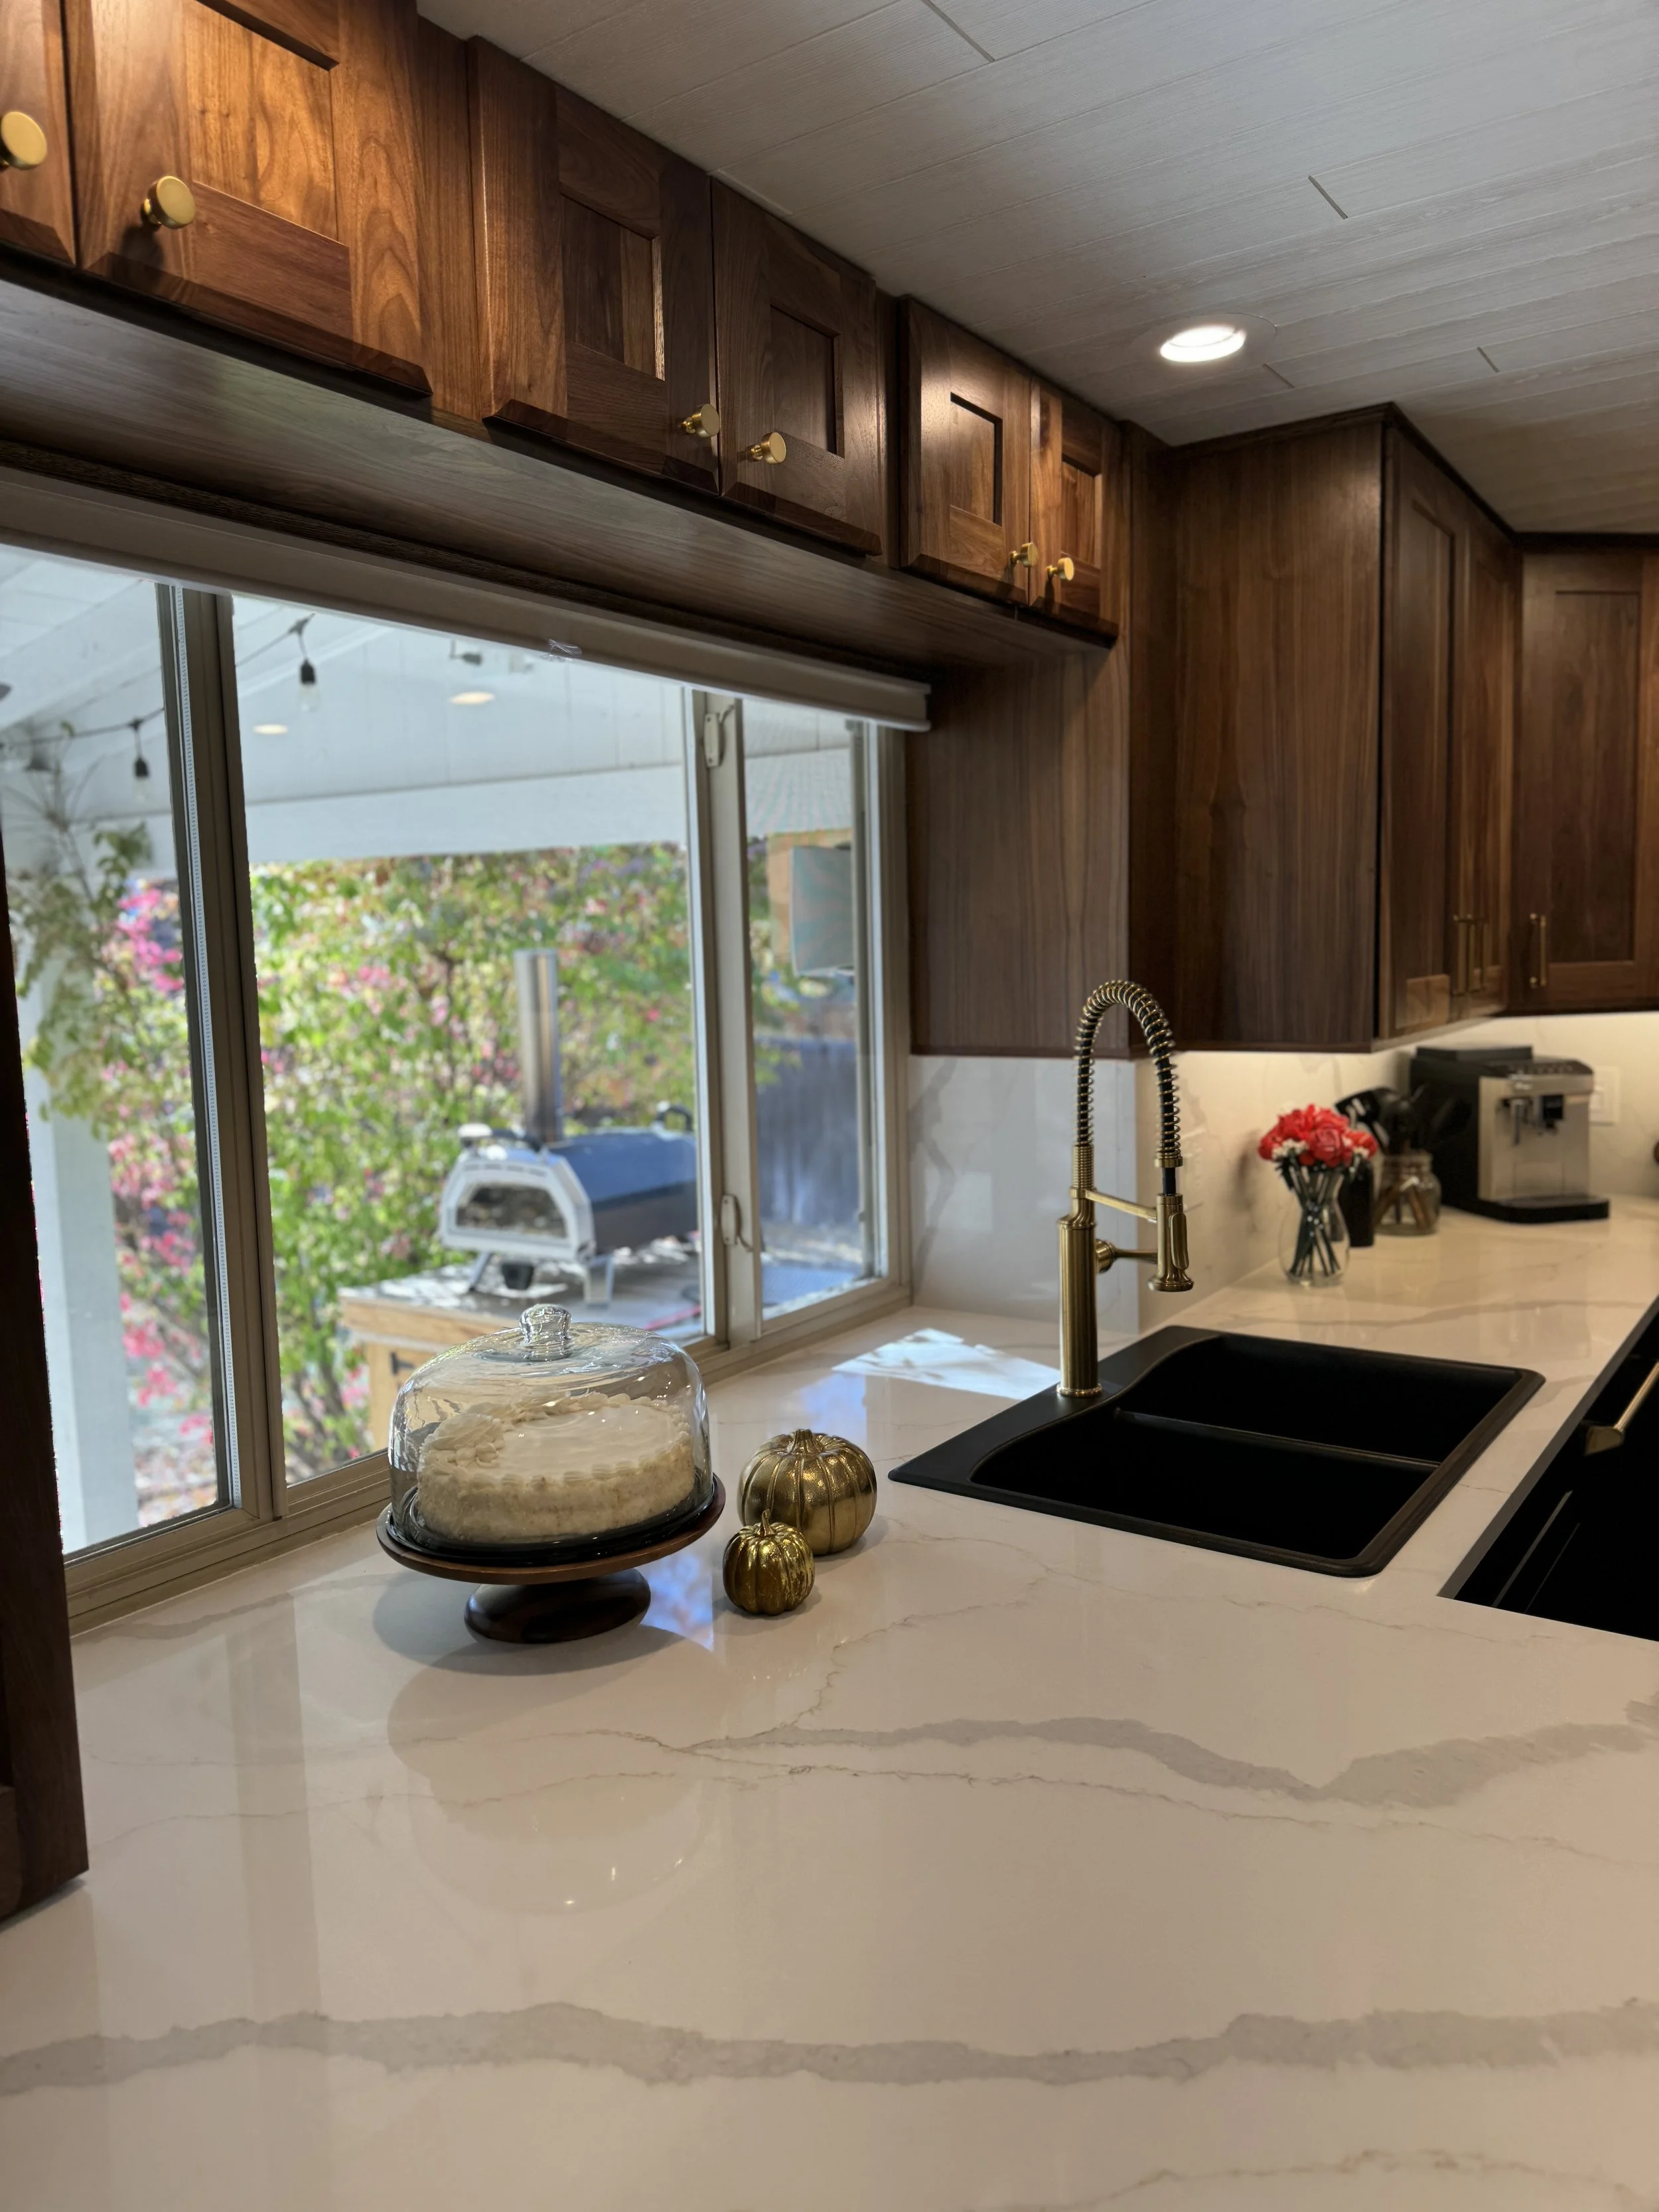
There's my trusty pizza oven outside... these windows can function as a passthrough now, too. :)
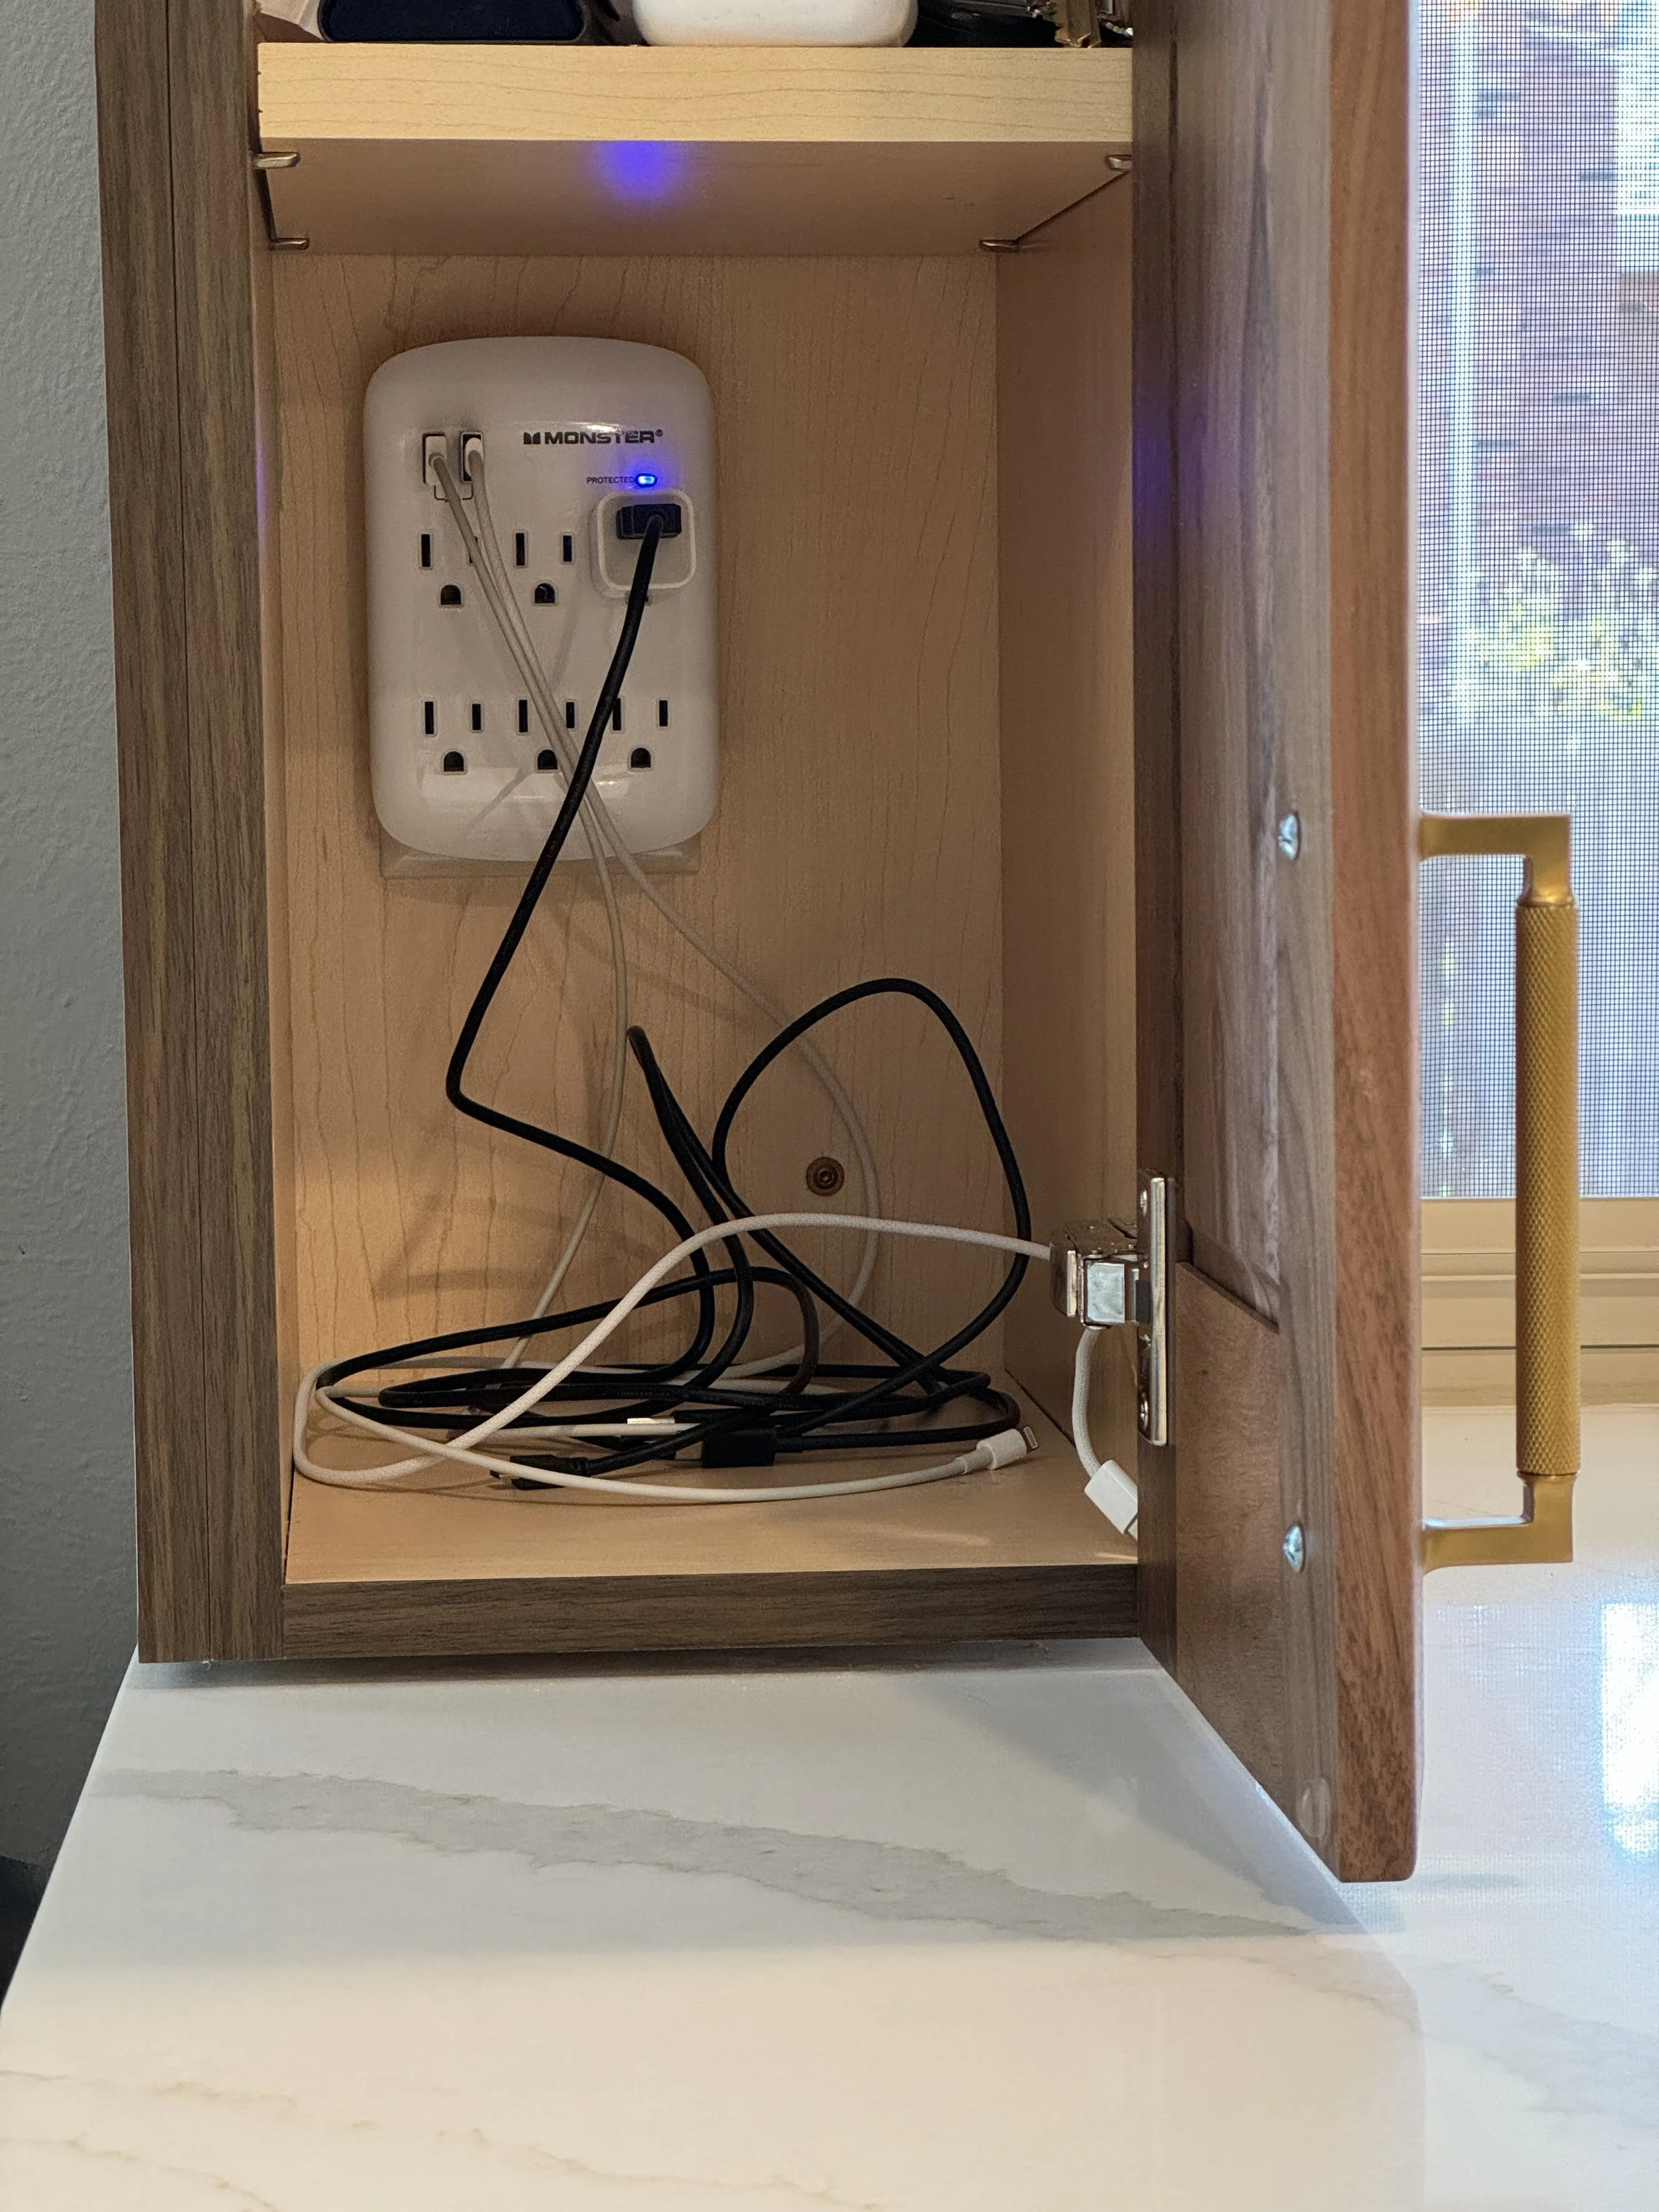
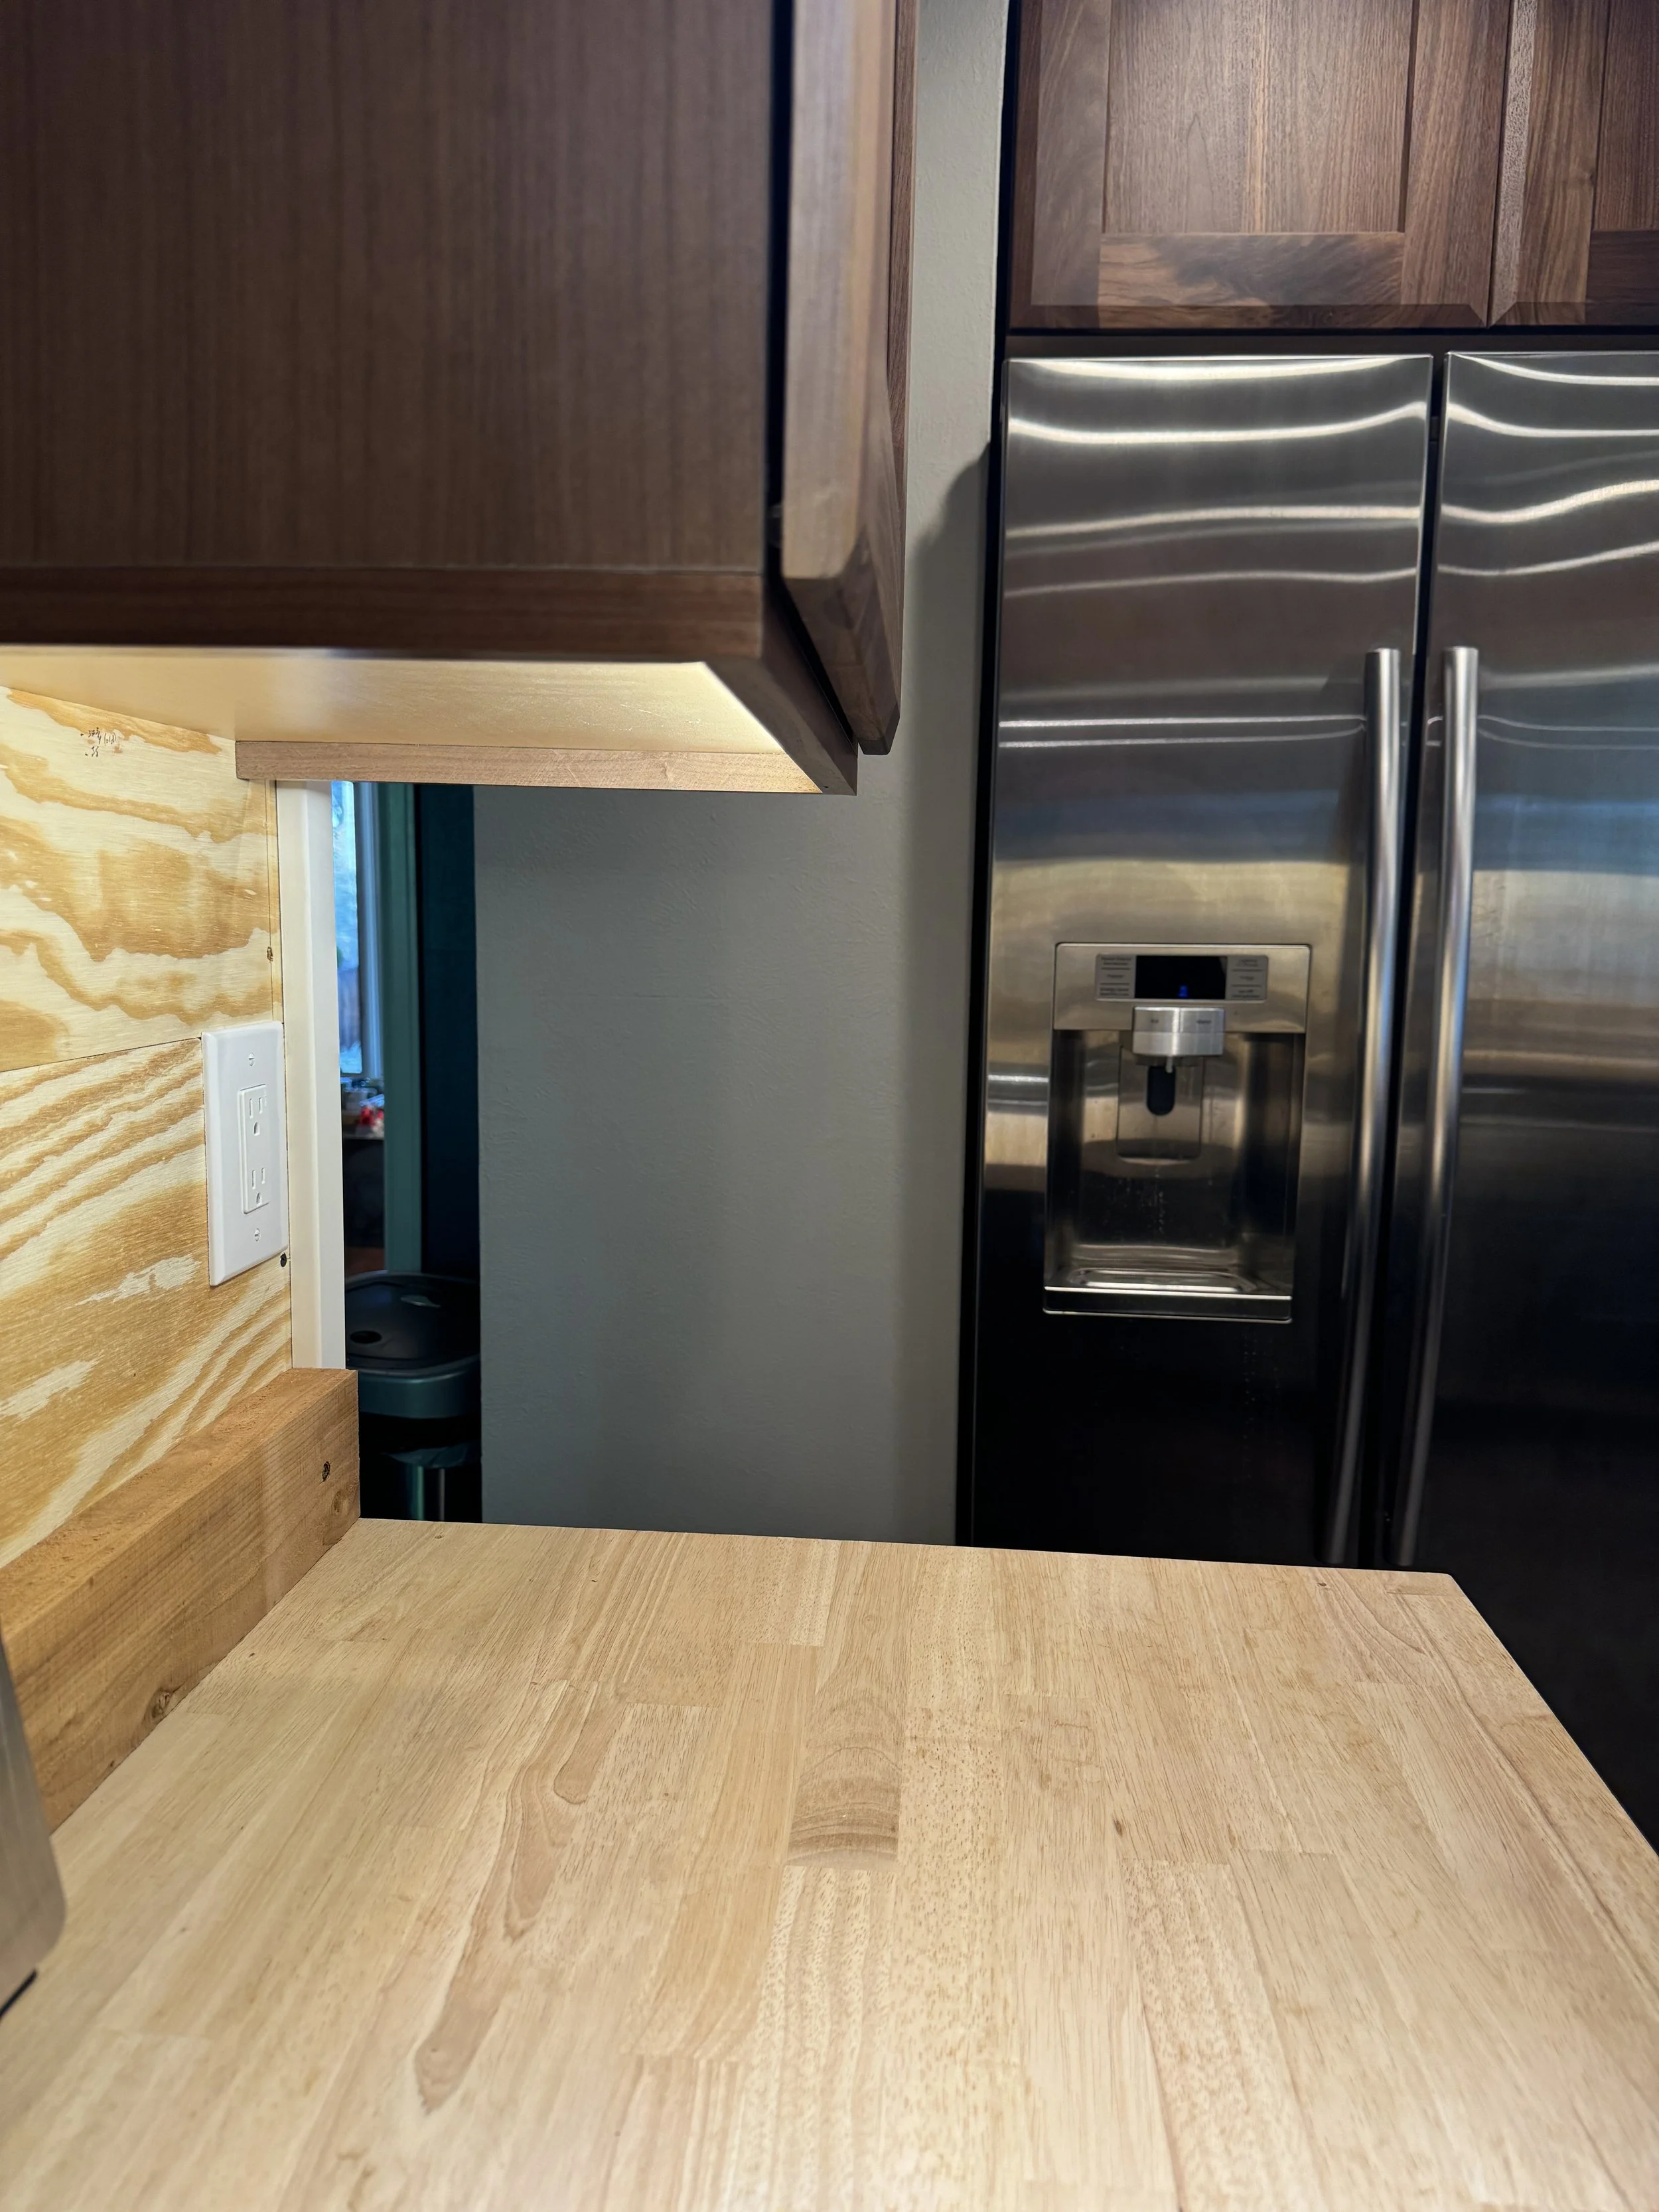
No more phones charging on the countertop! They're tucked neatly away in this cabinet. This is very helpful for my OCD! lol
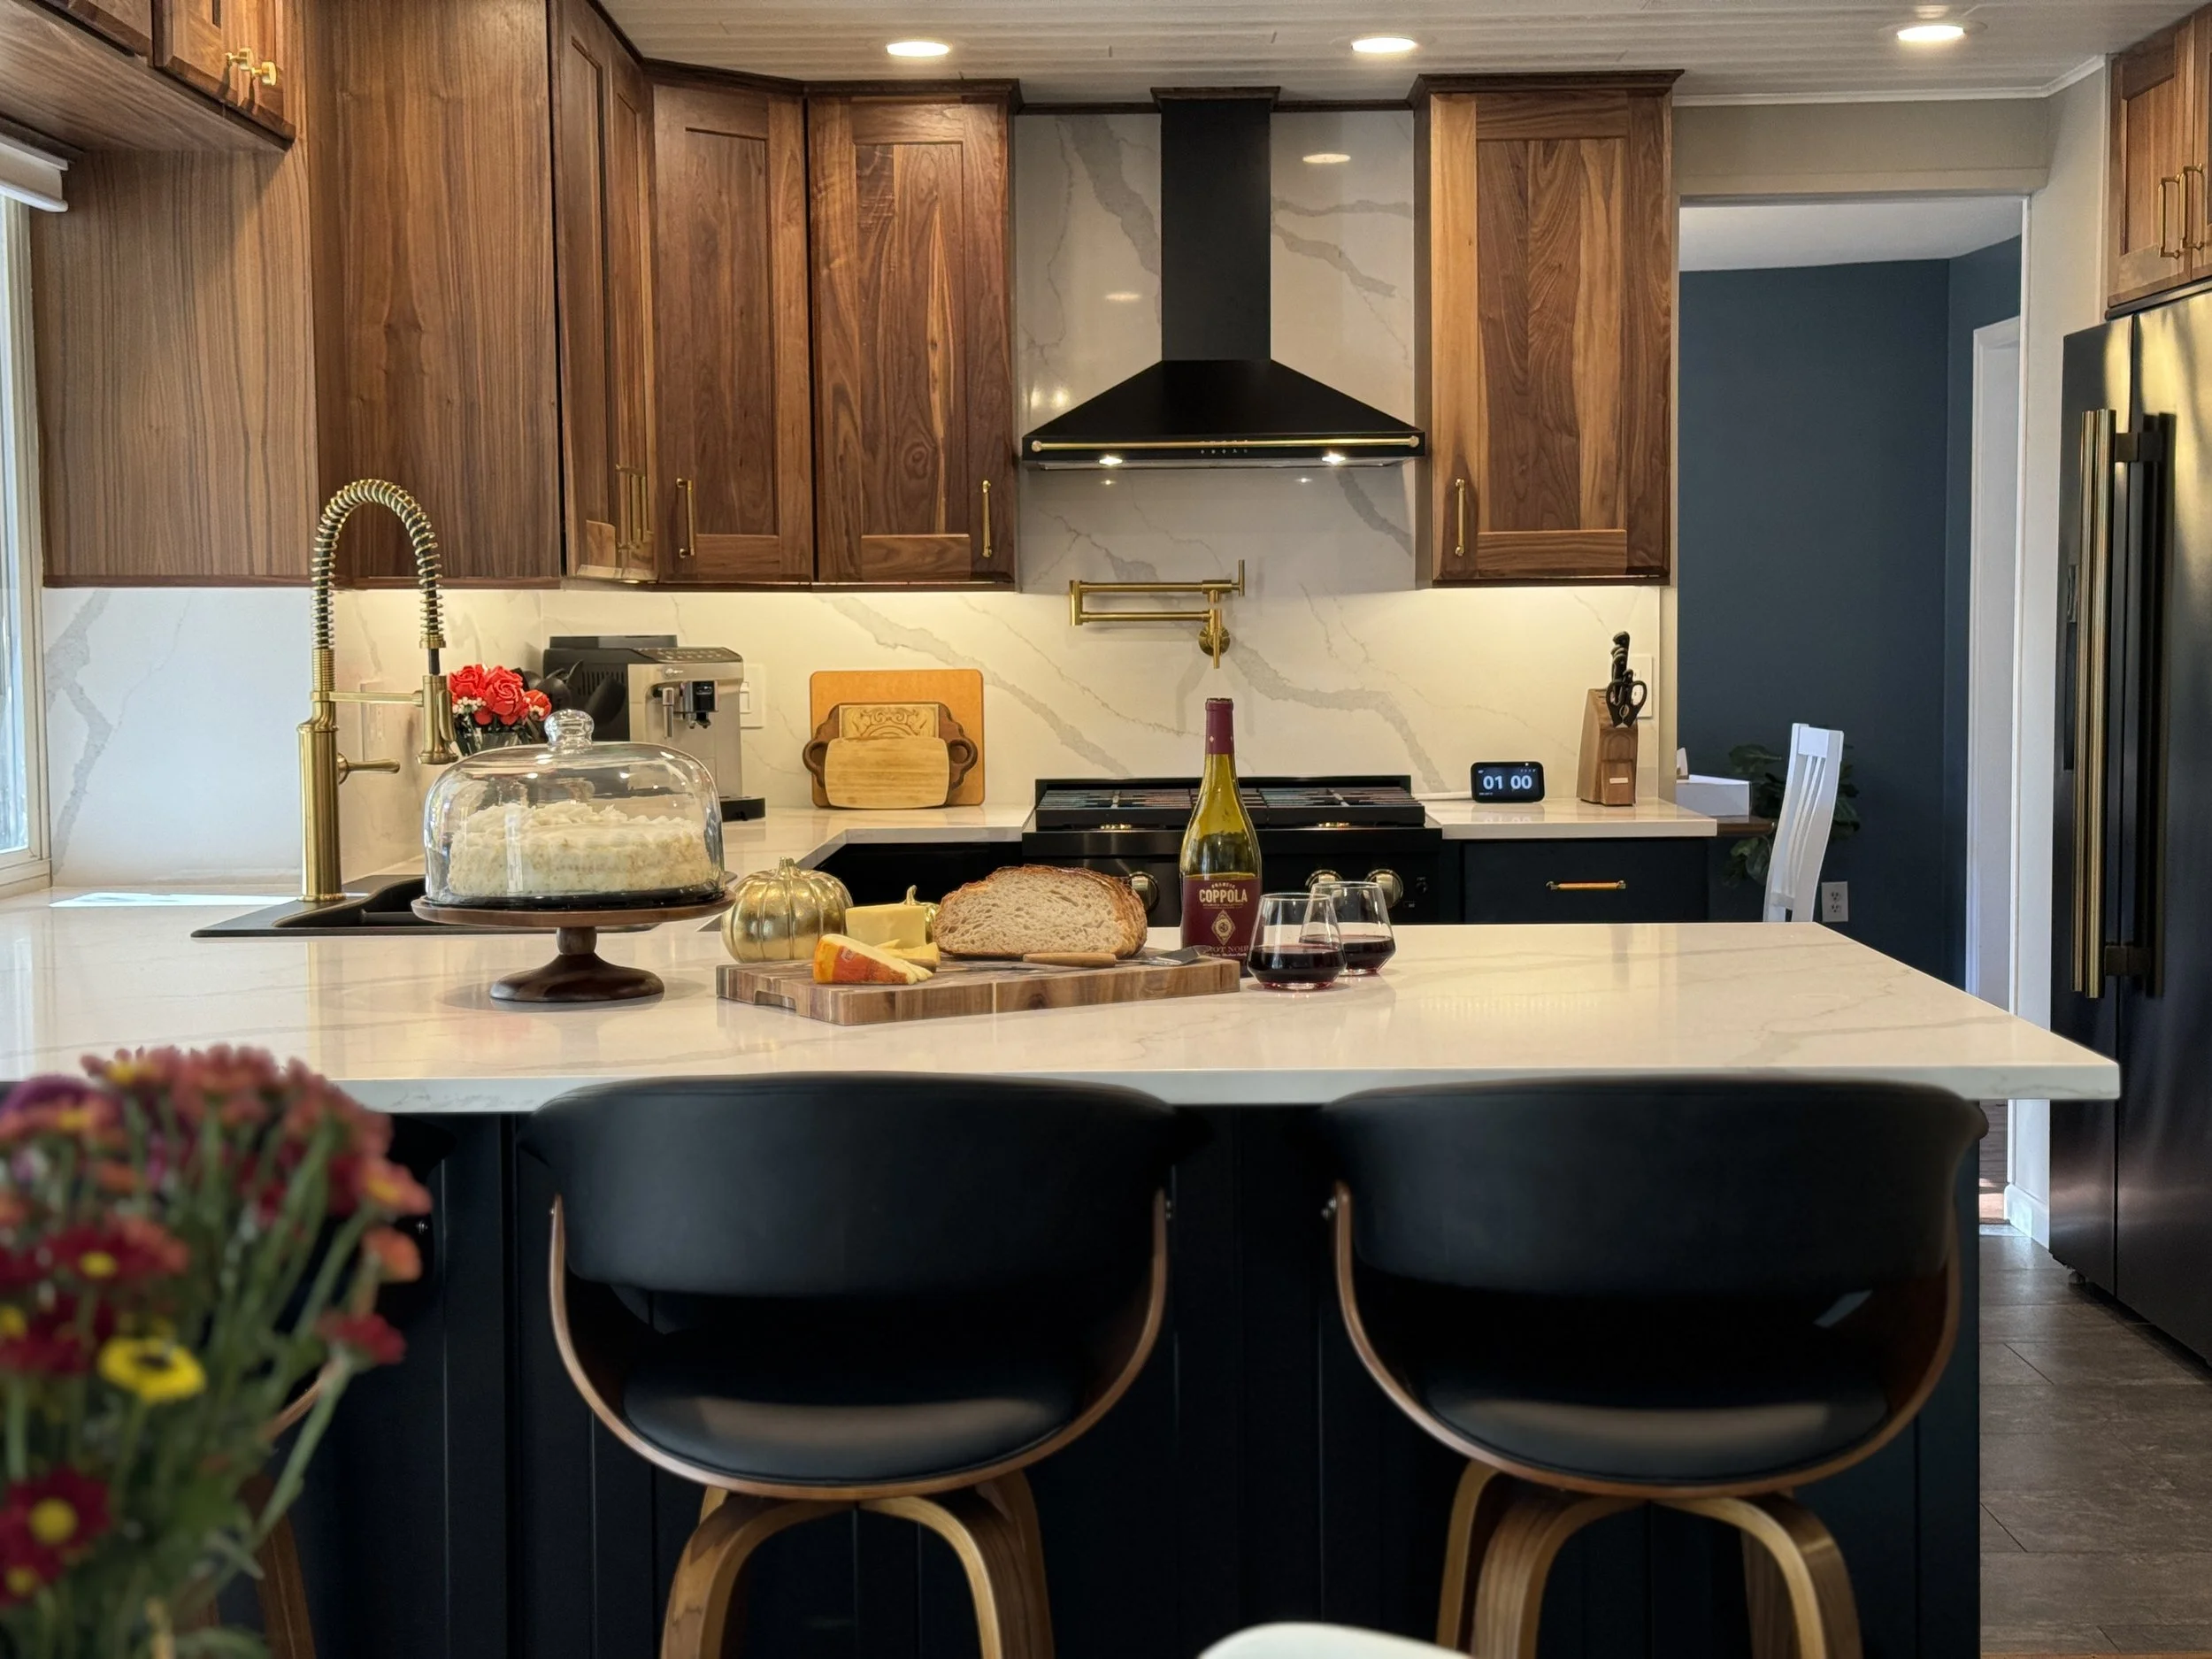
Come join us! We are ready to entertain. :)
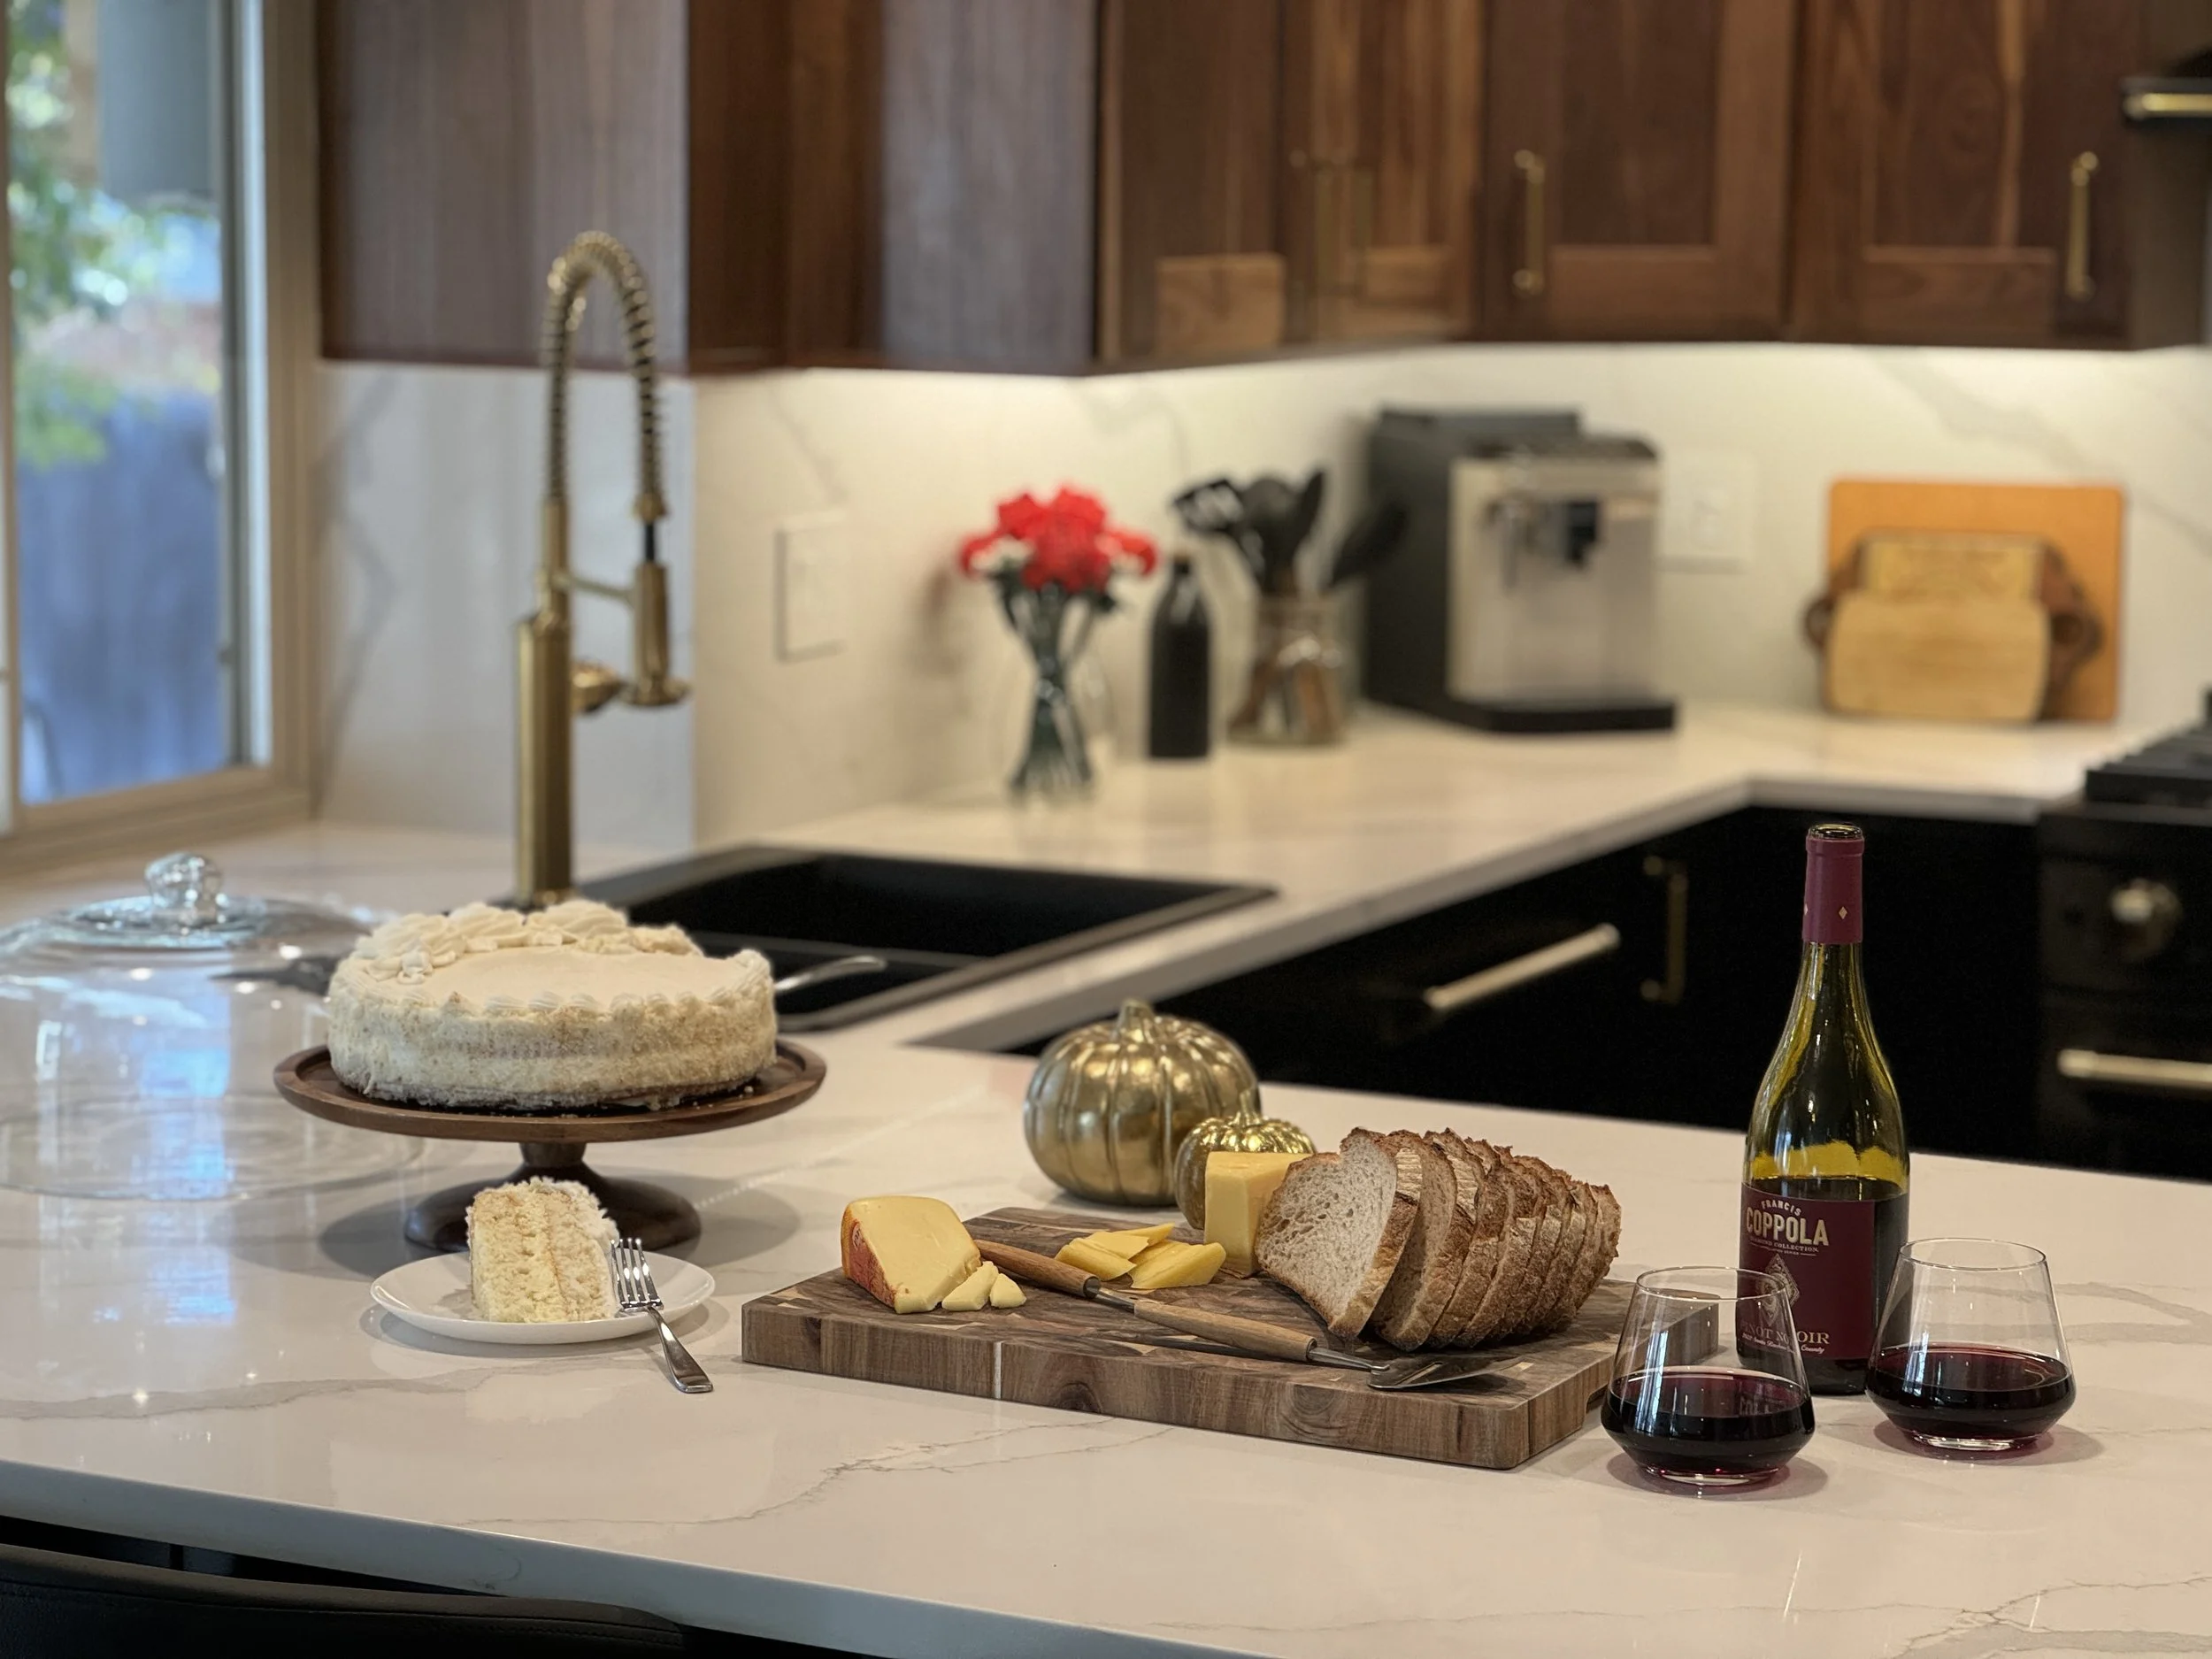
Be our Guest! :)
It's been a long project--with a lot of fun and challenging aspects to it!--but I learned a TON, and I could not be happier with how it turned out. On to the next! :)
And here are some videos!
I FINALLY got the chance to tear out these terrible, original, builder-grade in 1982 cabinets. I really enjoyed this part! :)
And the current status as of 6-20-24. :)
See? It's a small thing, but so useful! :)