Drop Down Projector Lift

The start... climbing up into the attic space over the family room/garage.

That tiny screw-head in the ceiling marks the exact middle of the room.

Finding the other side of the screw in my super-cozy workspace (I installed the linear actuator earlier in the day), and then measure and mark the lines for the exterior box.

Cut the opening in the ceiling... no going back now!

Use the actuator to lift the exterior box into the attic space, bit by bit.

After bolting the exterior box to the trusses, use the actuator to lift the second box to the interior of the first box.

Line up the interior box with the four industrial strength, ball-bearing drawer slides.

Secure the fail-safe cabling on either side of the interior box.

Line it all up, trim it out, and fine-tune the lift.

Boom! and this part is done.

Now I just have to get this drop-down screen mounted above the fireplace... this is the tricky part!
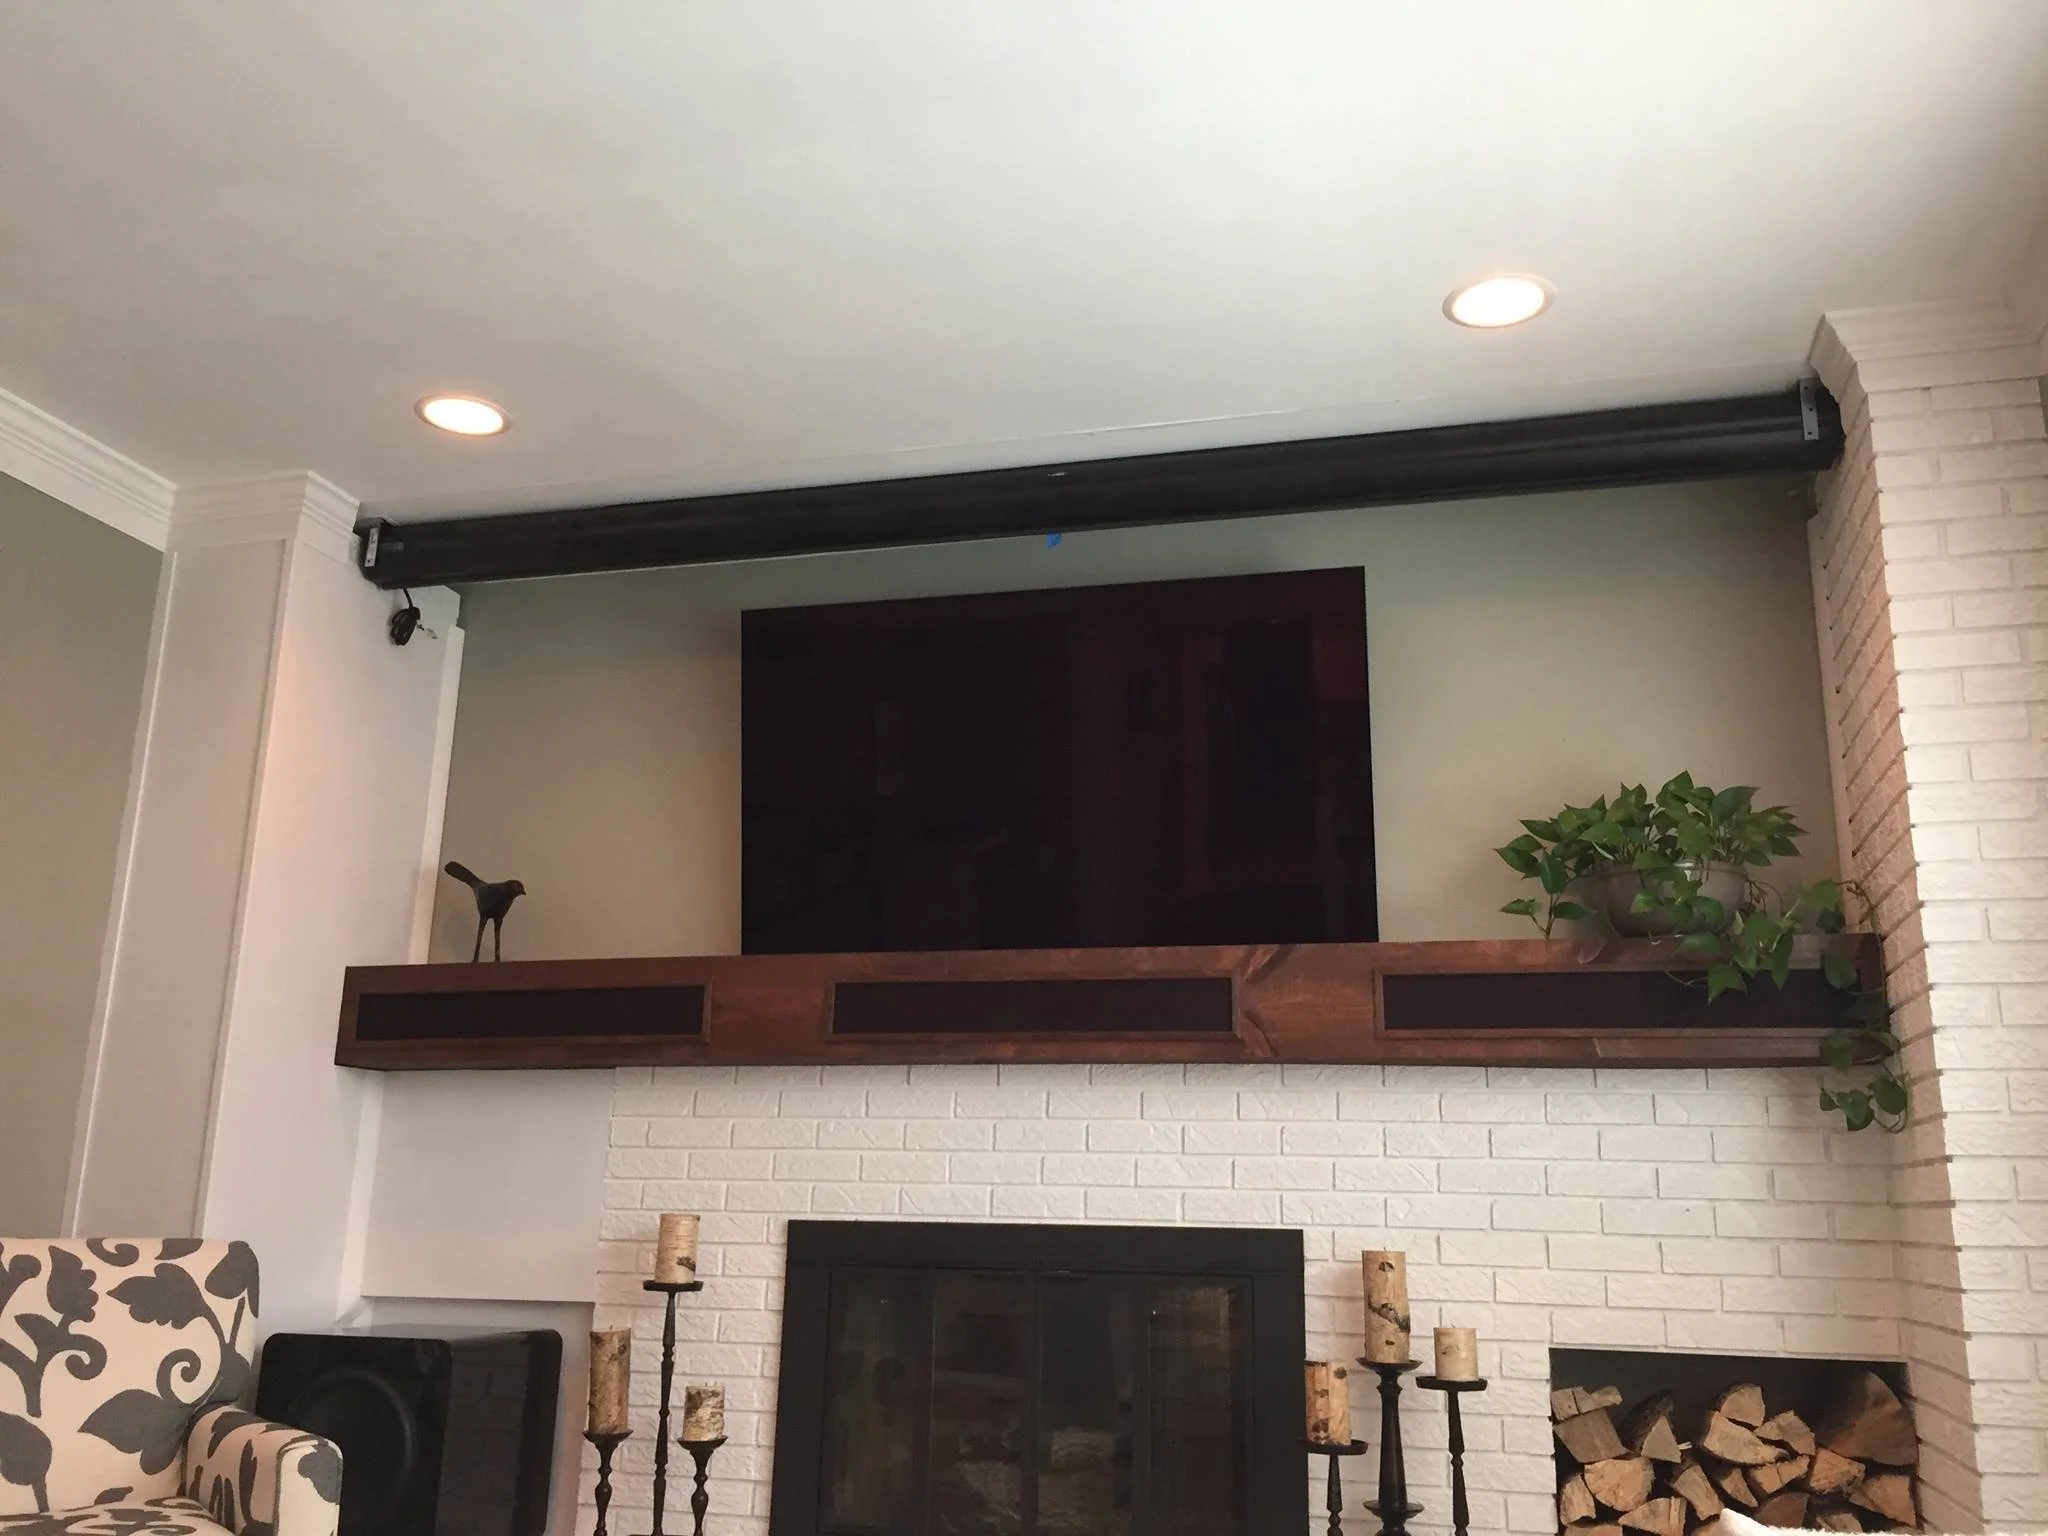
Got it mounted, and ran power to it through the garage attic.

Powered screen down…

…and powered screen up.

Projector lift down…

…and powered screen down.

Movie time! :)
AND HERE ARE SOME VIDEOS!
This is the proof-of-concept for my design of a drop-down video projector. The bigger box will be mounted in the attic space above the family room, and the box containing my projector will drop down into the room. It's even remote controlled!
And the finished product in the room. :)